Last updated: September 23, 2026
Add or remove a filter in your organization’s user list
Click your organization name on the lower-left corner of the page and select Users.
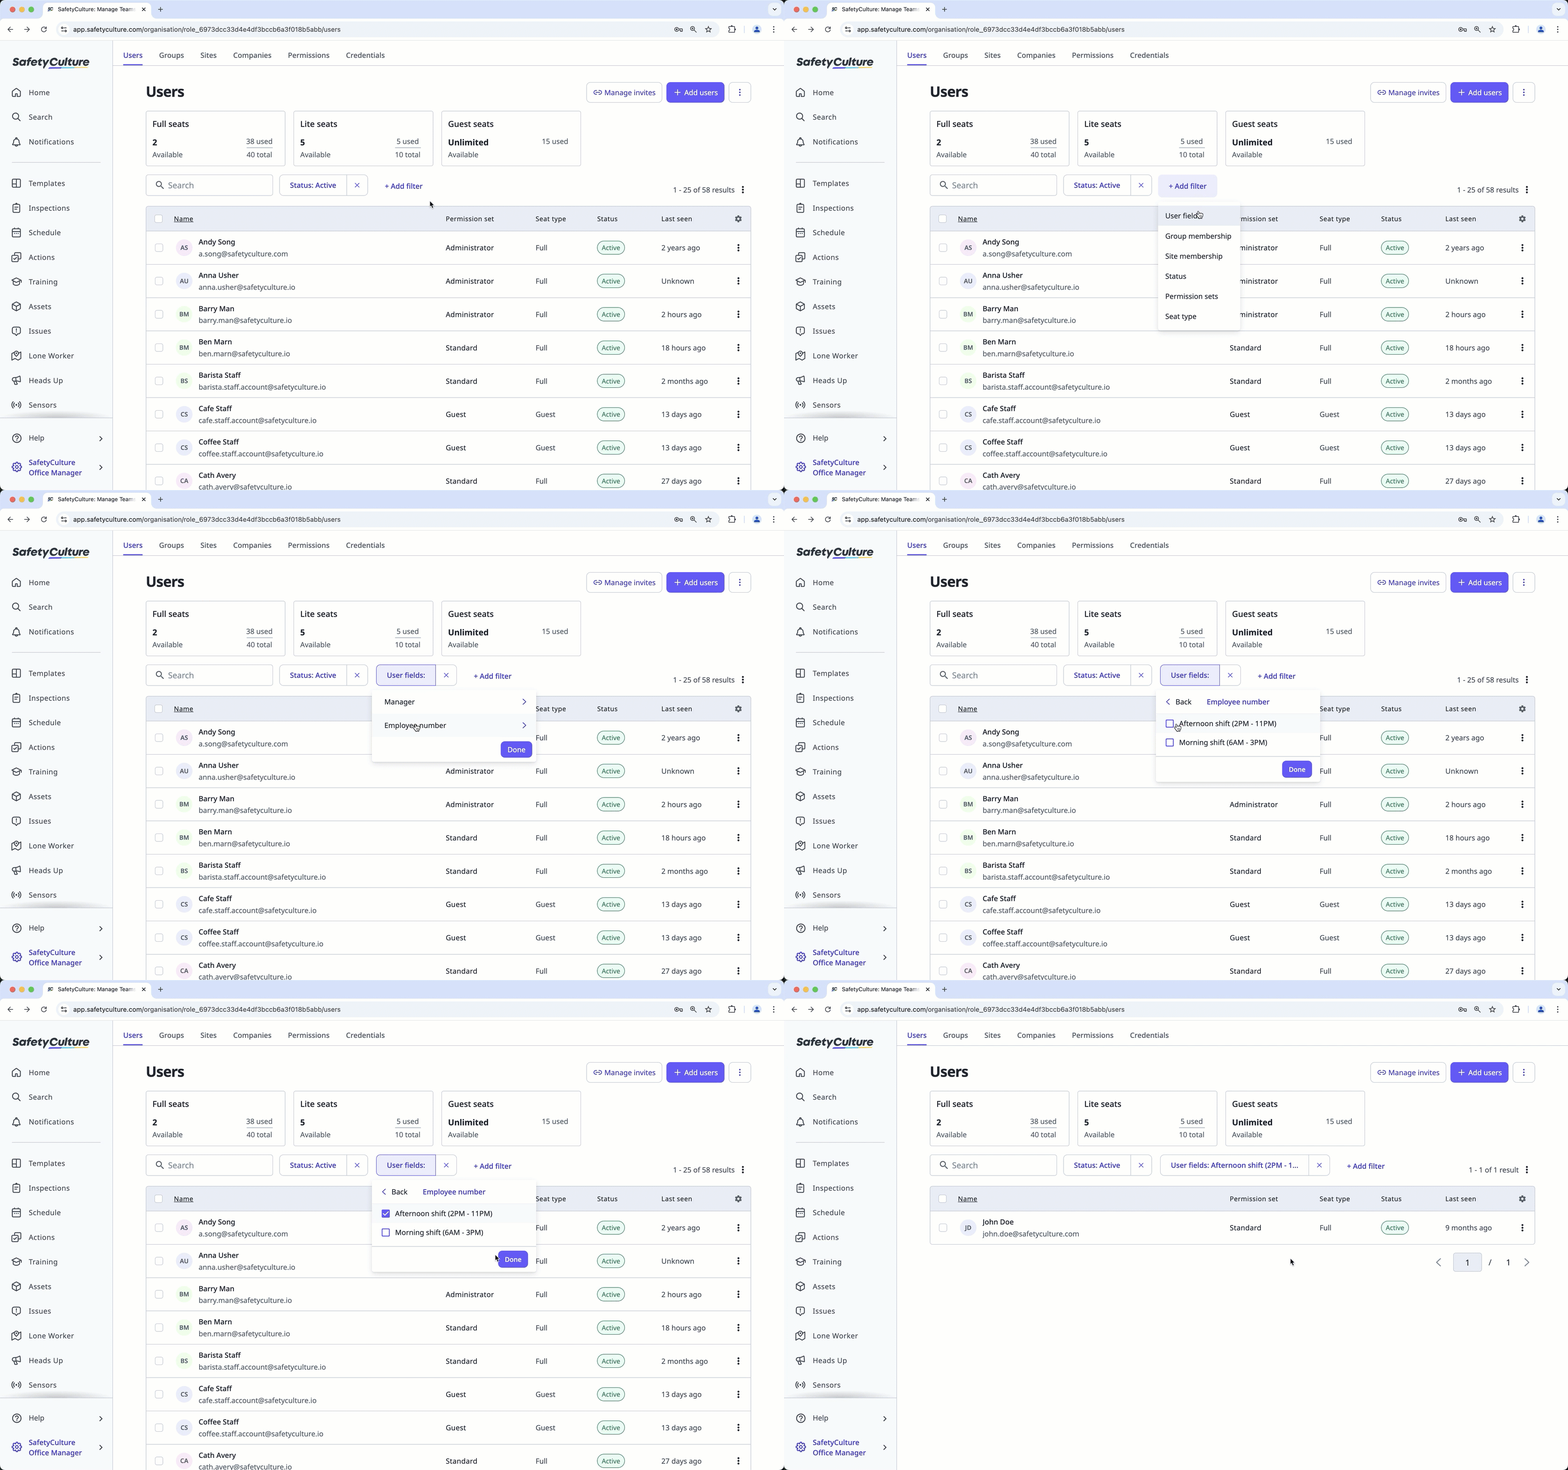
Add a filter by clicking Add filter. Then, select from the following filter options in the dropdown menu:
User fields: Filter the list based on user fields created for your organization.
Group membership: Filter the list based on groups that users are part of.
Site membership: Filter the list based on sites that users are part of.
Status: Filter the list based on whether users are active or deactivated.
Permission sets: Filter the list based on the permission sets that users have.
Seat type: Filter the list based on the seat types that users have.
Click the box at the left of the filter you want to add, then click Done.
If you want to remove a filter, click on its right.
Need more help?
Was this page helpful?