Last updated: September 18, 2026
Why create groups?
As your organization grows, managing access and settings for each user individually becomes time-consuming and hard to keep consistent. Groups let you organize your workforce into logical units such as by team, location, role, or any structure that suits your business so you can apply settings to everyone at once, rather than updating each person separately.
Once you've set up your groups, you can:
Control which templates and inspections your team can access
Assign courses and quizzes to the right people in bulk
Set up lone-work alert escalations for specific teams
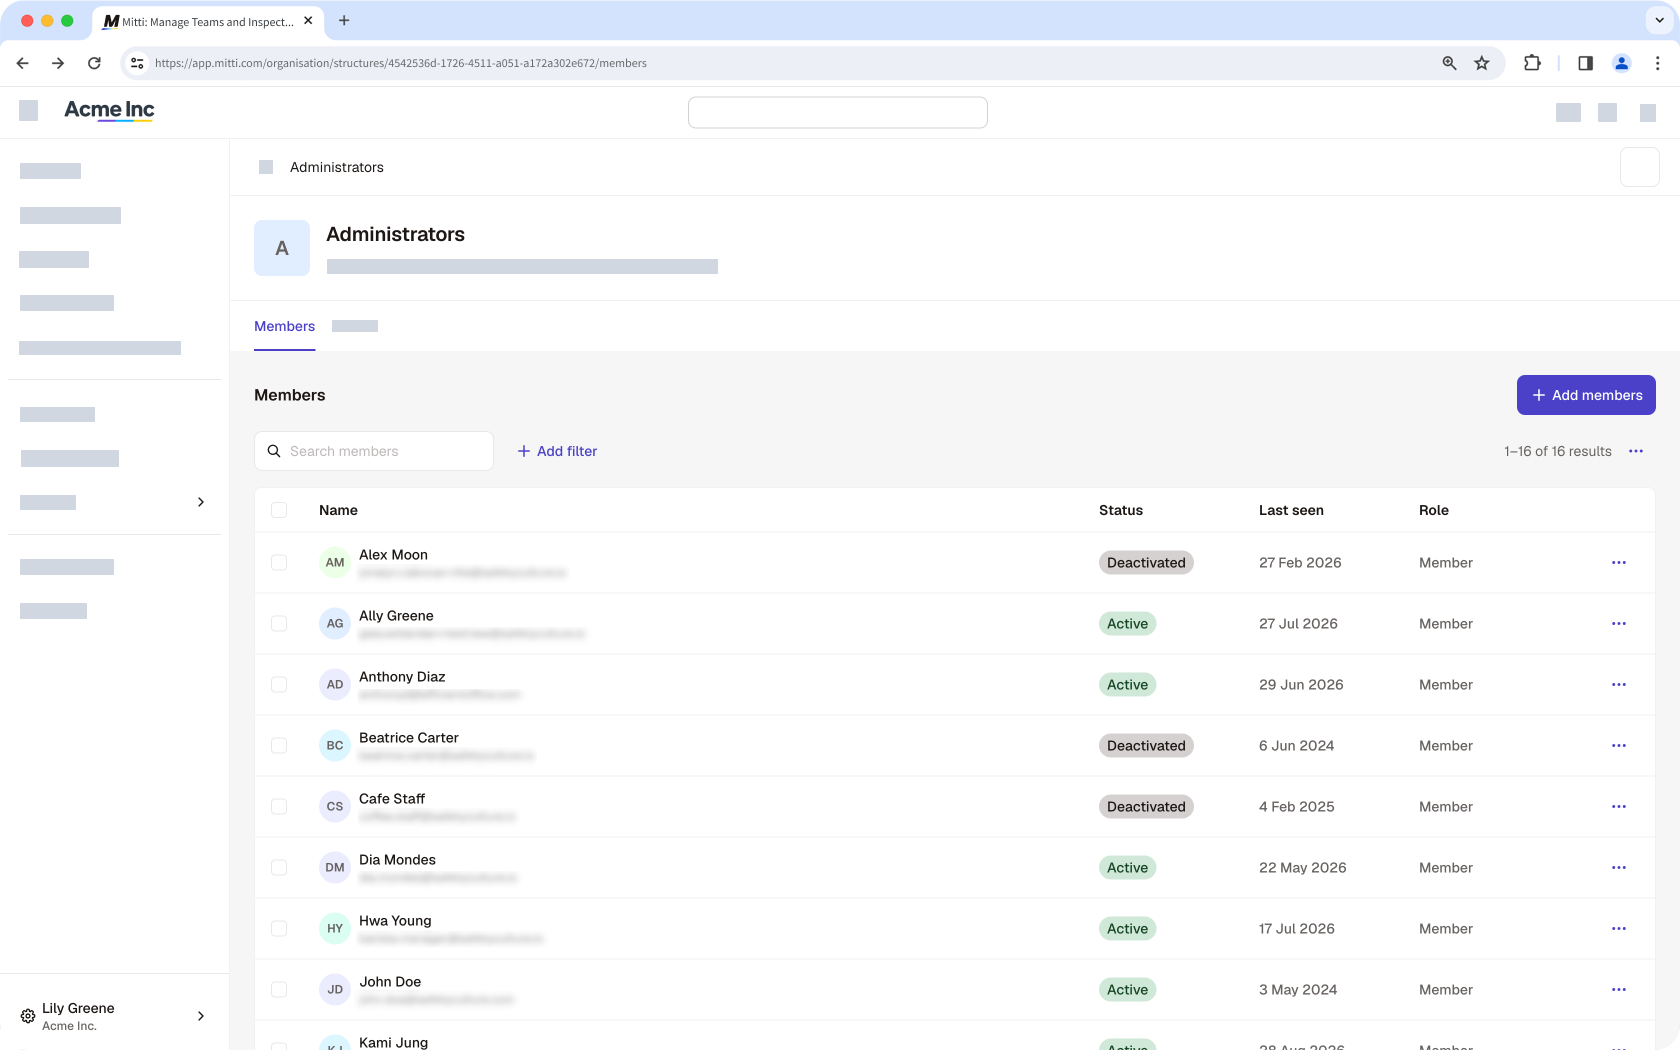
Users in groups with rule-based membership can only be added or removed by managing the rules.
What you'll need
Each user can be a member of up to 100 groups.
Add a user to a group
Click your organization name on the lower-left corner of the page and select Groups.
Select the group.
Click Add members on the upper-right of the page.
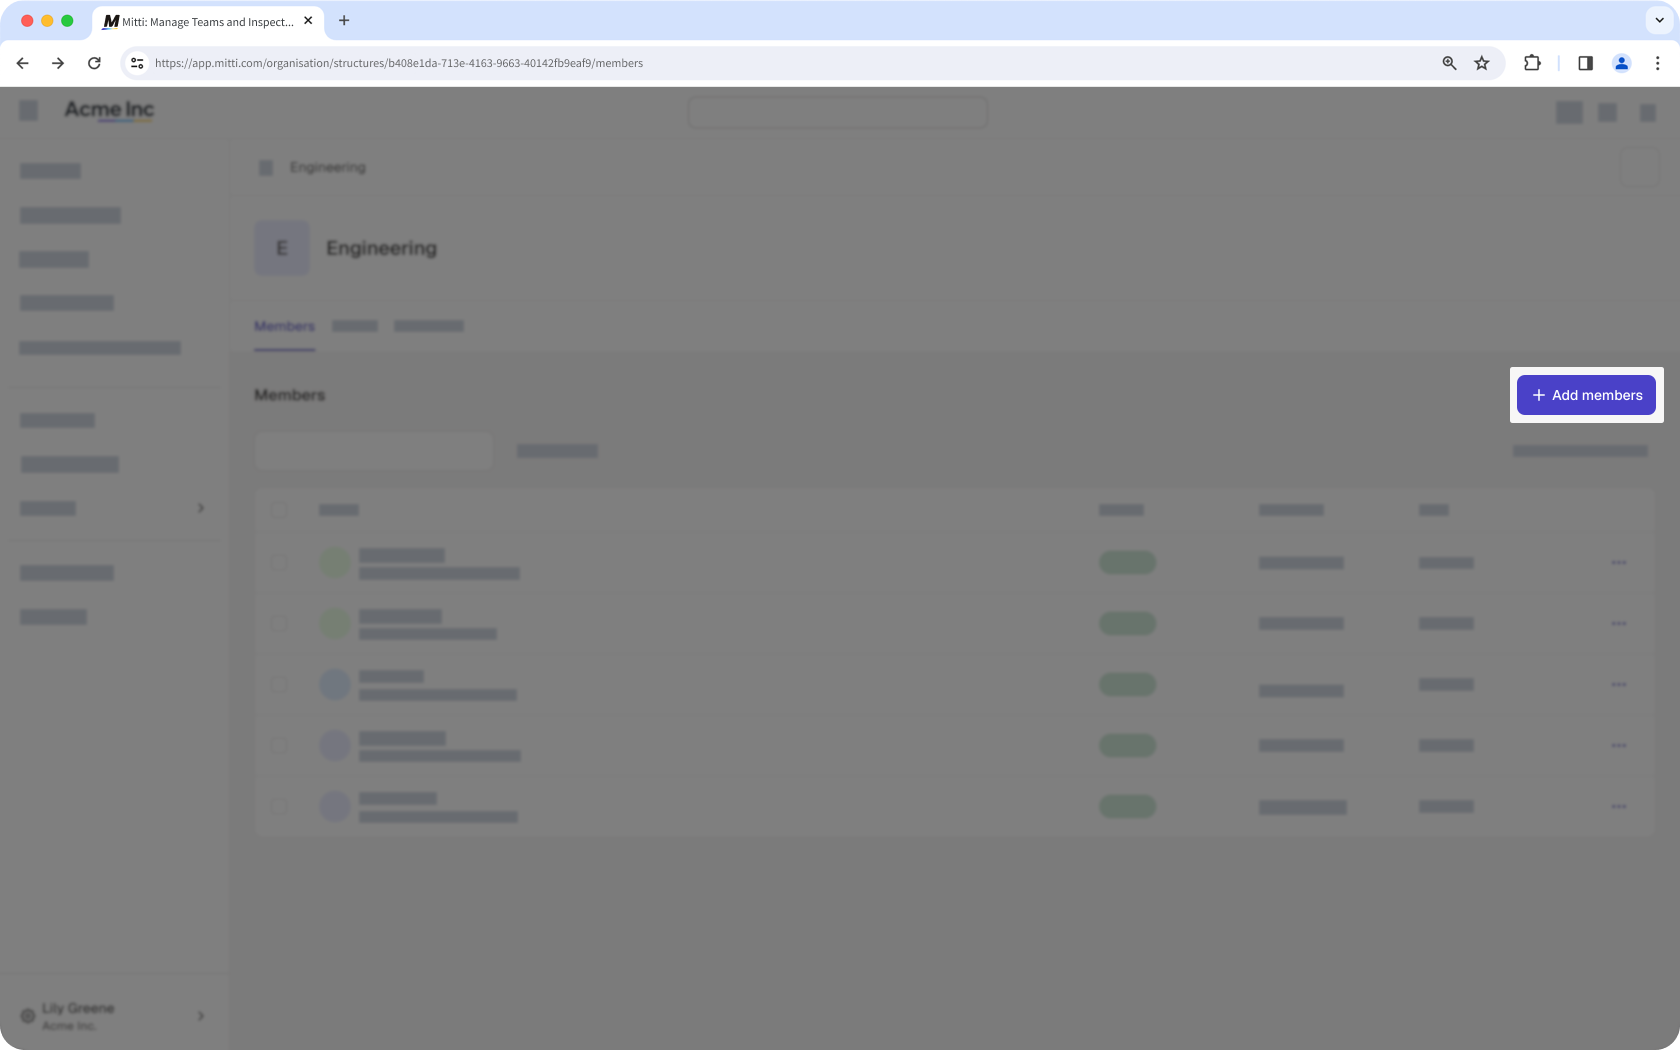
In the pop-up window, select the user you want to add to the group.
If you want to add a new user in your organization, click Add new user.
Click Add.
Add a user to multiple groups
Click your organization name on the lower-left corner of the page and select Users.
Select the user.
Click Settings on the upper-right of the page.
Select Groups at the top of the page.
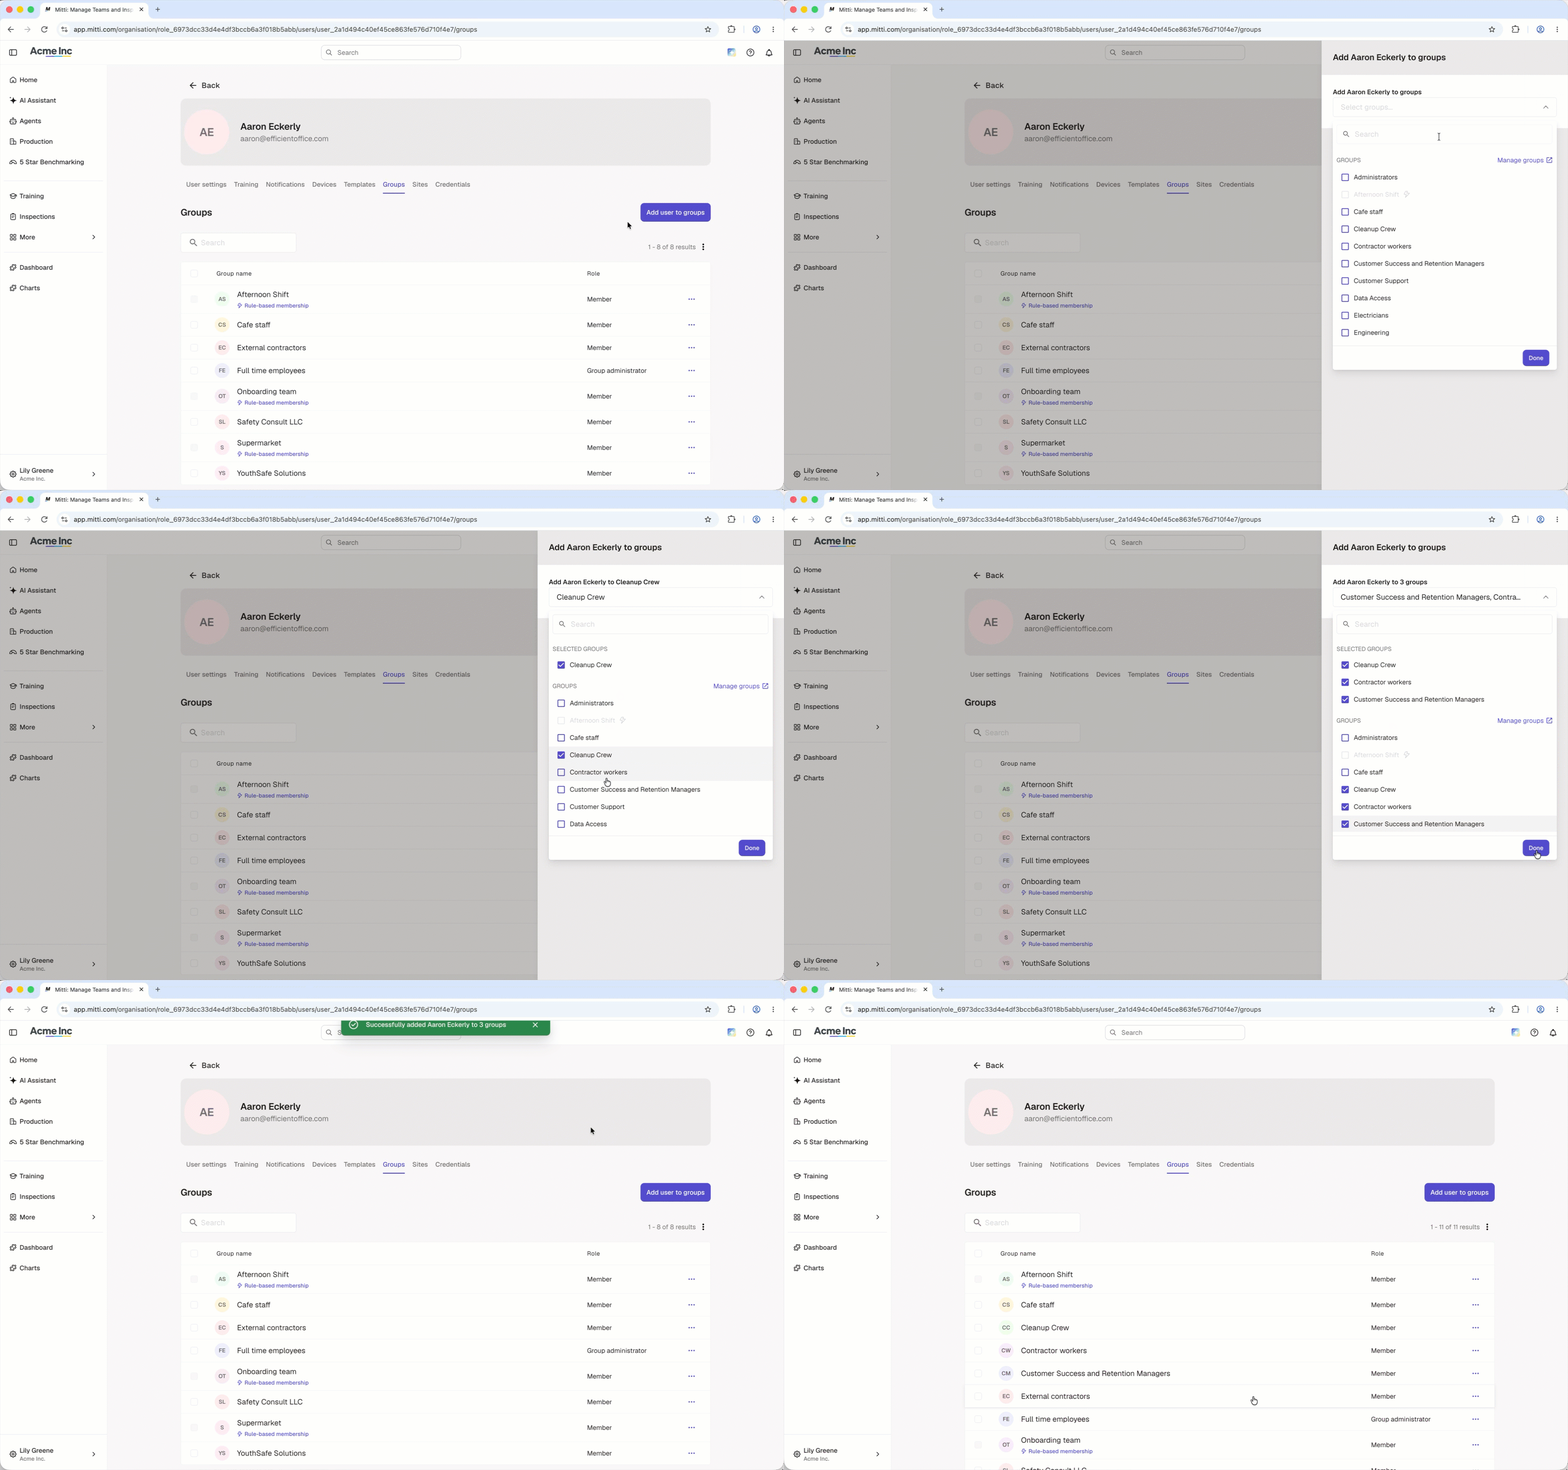
Click Add user to groups.
In the side panel, click the dropdown menu and select the groups you want to add the user to.
Click Done.
Click Save and apply.
Remove a user from a group
Click your organization name on the lower-left corner of the page and select Groups.
Select the group.
Click on the right-hand side of the user's name and select Remove.
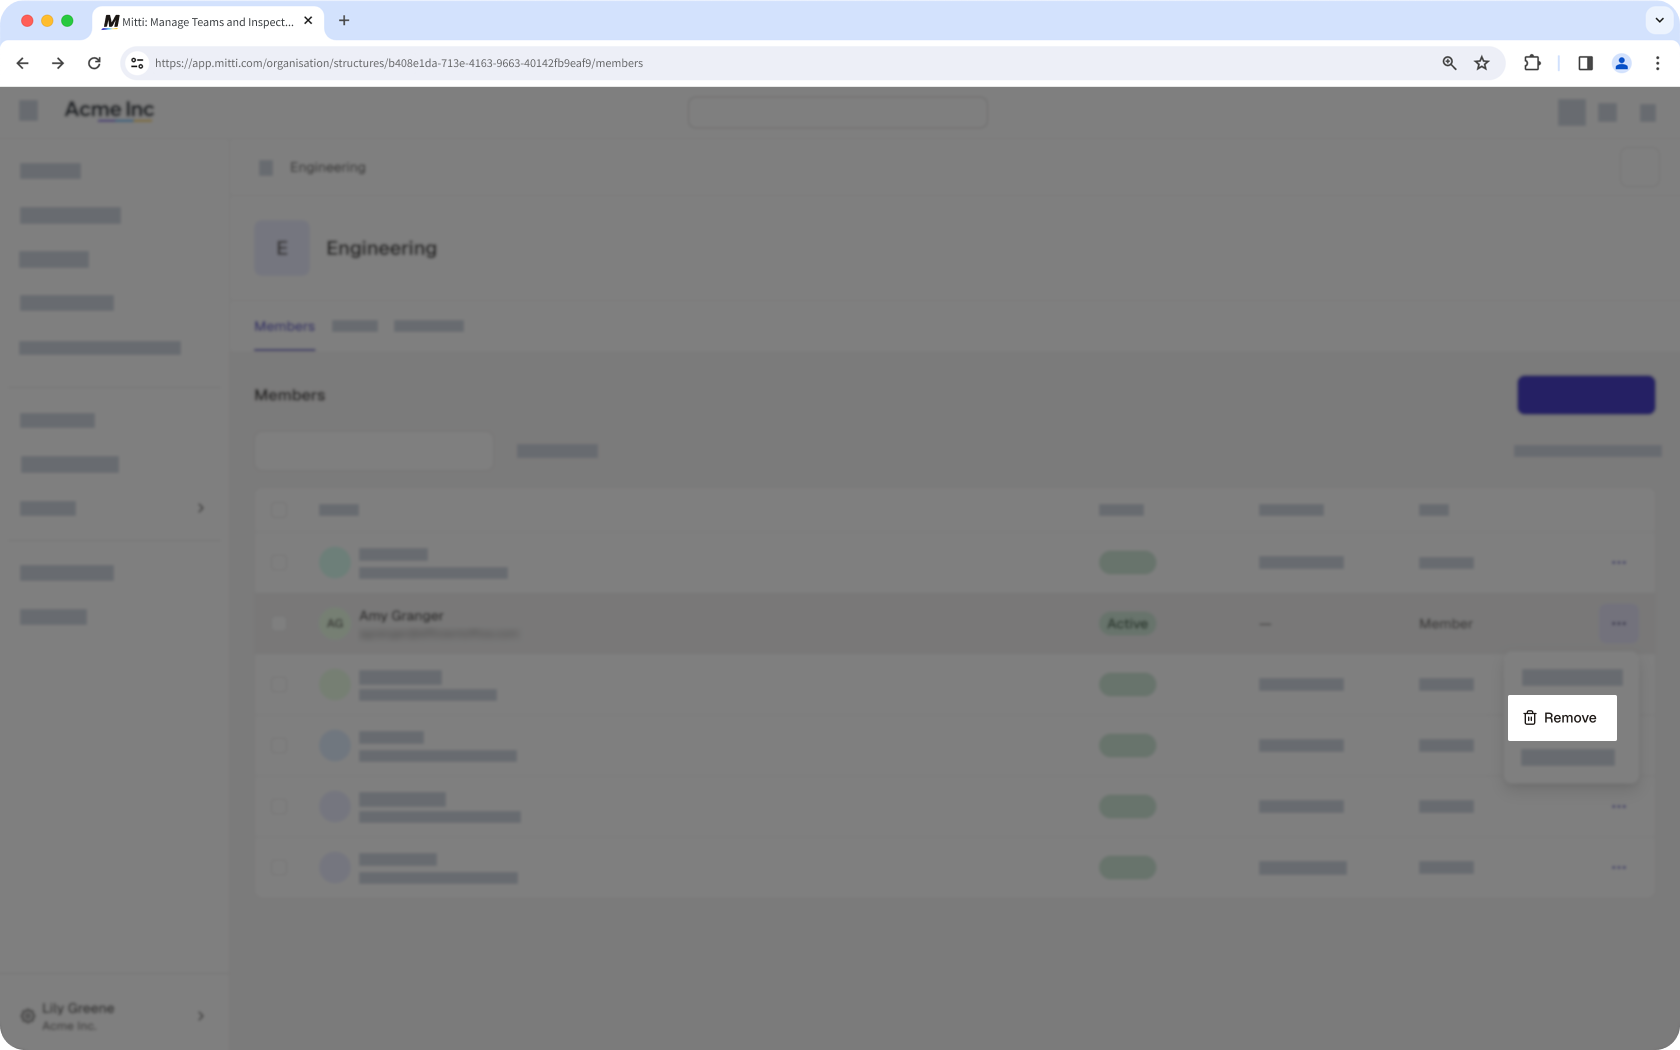
In the pop-up window, click Remove.
Bulk add or remove users from groups
Click your organization name on the lower-left corner of the page and select Groups.
Click Group matrix on the upper-right of the page.
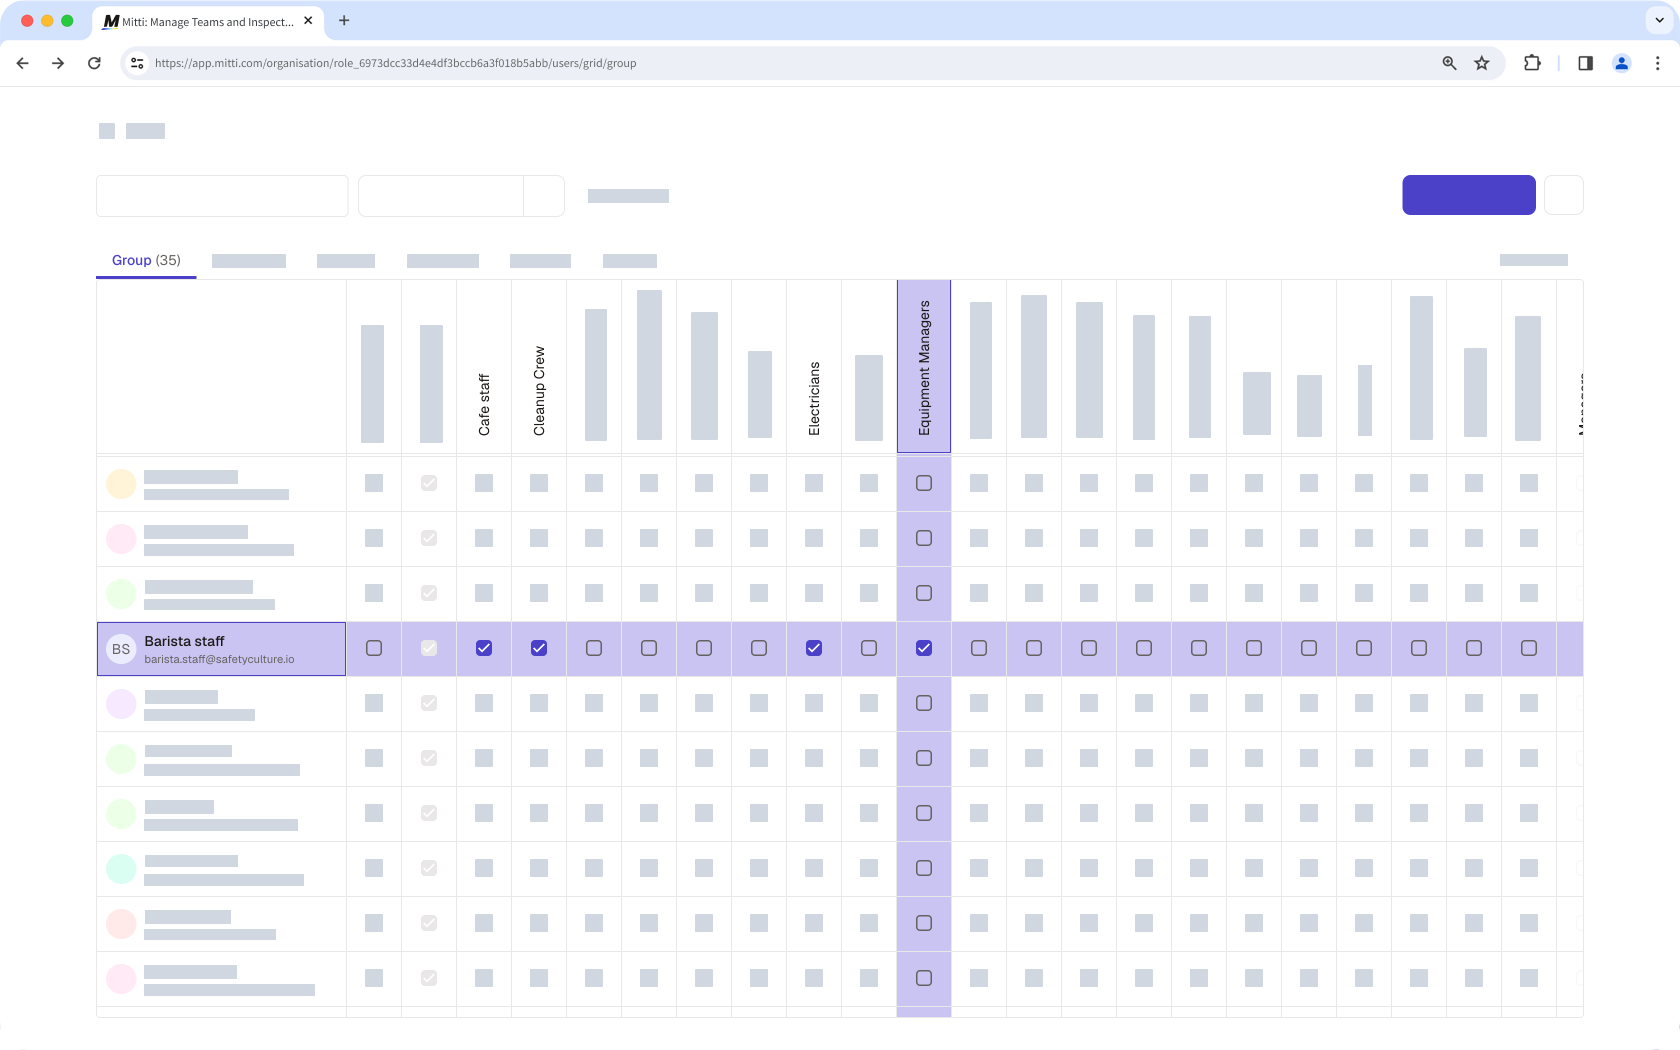
On this page, group names are listed horizontally, and users are listed vertically in alphabetical order.
Check or uncheck the box on the left-hand side of the user's name. Changes are applied automatically.
If you have "Platform management: Sites" permission, you can also bulk add or remove users from sites as members.
Frequently asked questions
Need more help?
Was this page helpful?