Last updated: September 18, 2026
Why create groups?
As your organization grows, managing access and settings for each user individually becomes time-consuming and hard to keep consistent. Groups let you organize your workforce into logical units such as by team, location, role, or any structure that suits your business so you can apply settings to everyone at once, rather than updating each person separately.
Once you've set up your groups, you can:
Control which templates and inspections your team can access
Assign courses and quizzes to the right people in bulk
Set up lone-work alert escalations for specific teams
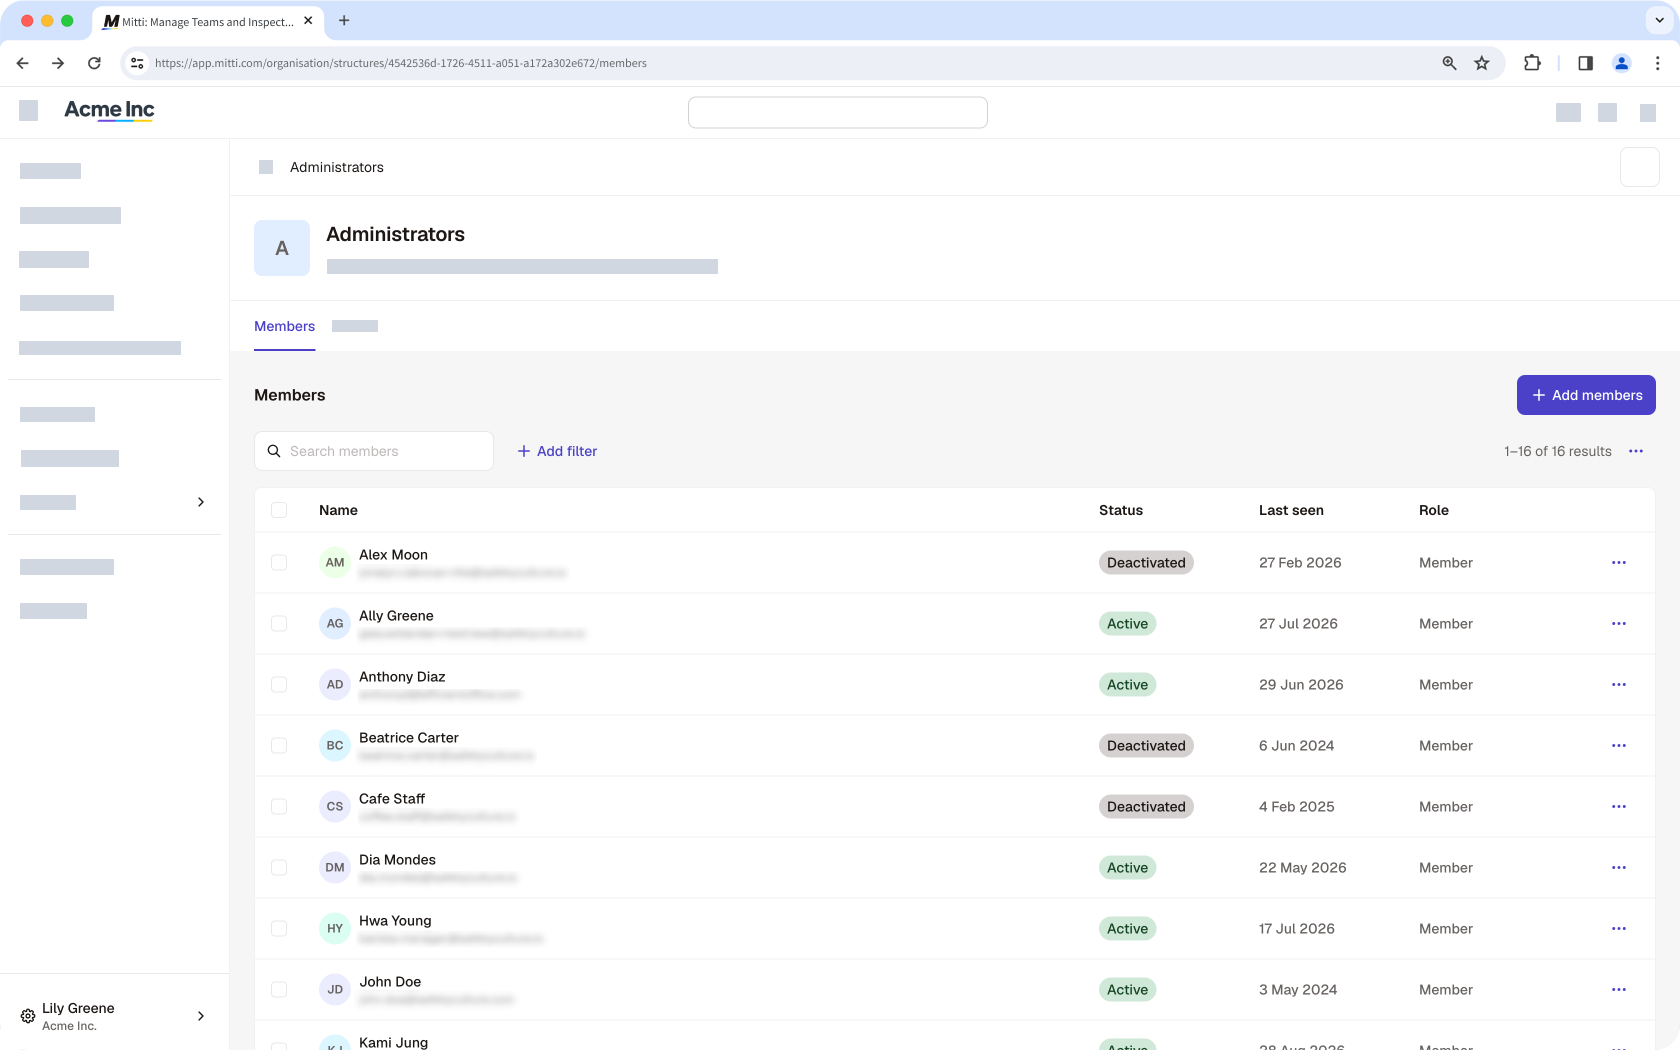
Create a group
Click your organization name on the lower-left corner of the page and select Groups.
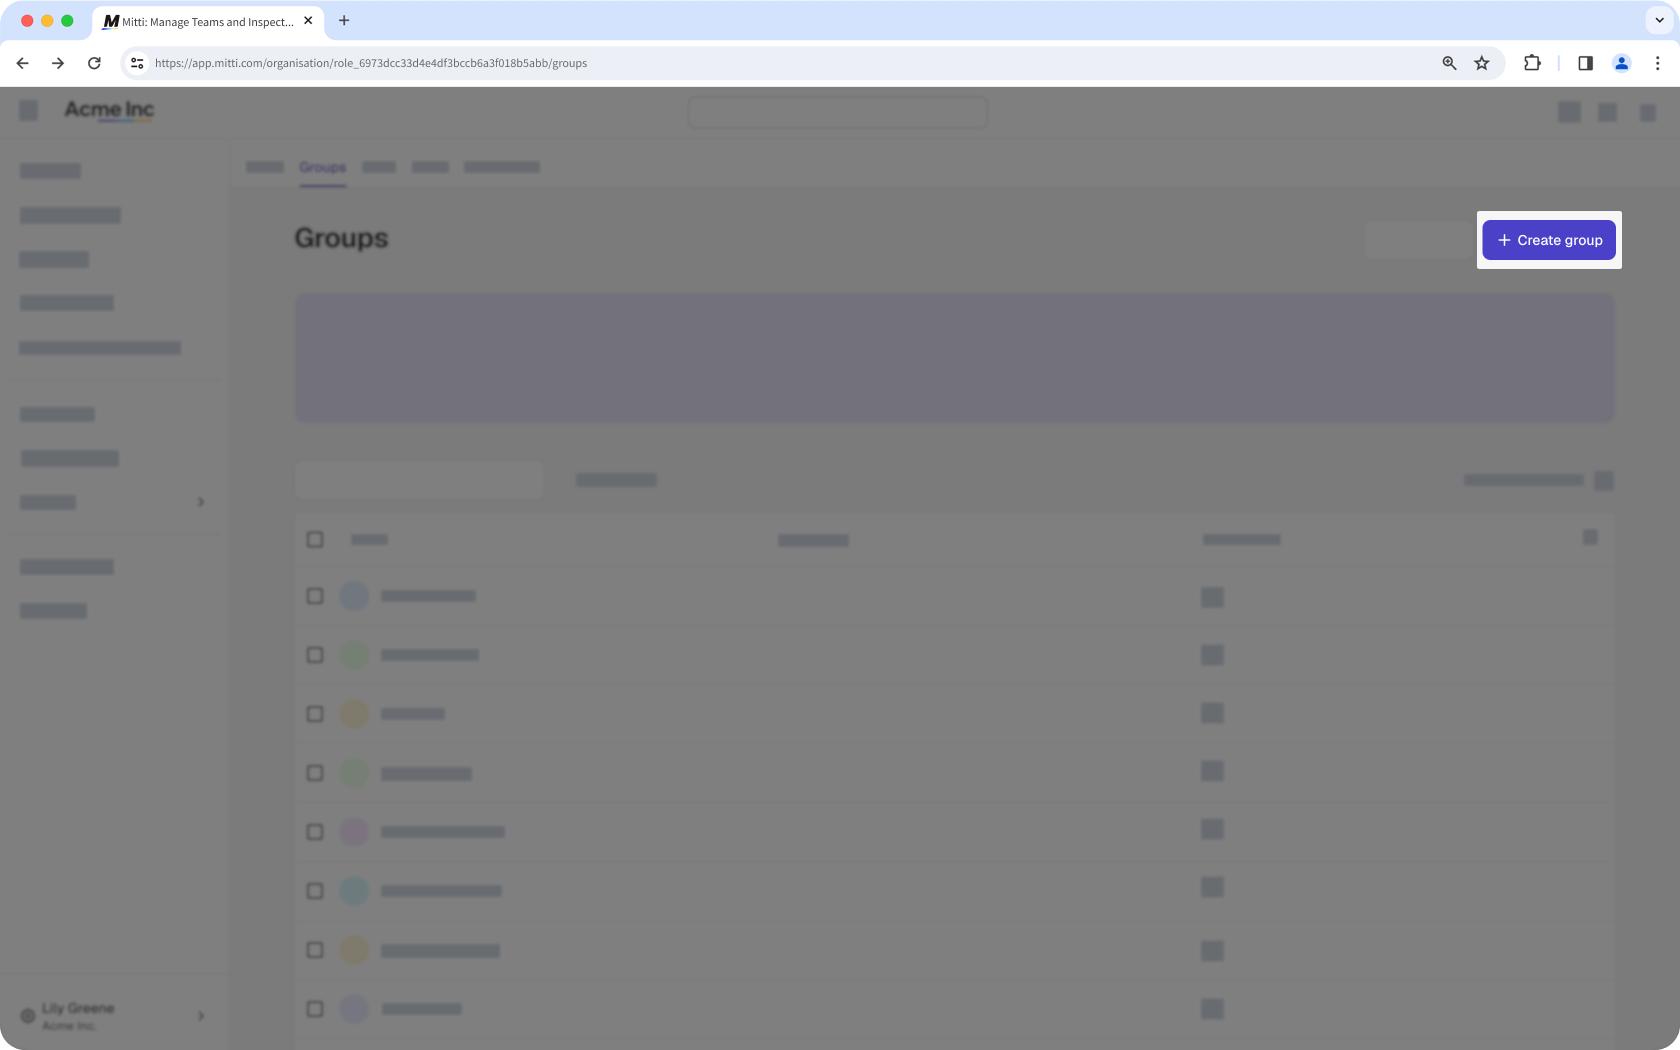
Click Create group on the upper-right of the page.
Enter the "Name" and "Description", and configure the organization fields accordingly.
Click Save on the upper-right corner of the page.
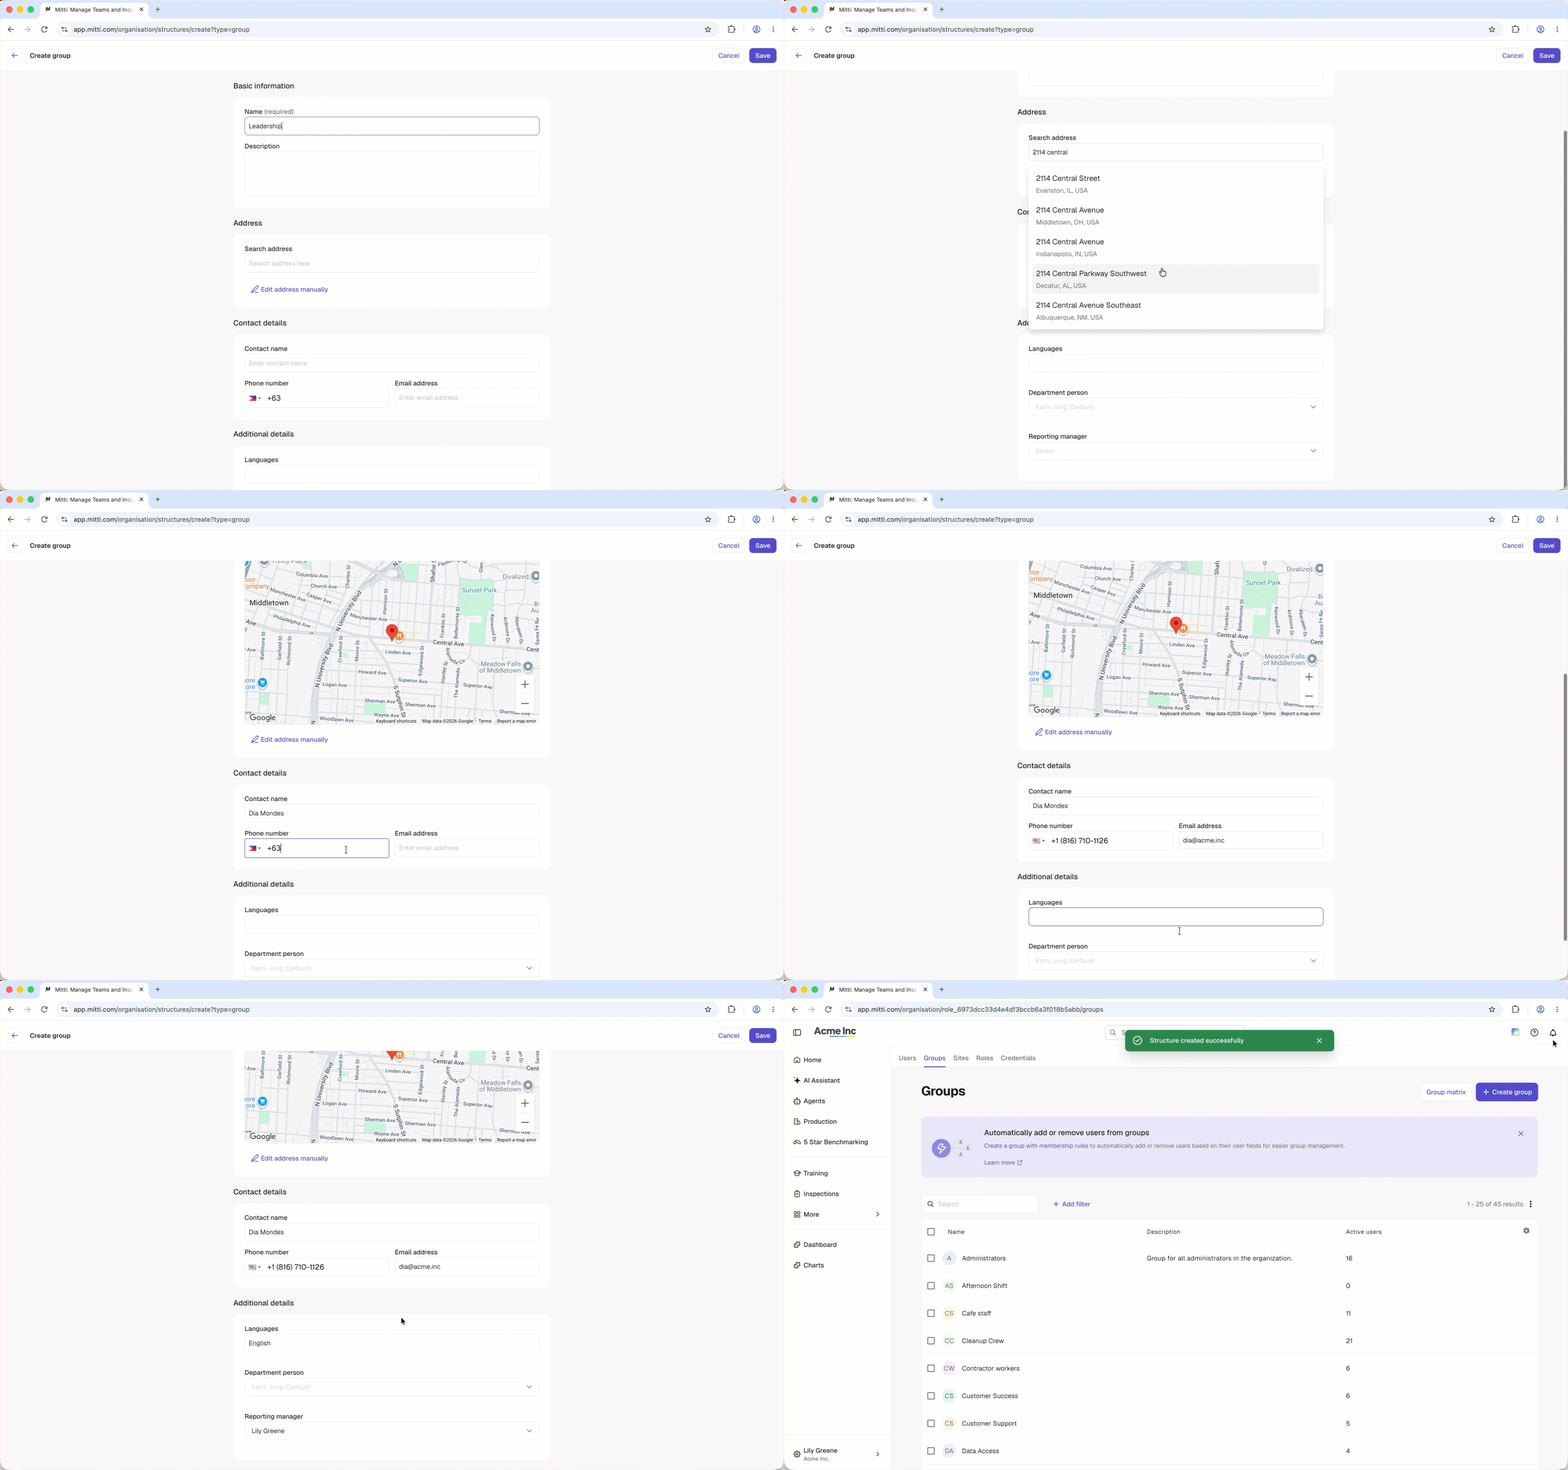
Depending on the people you want to organize into groups, you can create membership rules to automatically add or remove users based on user field values.
Edit a group
Click your organization name on the lower-left corner of the page and select Groups.
Select the group.
If the group has membership rules set up, click on the upper-right of the page to edit the rules.
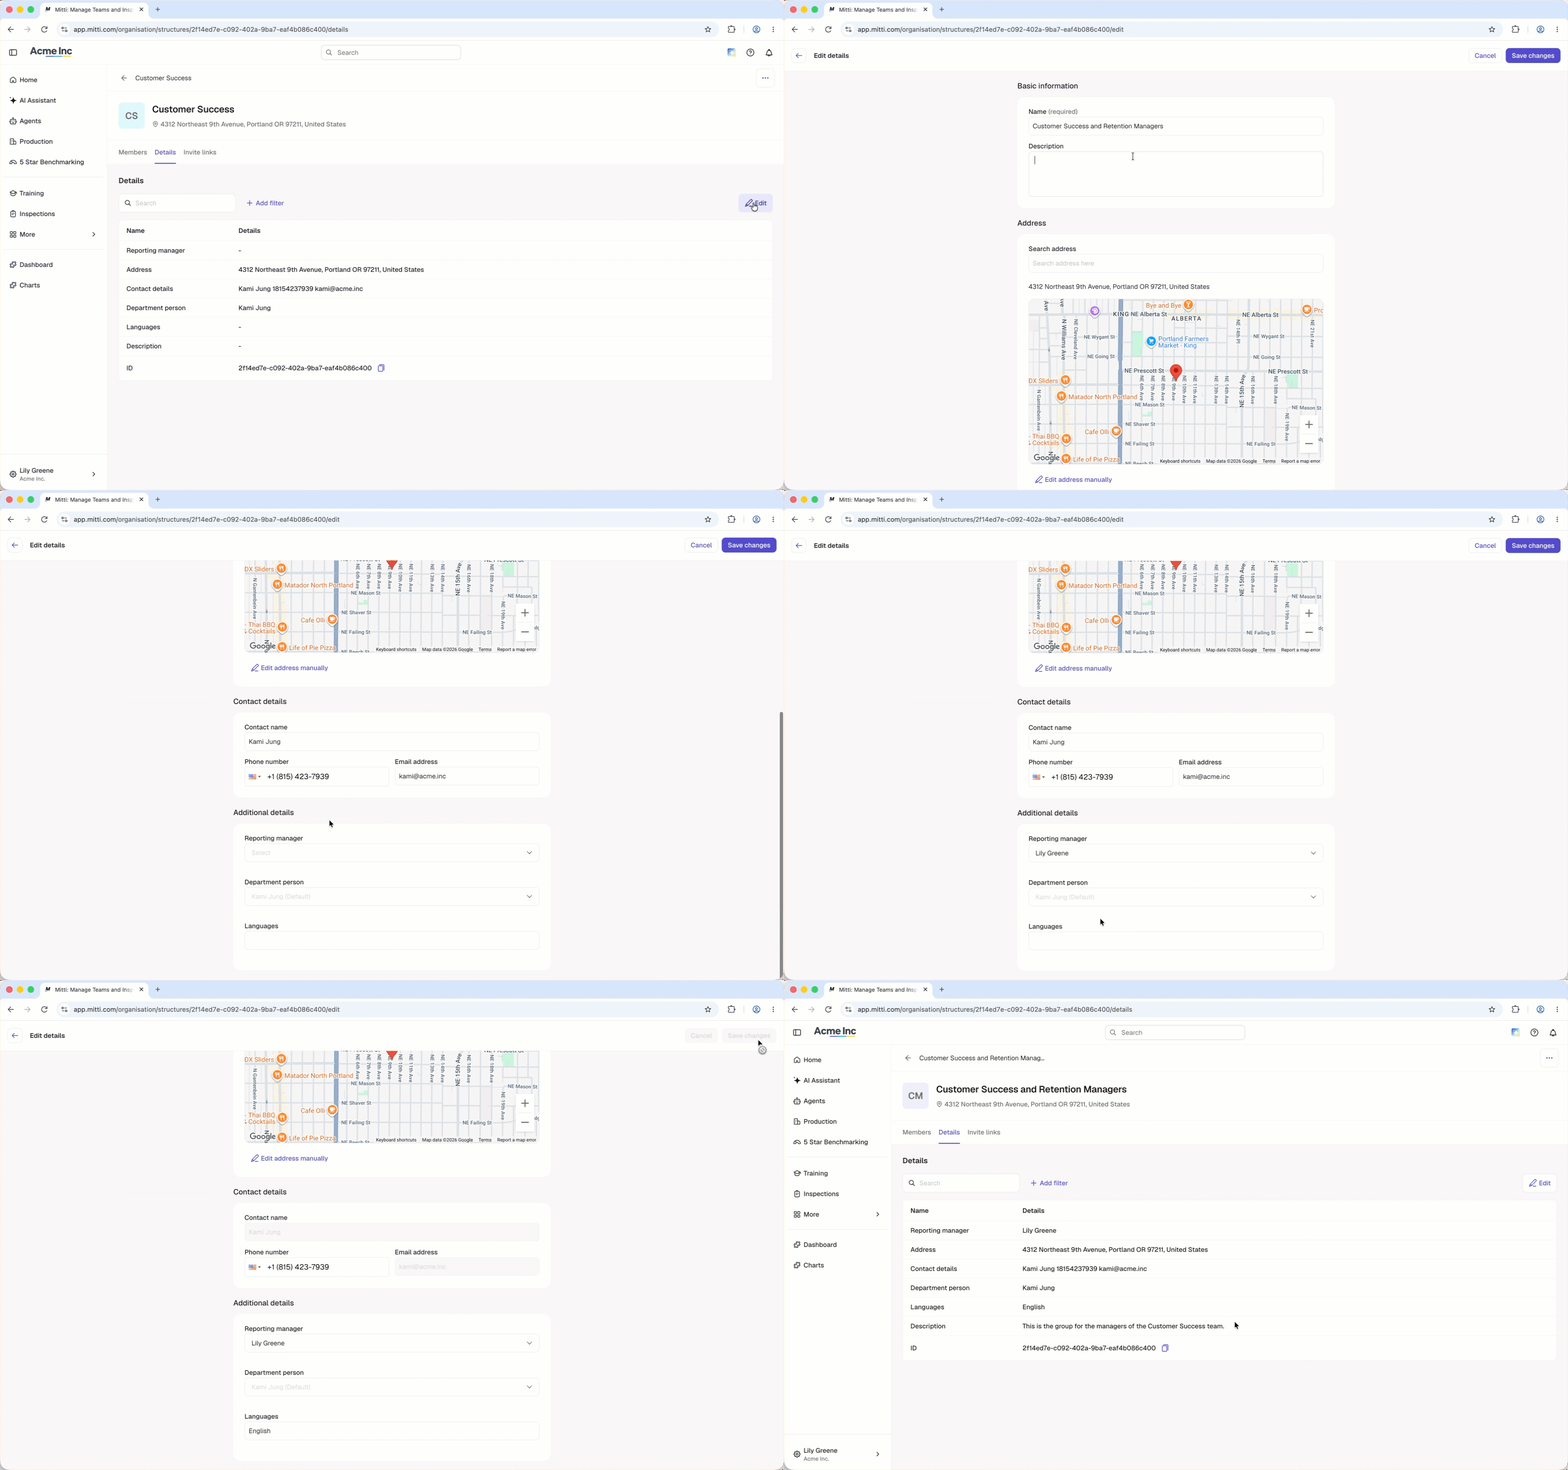
Select Details at the top of the page.
Click Edit on the upper- right of the page.
E dit the name, description, and organization fields accordingly.
Click Save changes on the upper-right corner of the page.
Delete a group
Deleting is irreversible, and we cannot restore permanently deleted items. Confirmation is always required before any deletion, so be sure you're not accidentally deleting the wrong item.
Deleting a group will also remove template and inspection access provided to it.
Click your organization name on the lower-left corner of the page and select Groups.
Select the group.
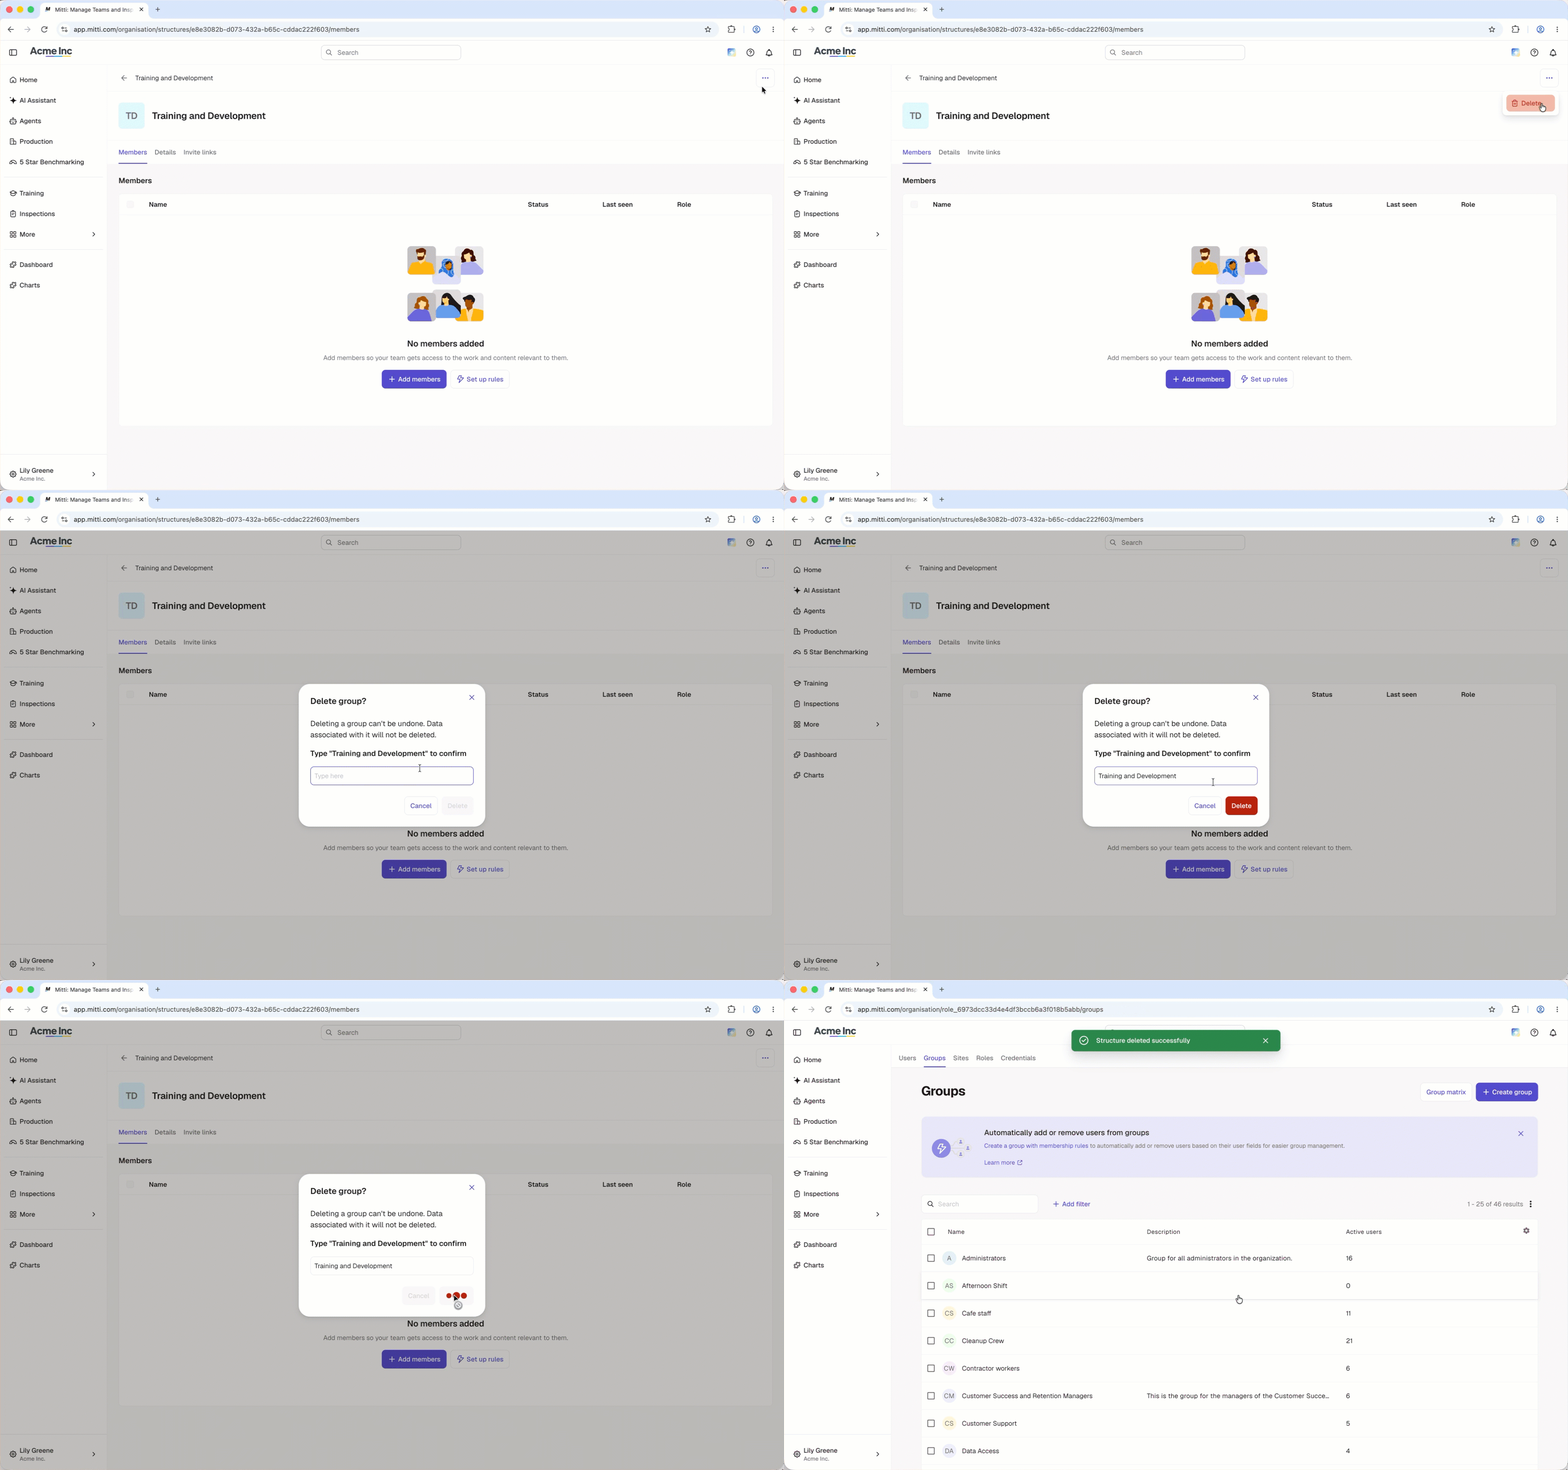
Click on the upper-right corner of the page and select Delete.
In the pop-up window, enter the group name to confirm and select Delete.
Buying groups in the Mitti Supply are managed separately from groups you can create and select in the rest of the platform.
Bulk delete groups
Click your organization name on the lower-left corner of the page and select Groups.
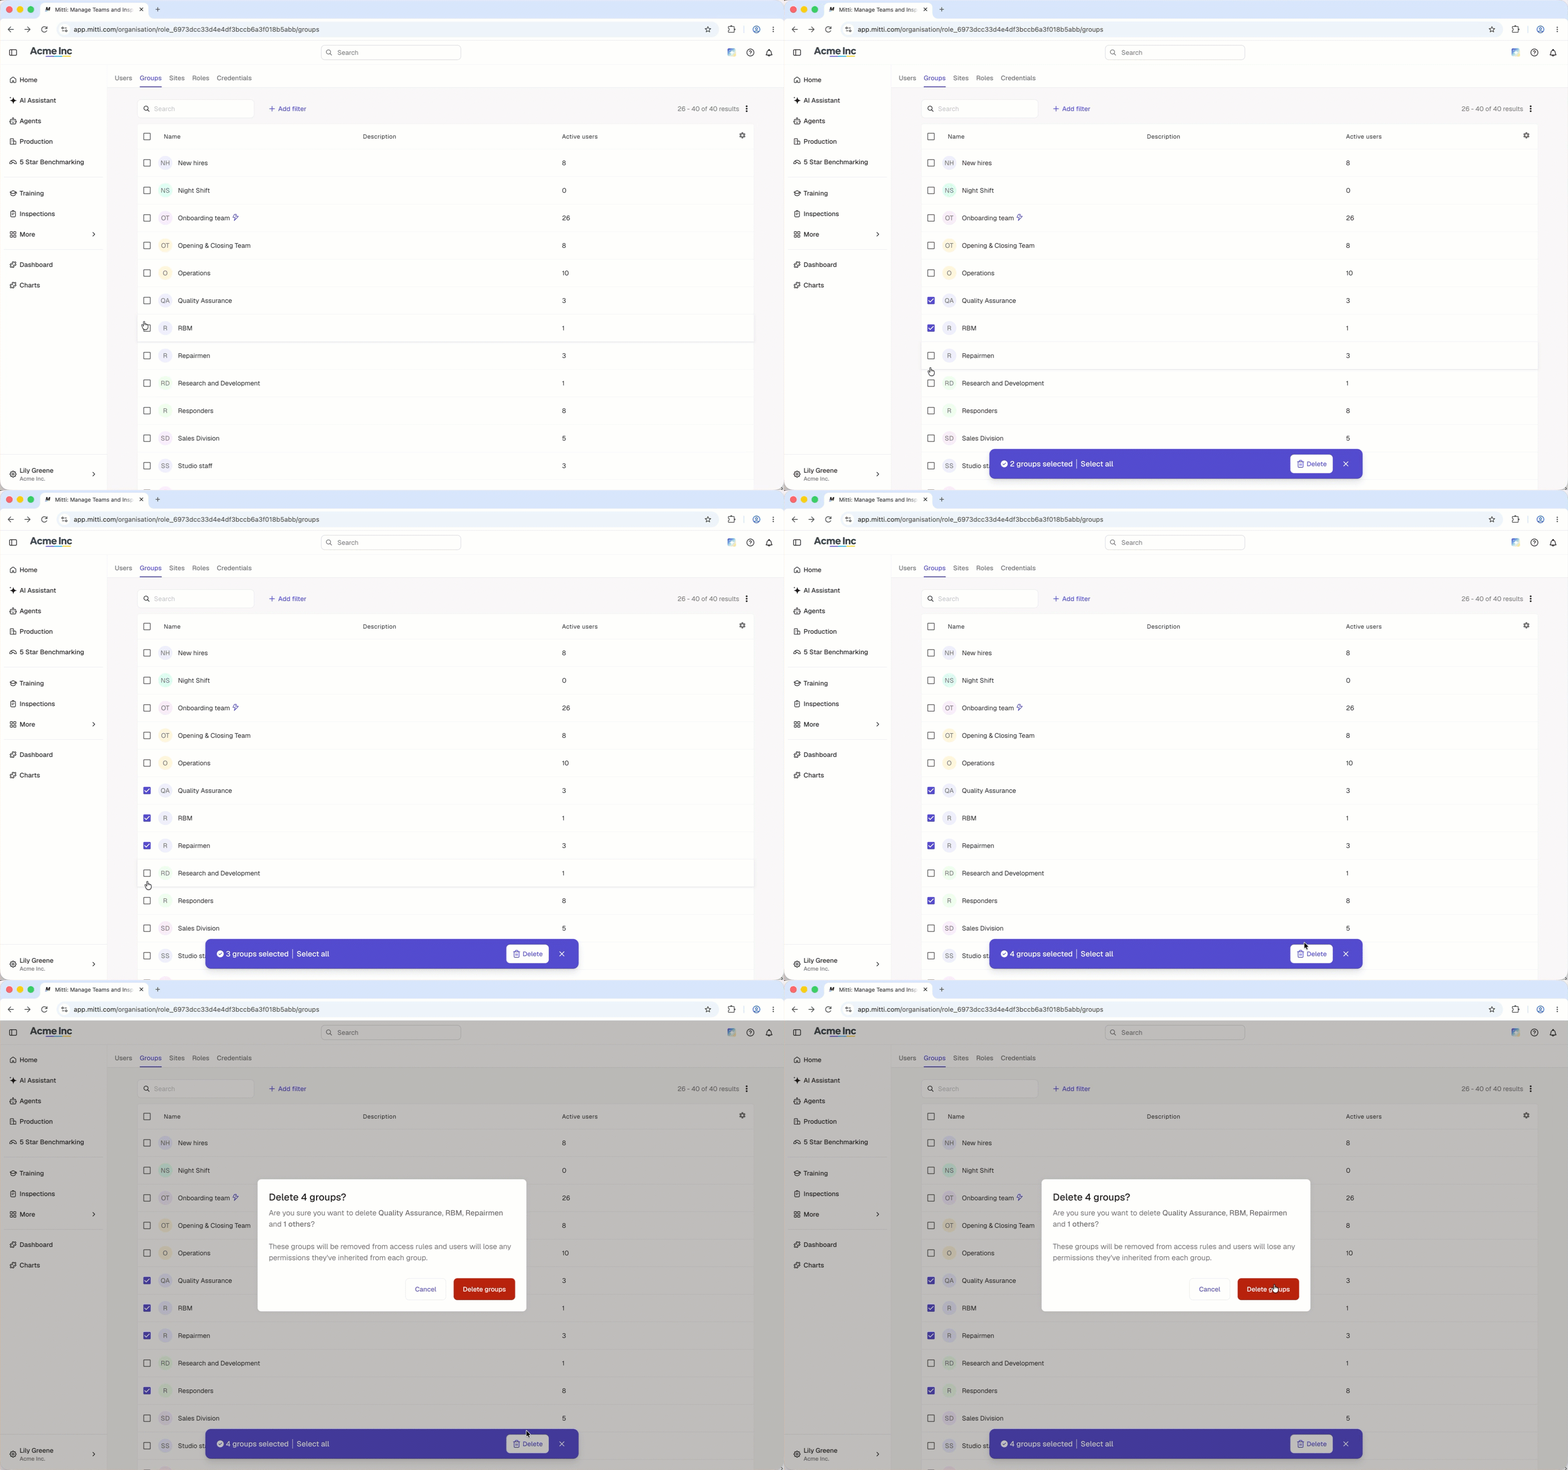
Check the box next to the group and select Delete at the bottom of the page.
In the pop-up window, click Delete groups.
Need more help?
Was this page helpful?