Last updated: November 4, 2026
What are Paths?
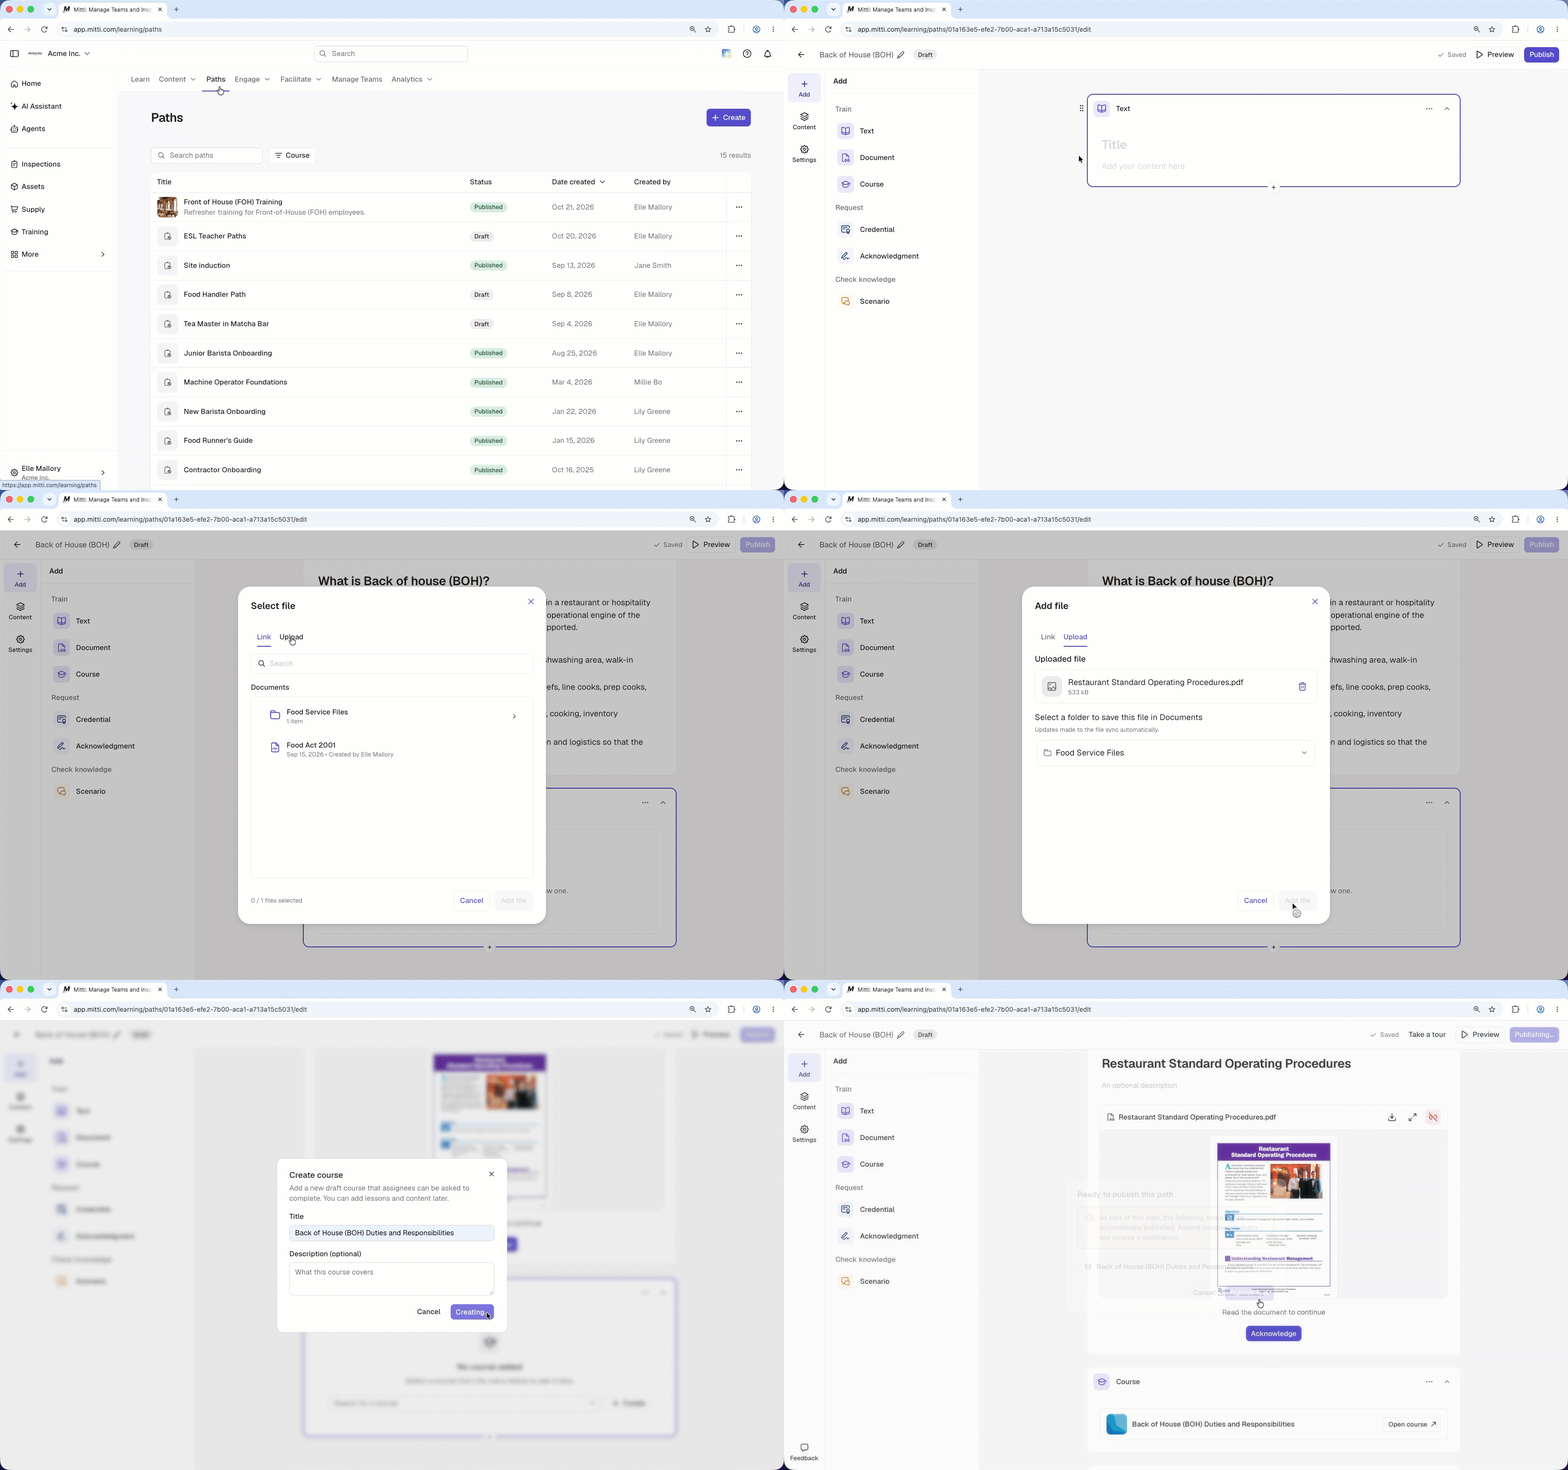
The new Paths experience in Mitti lets you bring different types of training and requirements together into one guided learning journey. The new experience builds on the familiar Onboarding workflows feature with a redesigned builder to create and manage training. Use the new Paths to onboard new hires, develop employees in their roles, or deliver recurring compliance training.
Each path is made up of blocks, with each block representing a step in the learning journey. You can combine different block types to suit your team's needs. For example, a new-hire path could start with a "Text" block to welcome employees, followed by a "Document" block outlining your organization's policy. An "Acknowledgment" block lets them confirm they've read and understood the path. You choose whether assignees complete the blocks in sequence or in any order, then track their progress.
What you'll need
Create a path
Click Training from the sidebar or in More.
Click Paths at the top of the page.
Click Create on the upper-right of the page.
Click on the upper-left of the page.
Click Add in the side panel, then select a content block from the following:
Train: Text, Document, Course
Request: Credential, Acknowledgement
Check knowledge: Scenario
Add content to the block.
Click Content in the side panel to view your path outline.
Hover over a block in the outline to edit it:
To reorder a block: Click on the left-hand side of the block, then drag it to the desired position.
To remove a block: Click on the right-hand side of the block, then select Remove block.
Click Preview on the upper-right of the page, then use the toggle to preview your path in the desktop or mobile view.
Click Publish on the upper-right of the page.
A path can't be published until every block has content.
Scenario blocks need AI Assistant to be turned on for your organization.
Edit a path
Click Training from the sidebar or in More.
Click Paths at the top of the page.
Select the path you want to edit.
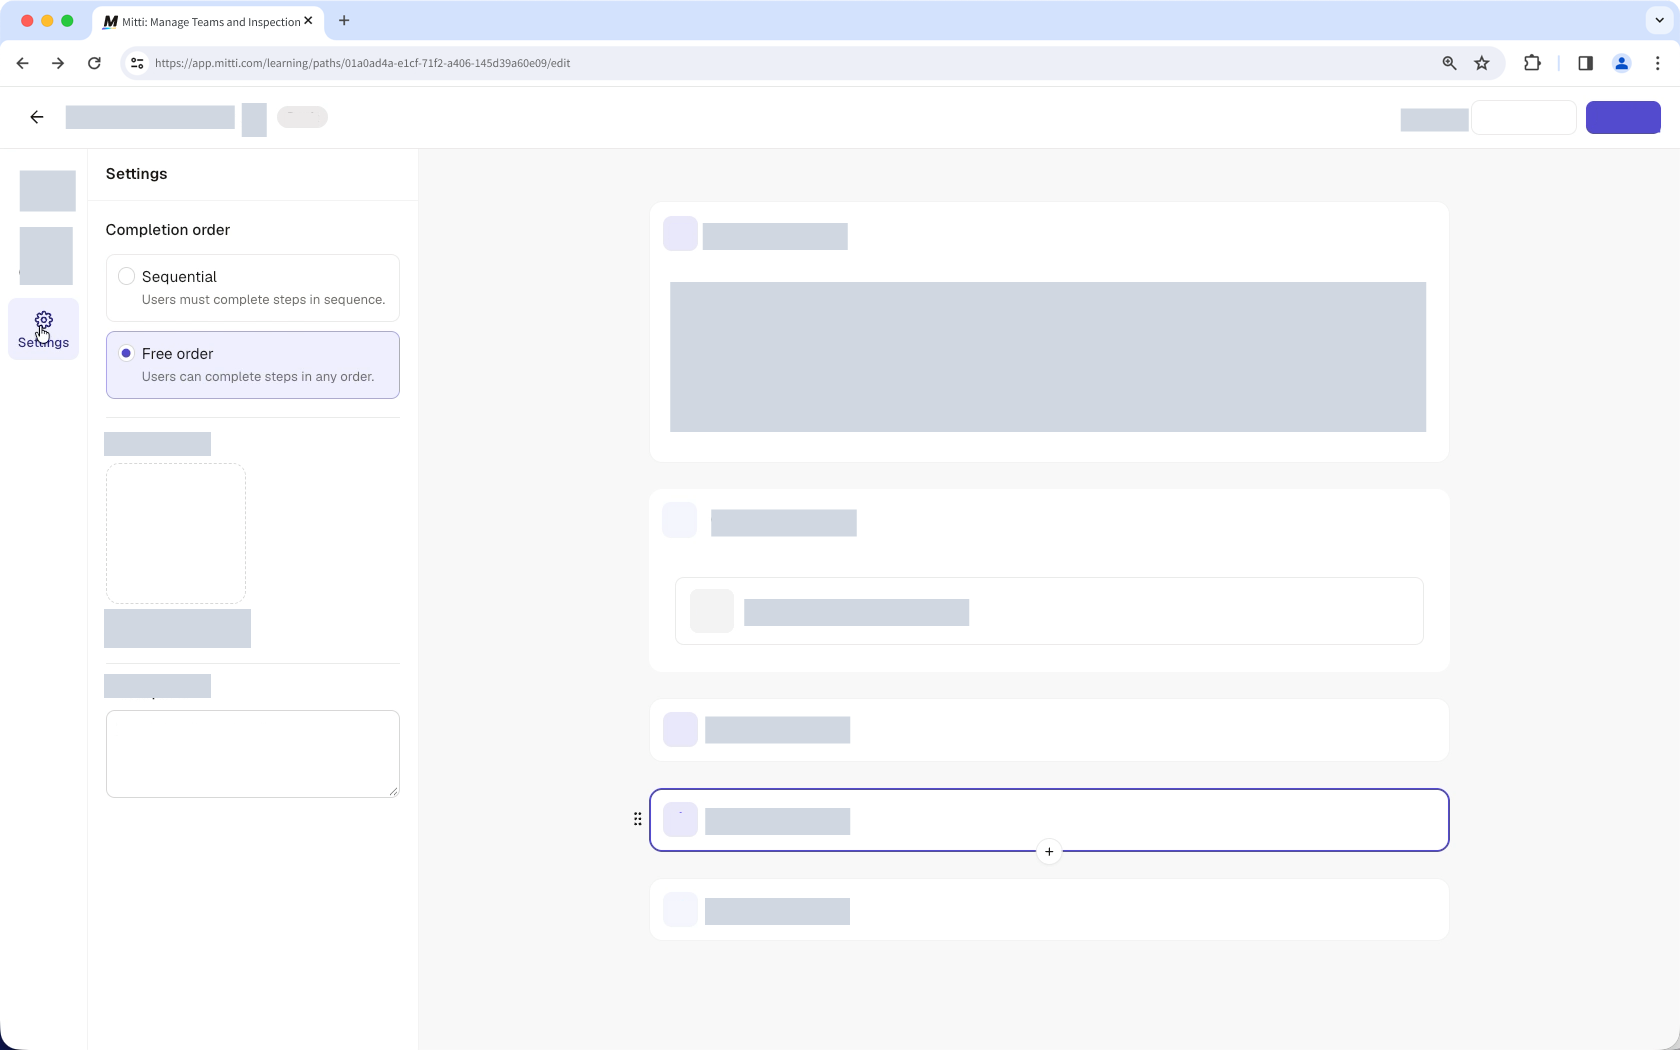
Click Edit on the upper-right of the page.
Update the details you want to change, then click Republish.
Set path completion order
Click Training from the sidebar or in More.
Click Paths at the top of the page.
Click Create on the upper-right of the page.
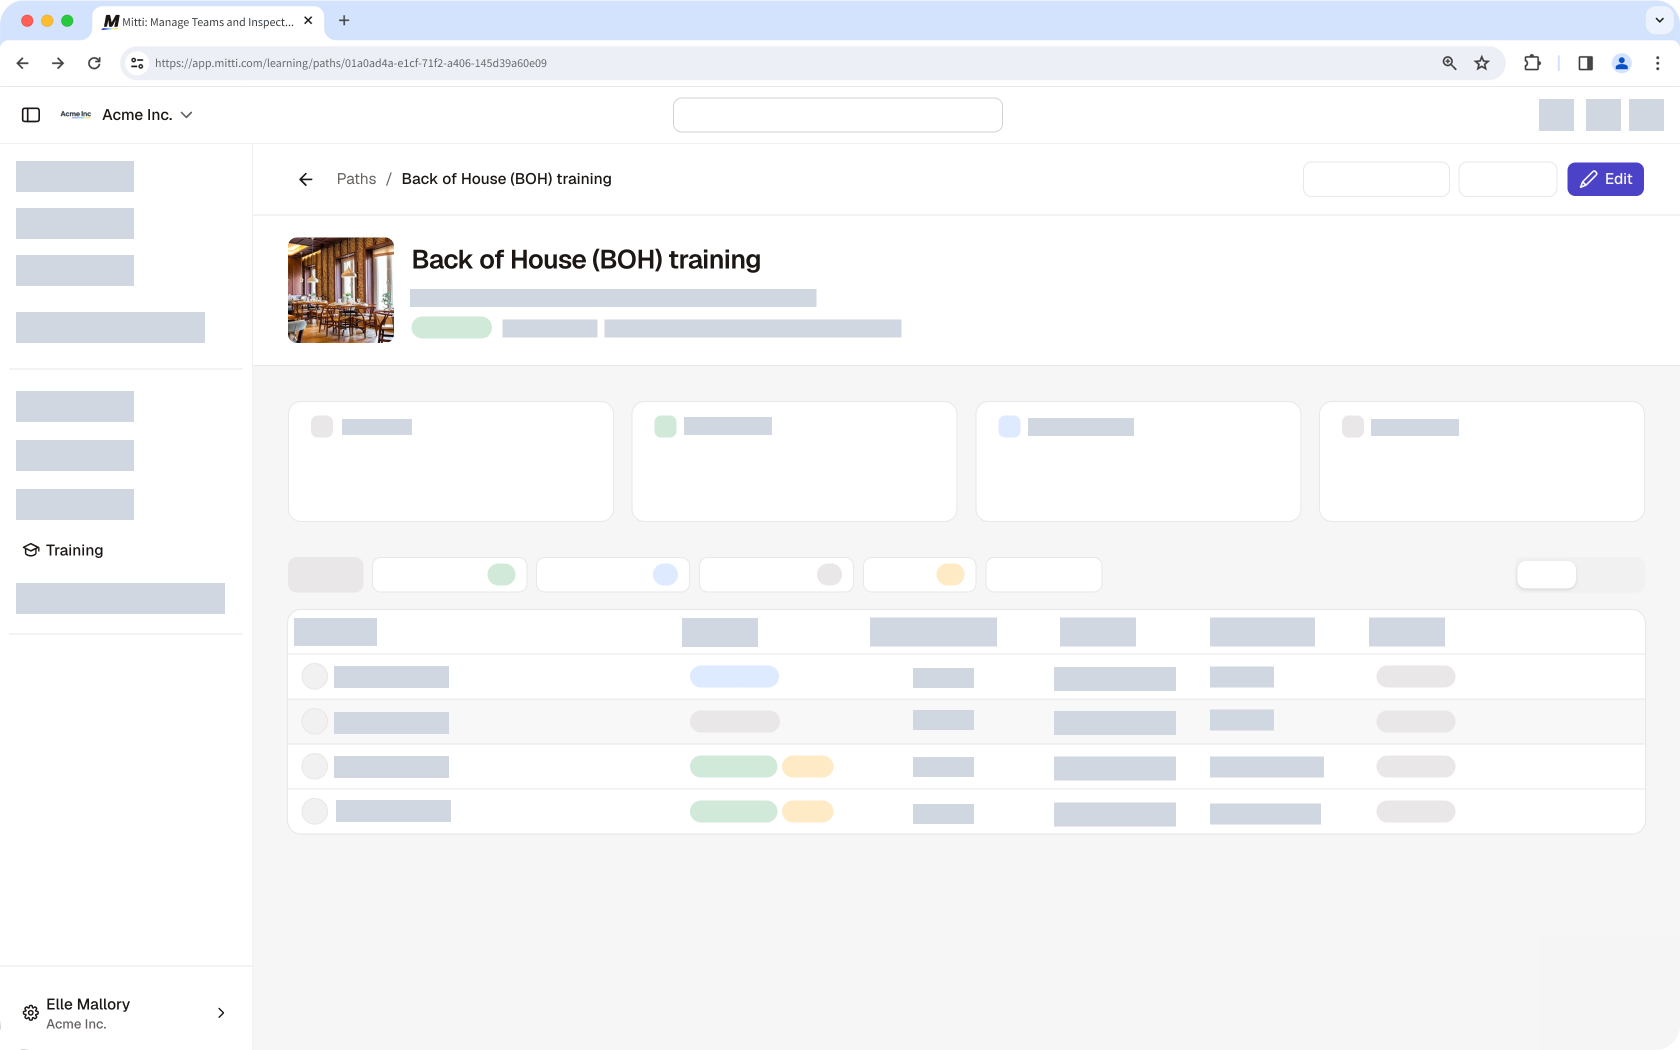
Click Settings in the sidebar.
In the “Completion order” section, select an option:
Sequential: Assignees must complete steps in order.
Free order: Assignees can complete steps in any order.
Click Publish.
Customize a path
Click Training from the sidebar or in More.
Click Paths at the top of the page.
Click Create on the upper-right of the page.
Click Settings in the side panel.
In the “Cover image” section, drag an image into the upload area, or click Browse and select an image from your device.
In the “Description” section, enter a description for the path.
Click Publish.
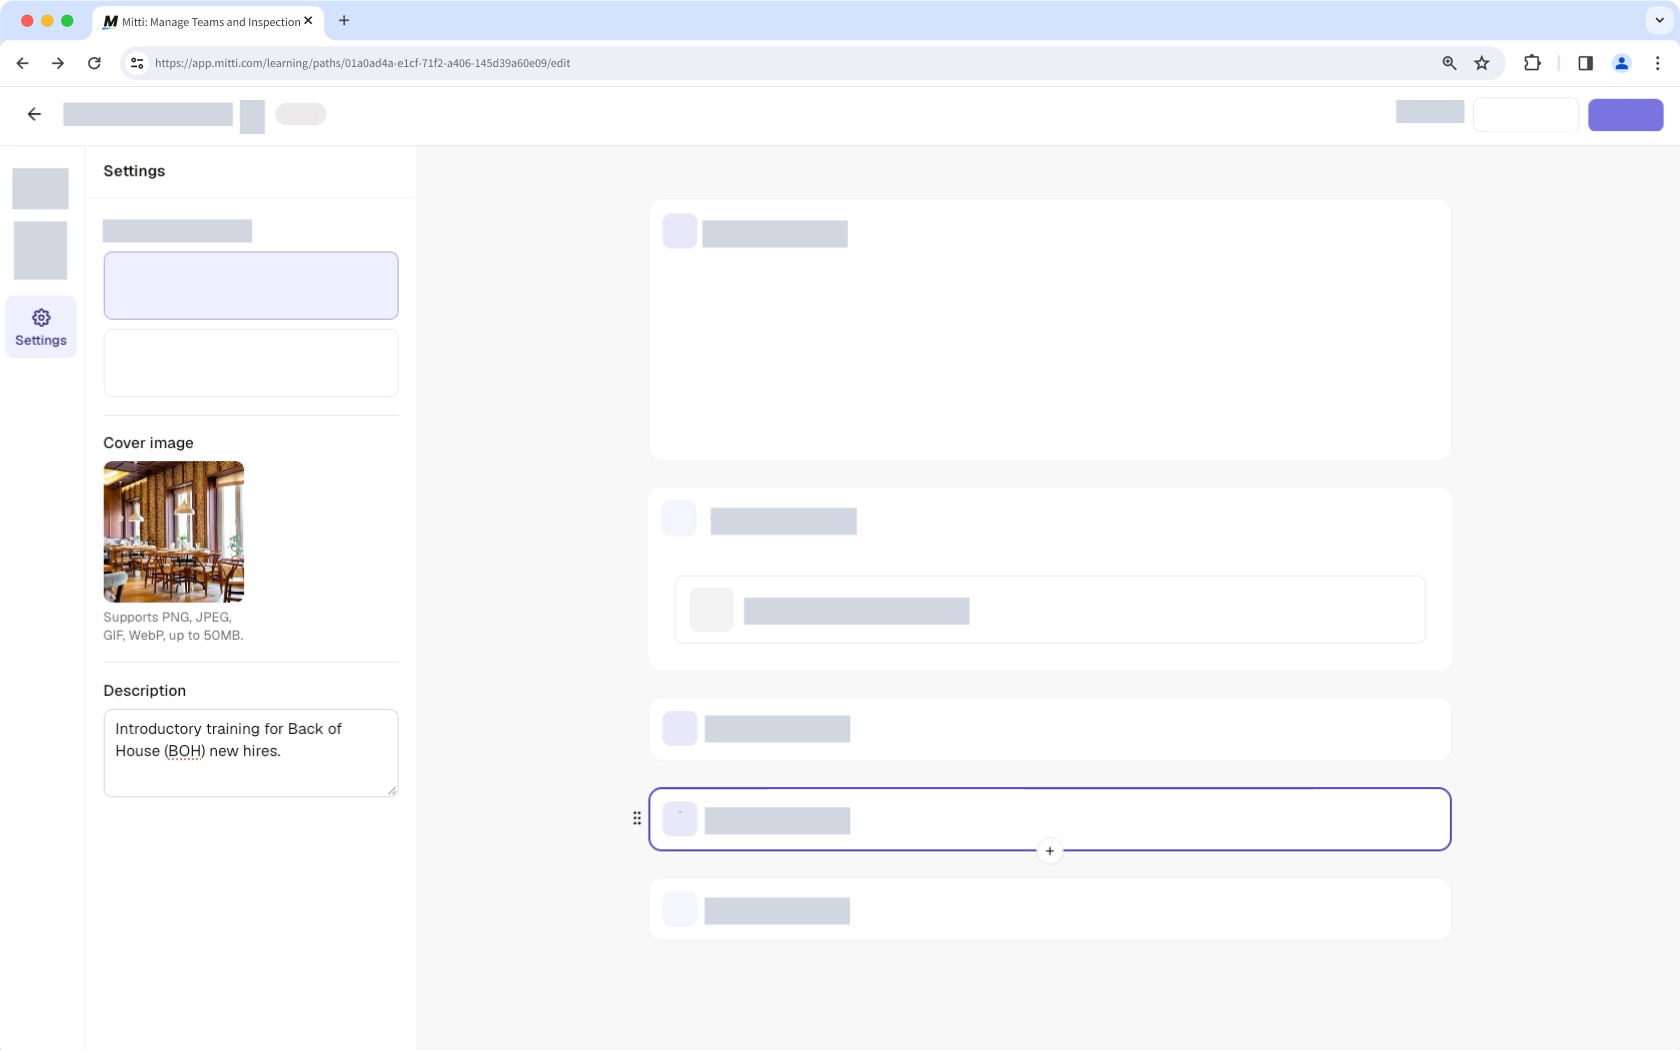
You can upload PNG, JPEG, GIF, and WebP files up to 50 MB.
View path progress
Click Training from the sidebar or in More.
Click Paths at the top of the page.
Select the path you want to view.
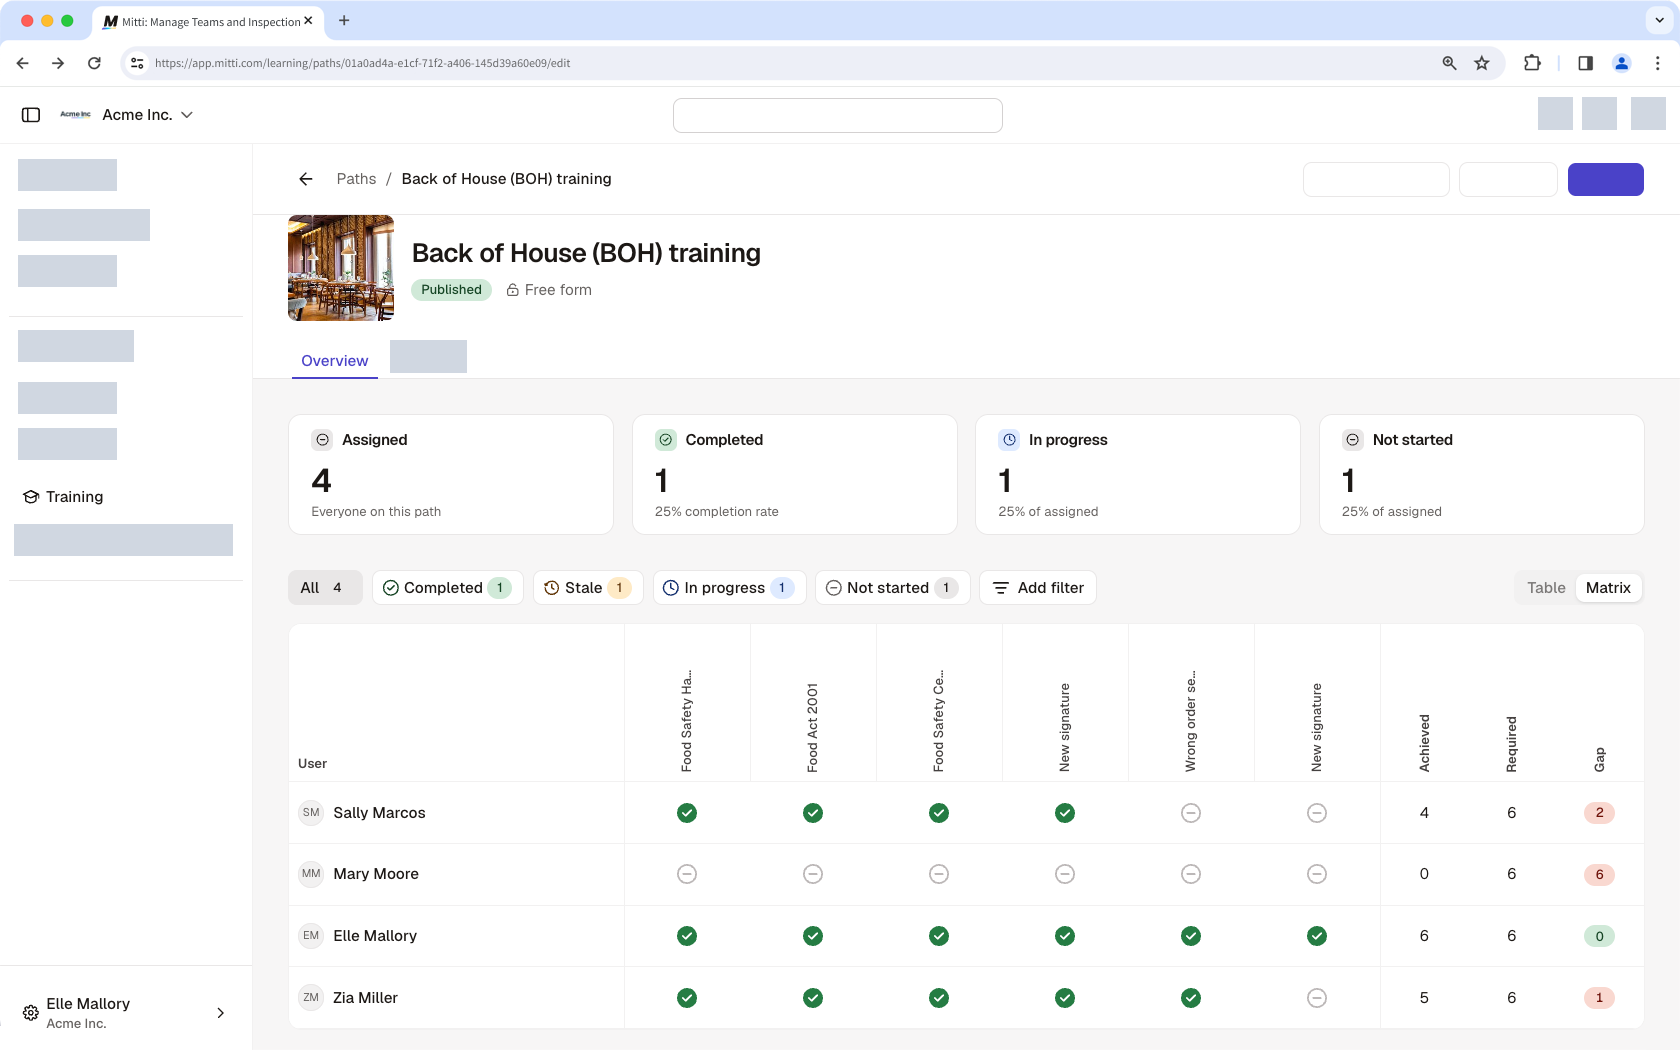
Select Table or on the right-hand side of the page to switch views.
Delete a path
Click Training from the sidebar or in More.
Click Paths at the top of the page.
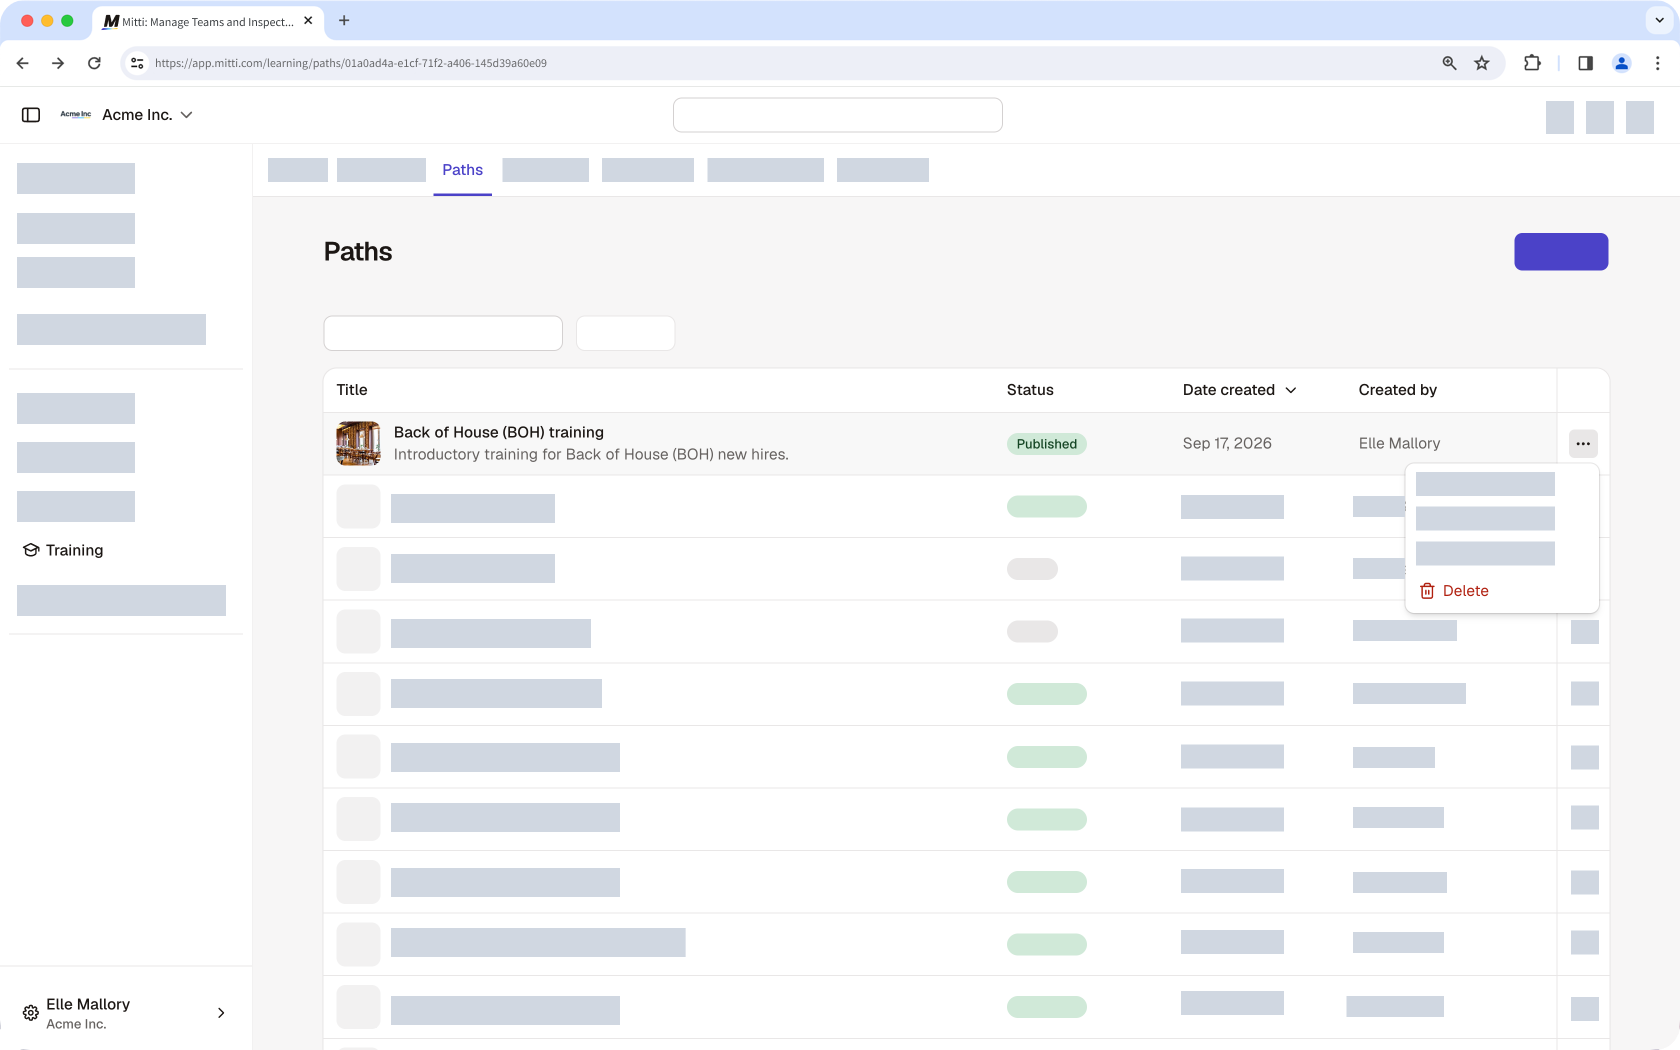
Click next to the path and select Delete.
Deleting a path only deletes the path itself. Any courses, credentials, scenarios, documents, or other content included in the path remain available.
Frequently asked questions
Need more help?
Was this page helpful?