Last updated: June 29, 2026
What are HR integrations?
HR integrations allows you to import and maintain your Mitti users automatically from your HR system. Your HR system holds employee records and employment status, and Mitti mirrors that data to keep your user list up to date. New starters appear as Mitti users on the next sync, employee details stay aligned, and people who leave the organization are deactivated automatically. It is designed for organizations that manage hundreds or thousands of workers, where manual onboarding and offboarding do not scale, and where the HR system is already the trusted record of who works at the company.
When you install a connector from the Integrations Marketplace (opens in new tab), you authenticate with your HR system once. Mitti then runs a daily sync at the time you choose, picks up changes in your HR system, and applies them to your Mitti user list.
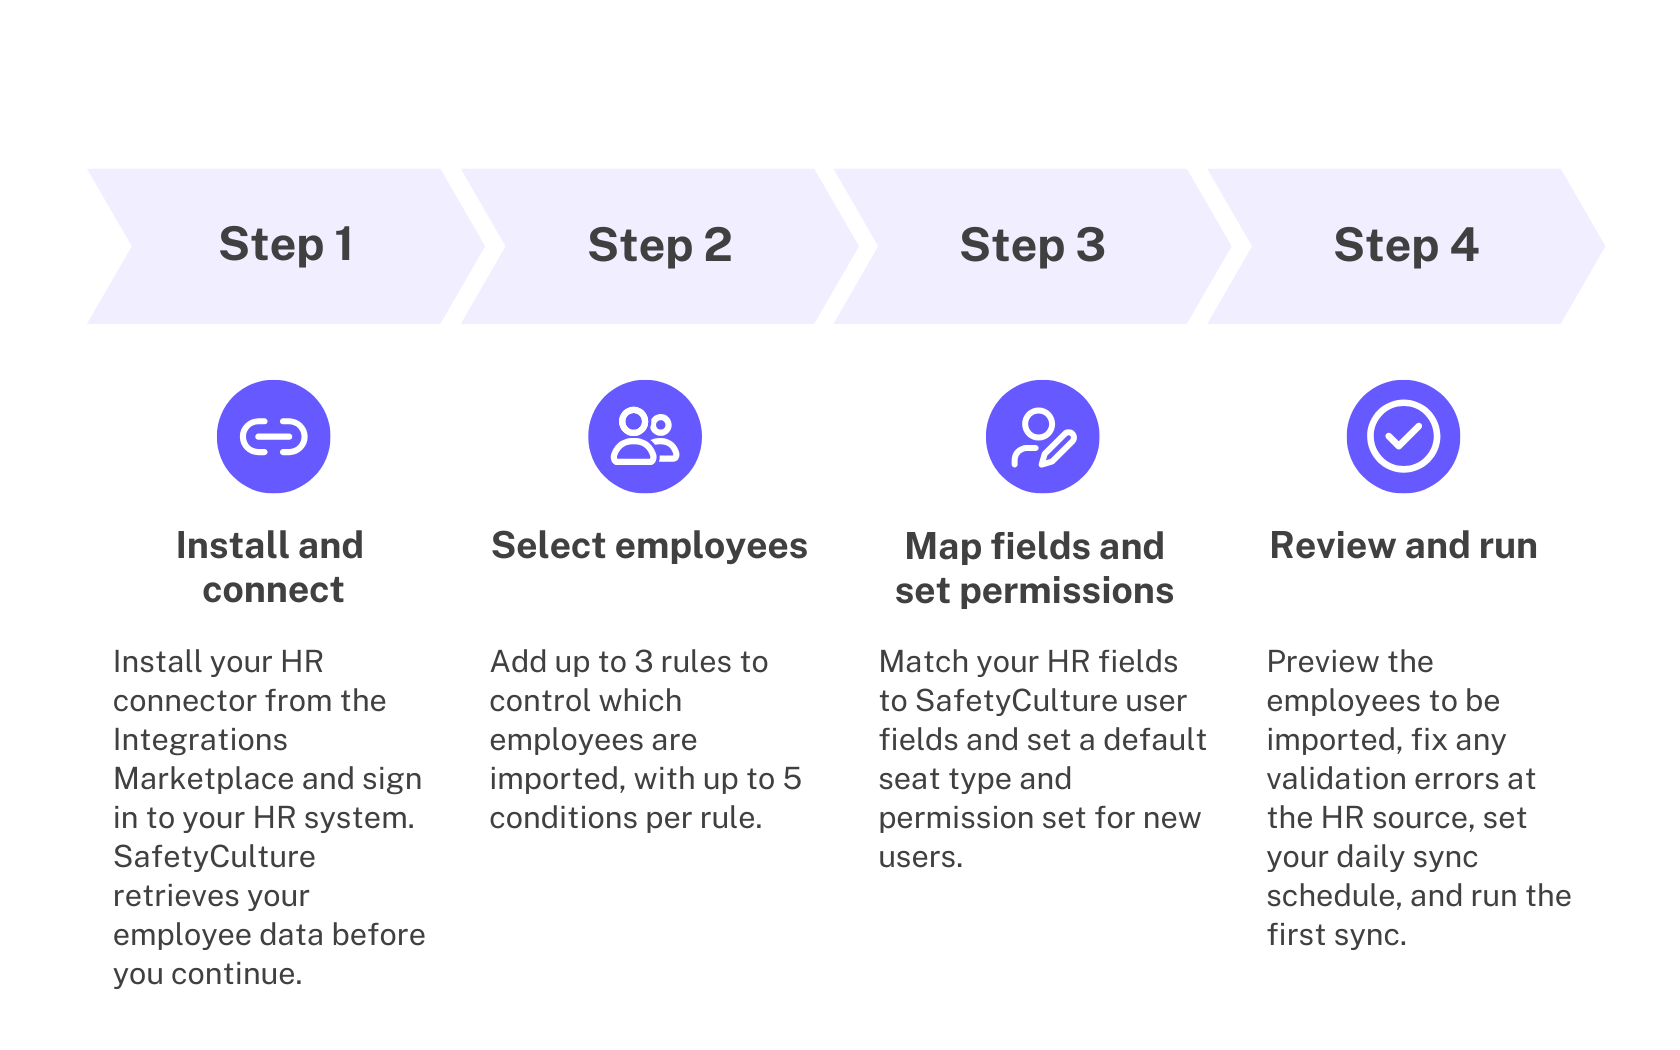
What you'll need
The setup flow is the same for every HR system; however, the authentication steps may vary. Merge is our integration partner who hosts the authentication window. See Merge's HR connector guides to learn more about signing in to your HR system.
HR system | Authentication guide |
|---|---|
Link using OAuth (opens in new tab) or an API key (opens in new tab) | |
Link using OAuth (opens in new tab) or a service user (opens in new tab) | |
Link your account (opens in new tab) or using a service user (opens in new tab) | |
Link using OAuth (opens in new tab) or SFTP (opens in new tab) |
The list of supported HR integrations grows as new connectors become generally available. If your preferred HR system is not on this list, contact your customer success manager and they can advise on alternative ways to manage users at scale, such as through CSV or SCIM provisioning.
Set up HR integrations
Click your organization name on the lower-left corner of the page and select Integrations.
Search for your HR system and select the integration.
Click Install at the center of the page, then click Install in the pop-up window.
On the configuration page, click Connect on the upper-right of the page, then click Setup integration link.
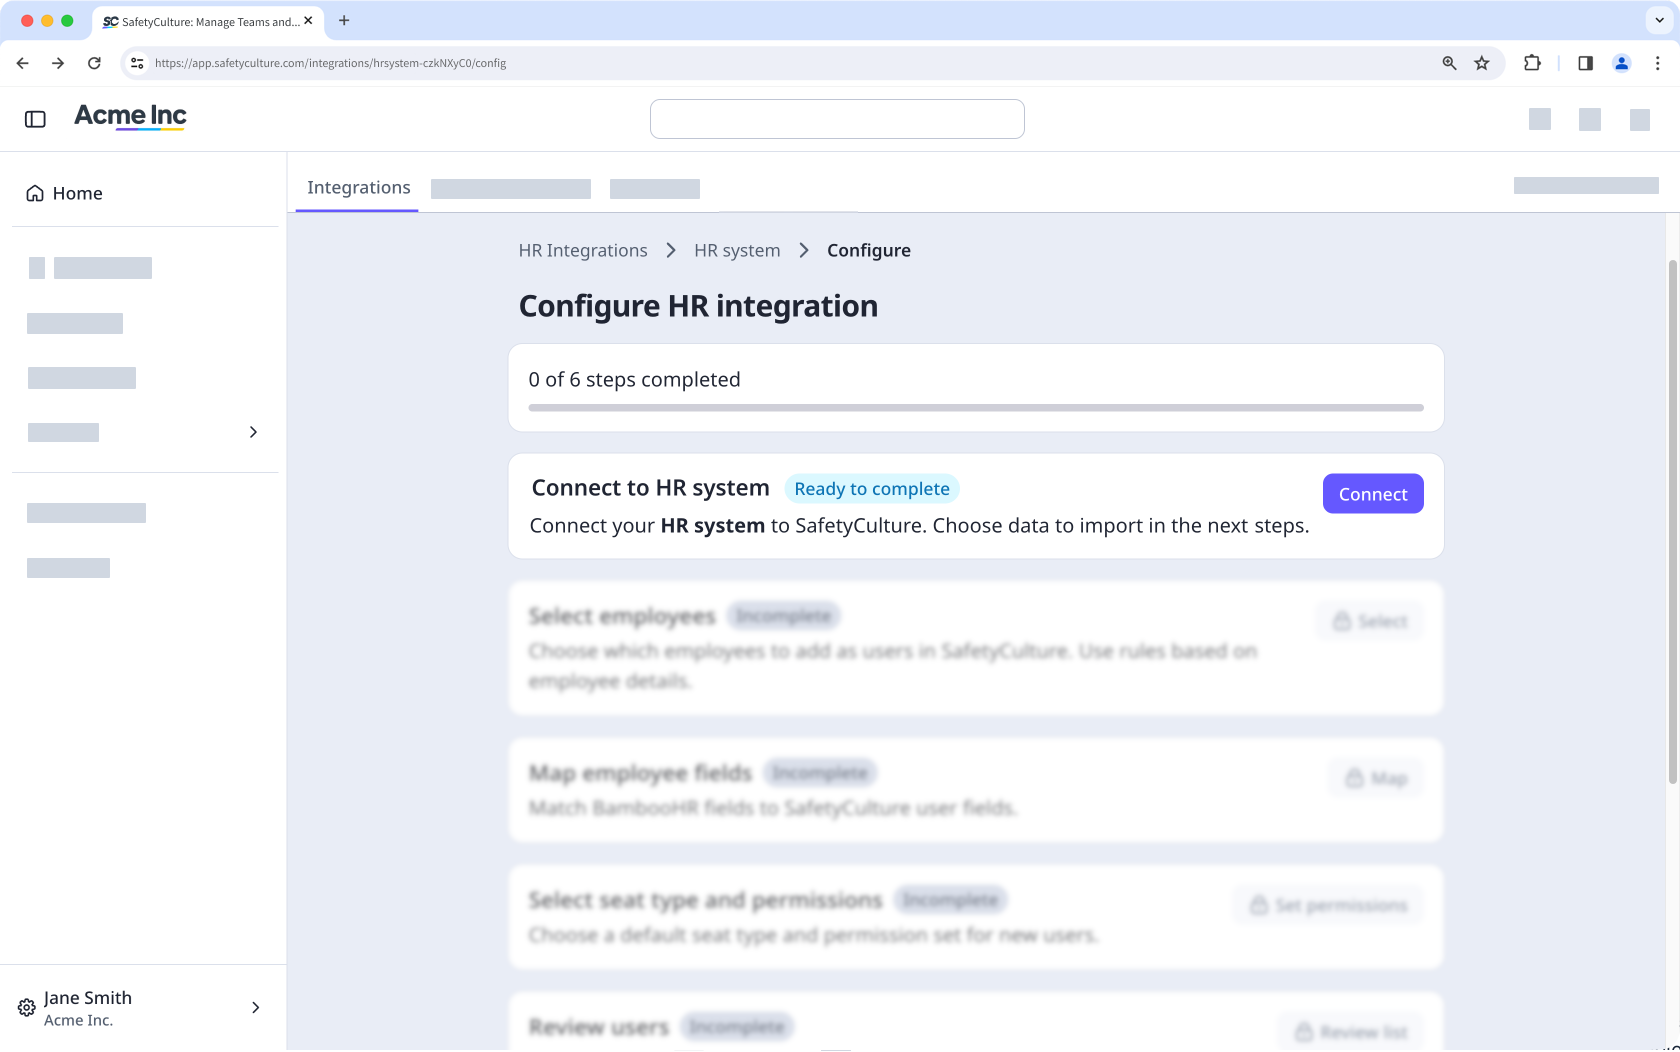
In the authentication window, sign in to your HR system and approve access for Mitti. If you close the window before completing it, no partial connection is saved, and you can start again.
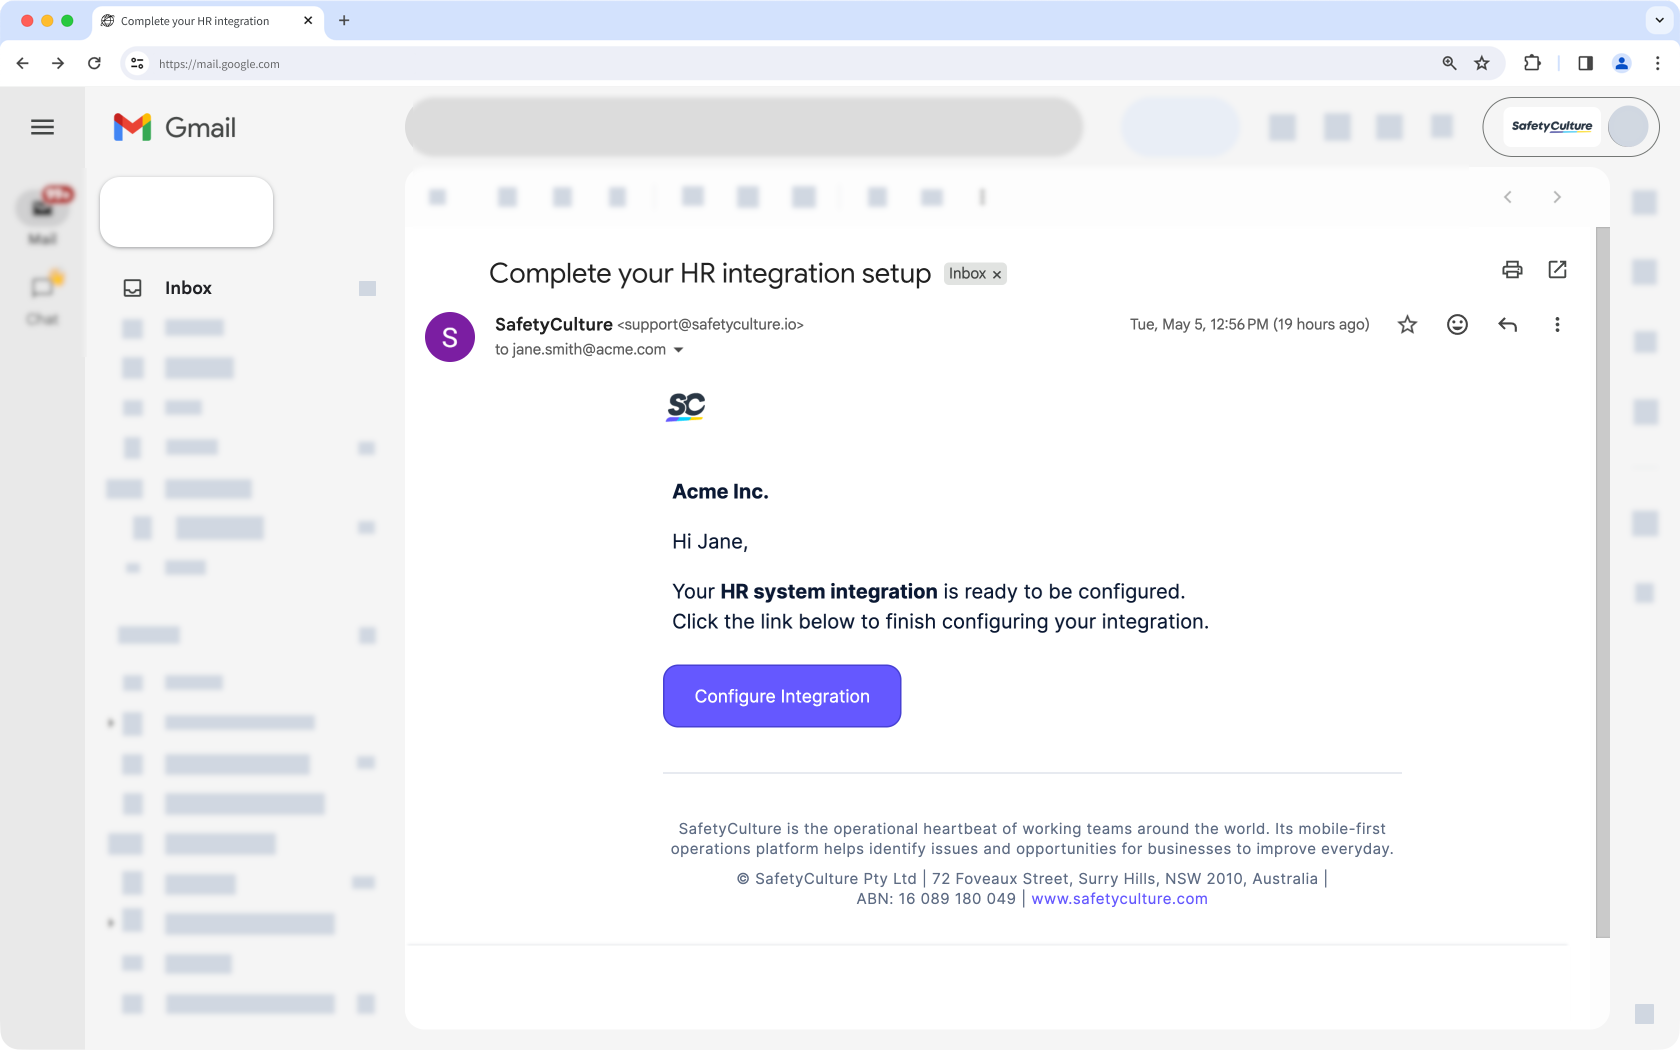
Mitti retrieves your employee data from your HR system, which can take some time depending on the size of your data. You'll receive an email when retrieval is complete, and you can return to this page to continue with the remaining steps.
In the "Select employees" section, click Select.
Click Add rule to create a rule that filters the employees you'll import.
Each rule needs at least one condition, which has three parts:
Field: This is the employee attribute to filter by, such as employee type, department, or work location.
Operator: This determines how the field is evaluated. Options are "is", "is not", "contains", or "does not contain".
Value: This specifies the data to match, such as "Full time", "finance", or "Salt Lake City".
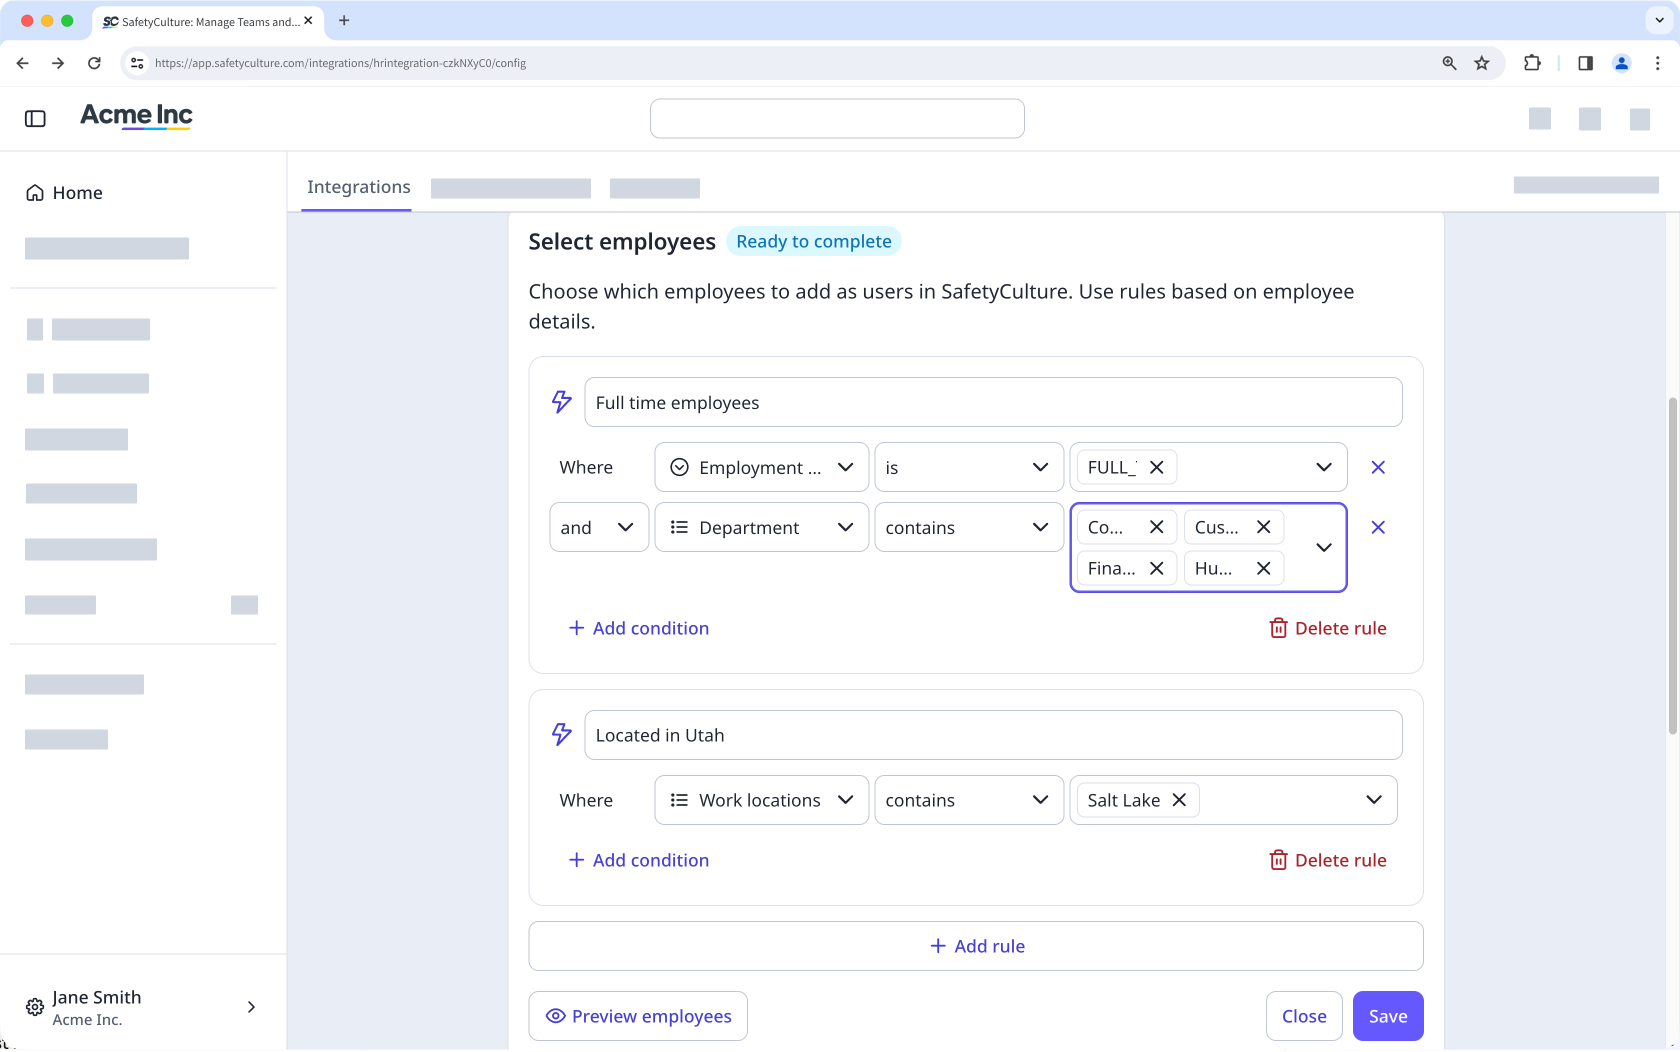
To narrow the rule further, click Add condition. Select whether the condition should use "and" or "or" to connect it to the previous one. Once you choose "and" or "or" for a condition in a rule, all conditions in that rule use the same logic. You can add up to 5 conditions per rule.
Click Preview employees on the lower-left of the page to view the filtered list of users that will be imported.
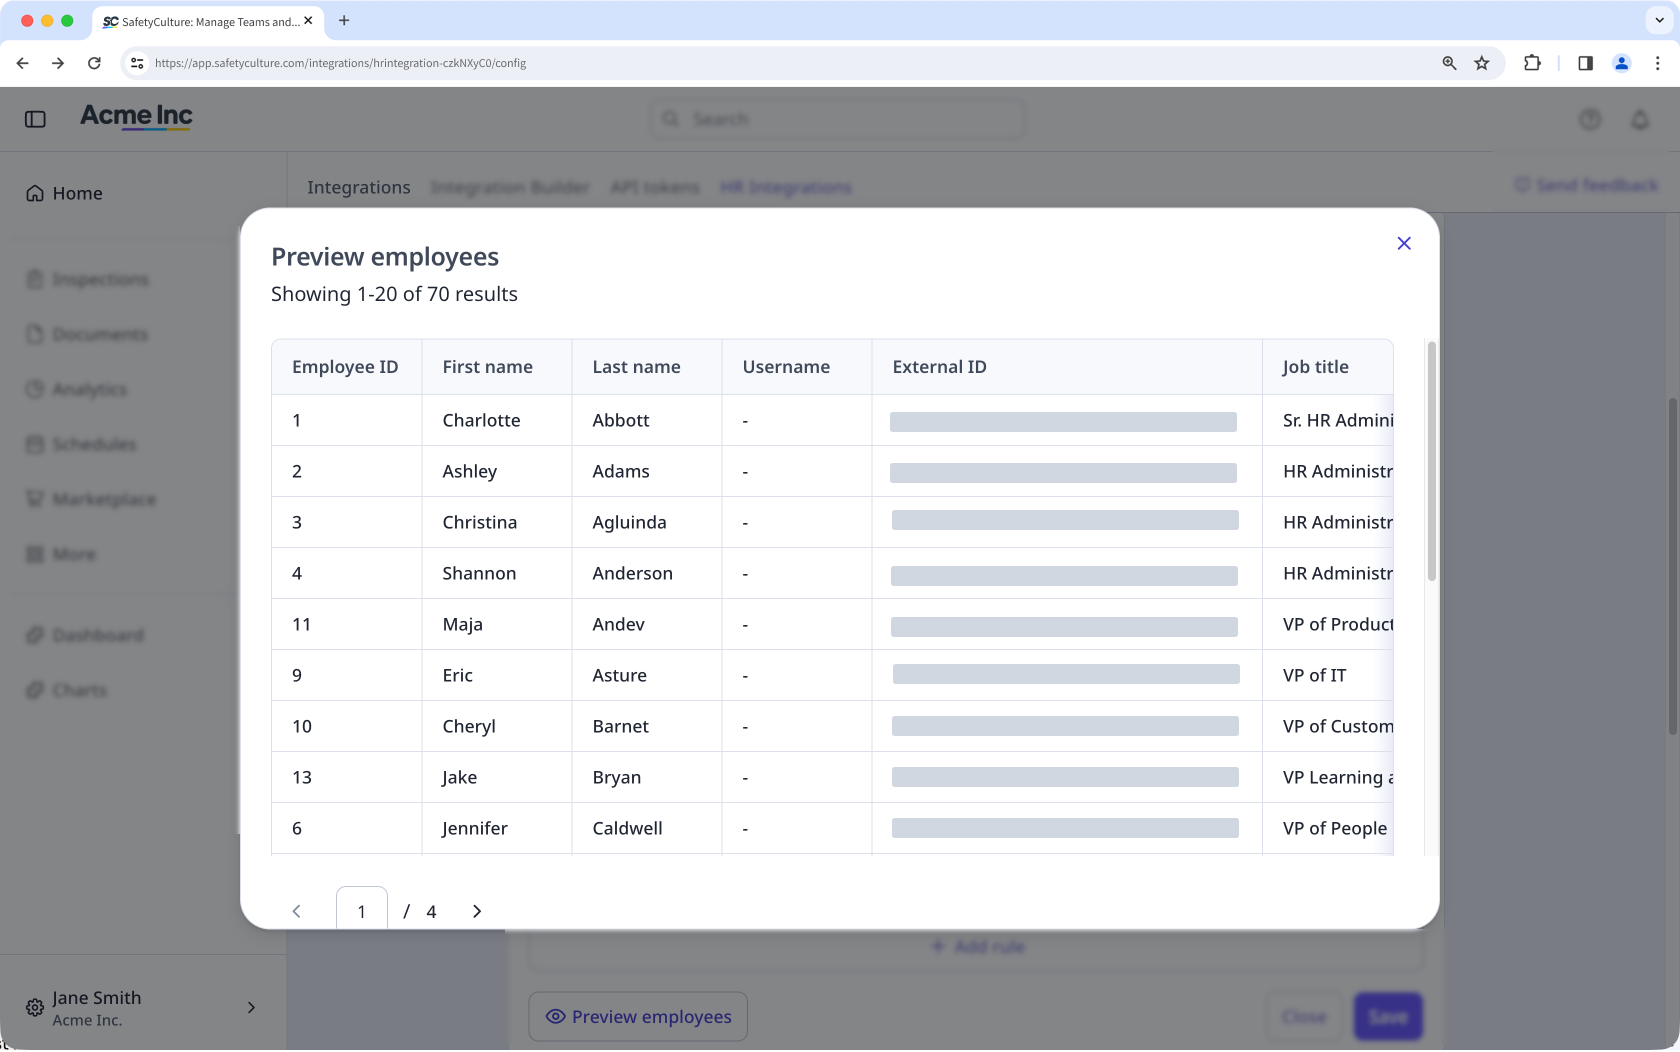
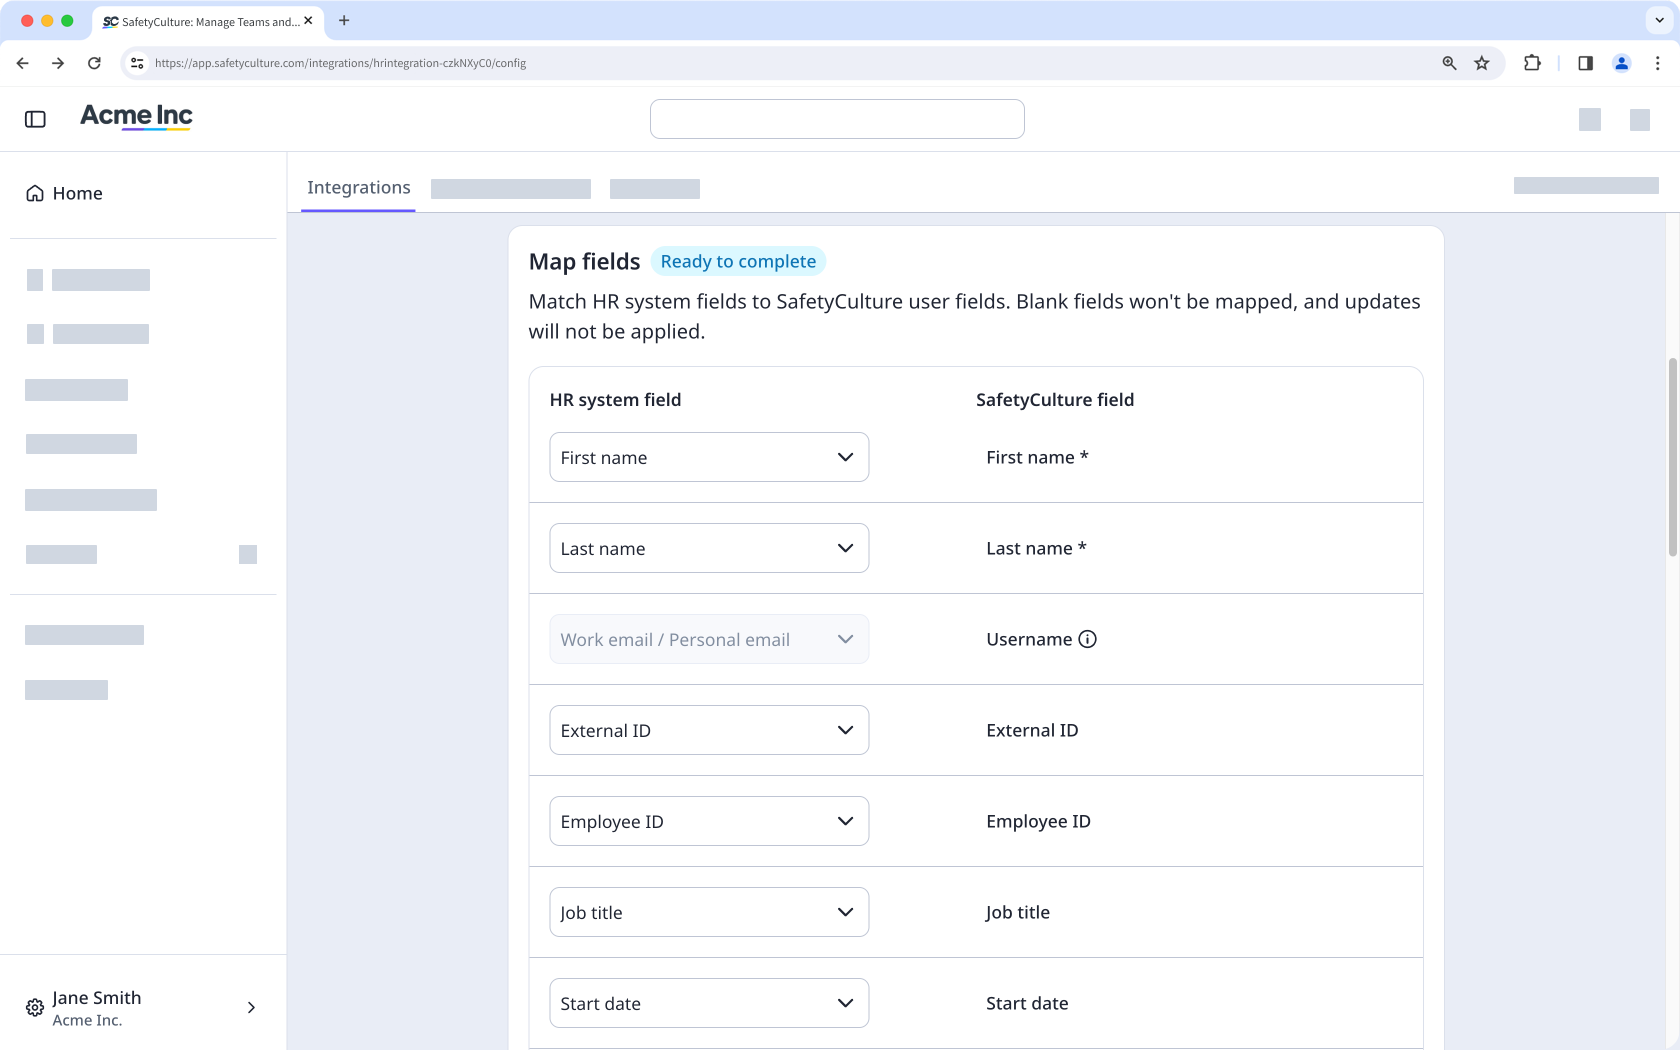
In the "Map employee fields" section, click Map.
Match each Mitti field to the corresponding HR field, and then click Save when you're done. The integration uses these mappings on every sync to keep user data current.
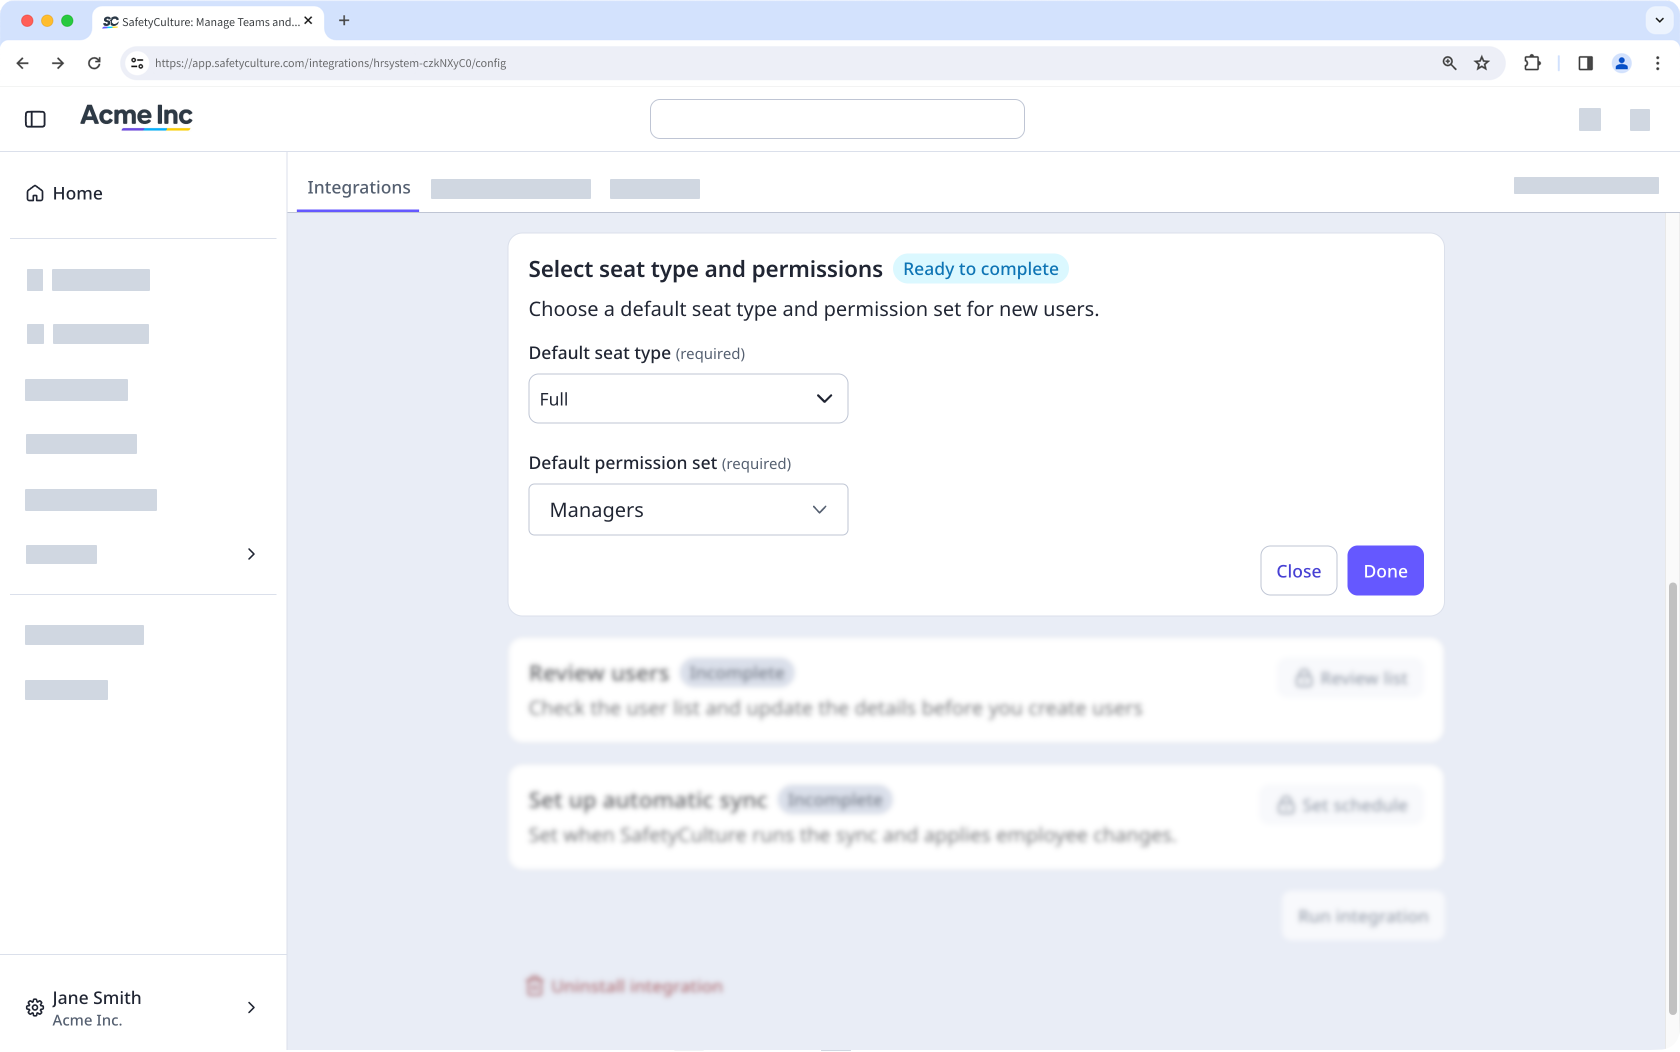
In the "Select seat type and permissions" section, click Set permissions.
Select a default seat type and permission set, then click Done. These settings apply to every newly imported user. After a user is created in Mitti, you can change their permission set without it being overwritten on the next sync.
In the "Review users" section, click Review list to preview the employees you're importing and any validation errors found in the data.
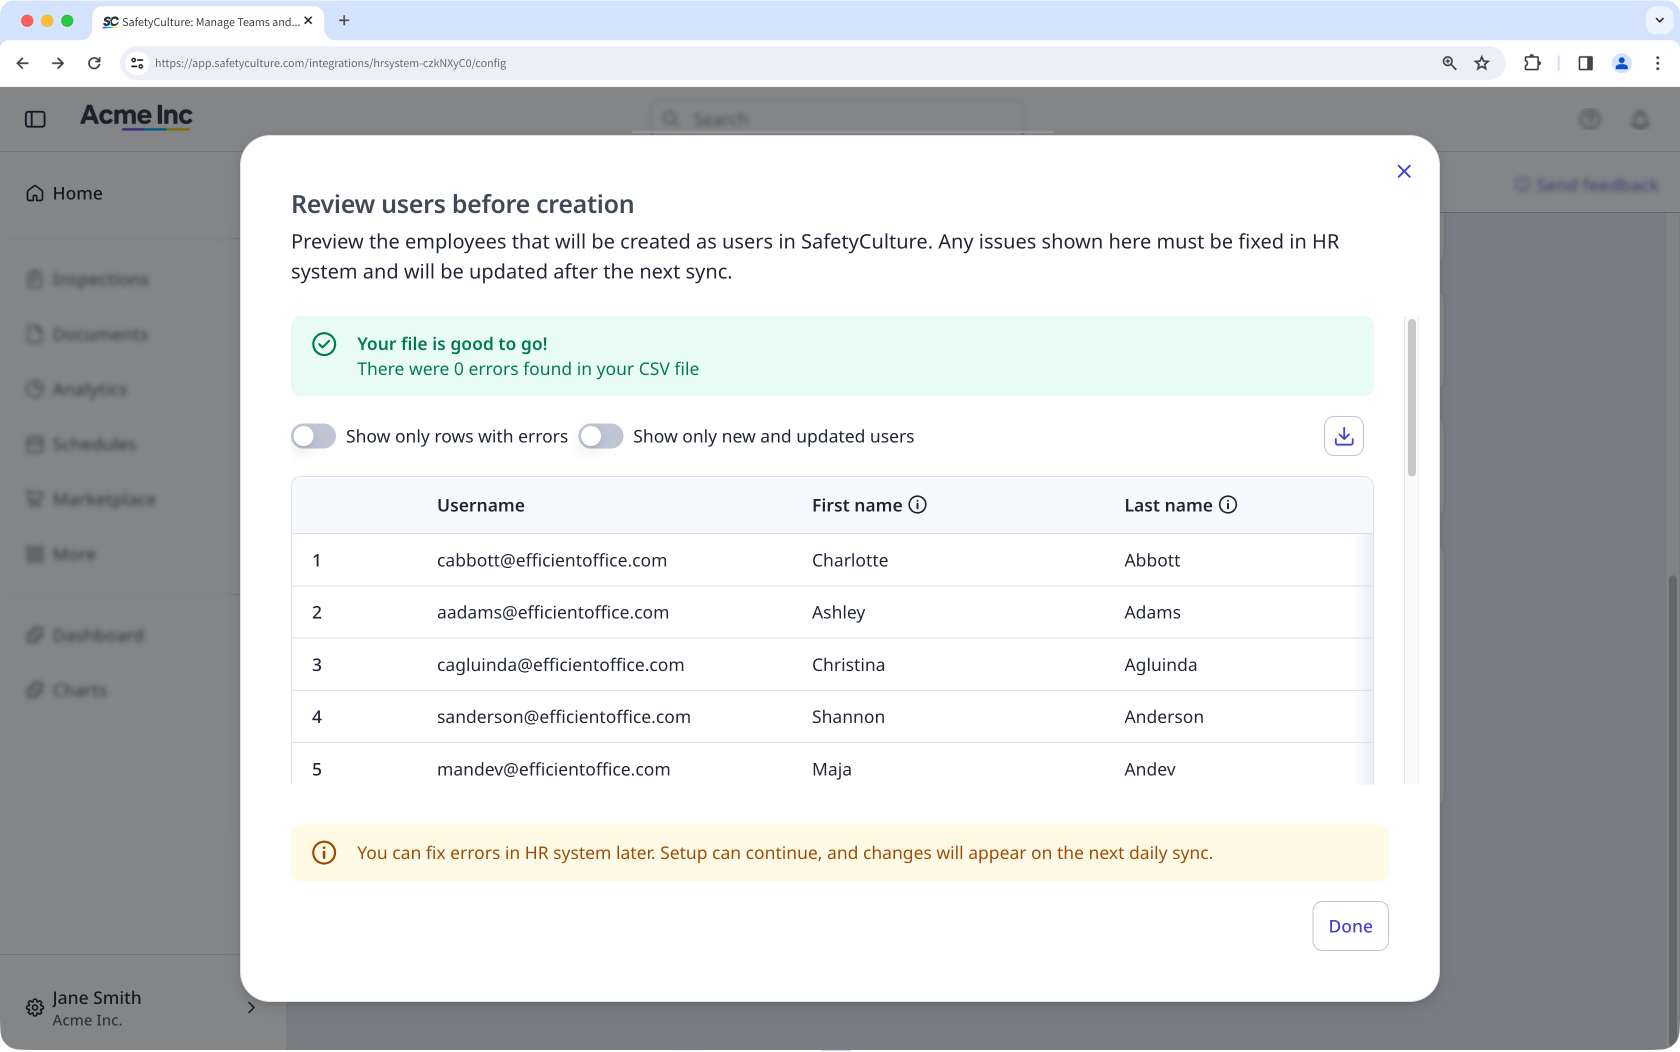
Fix any issues at the source in your HR system right away, or at a later time. Employee information will be updated on the next sync.
In the "Set up automatic sync" section, click Set schedule.
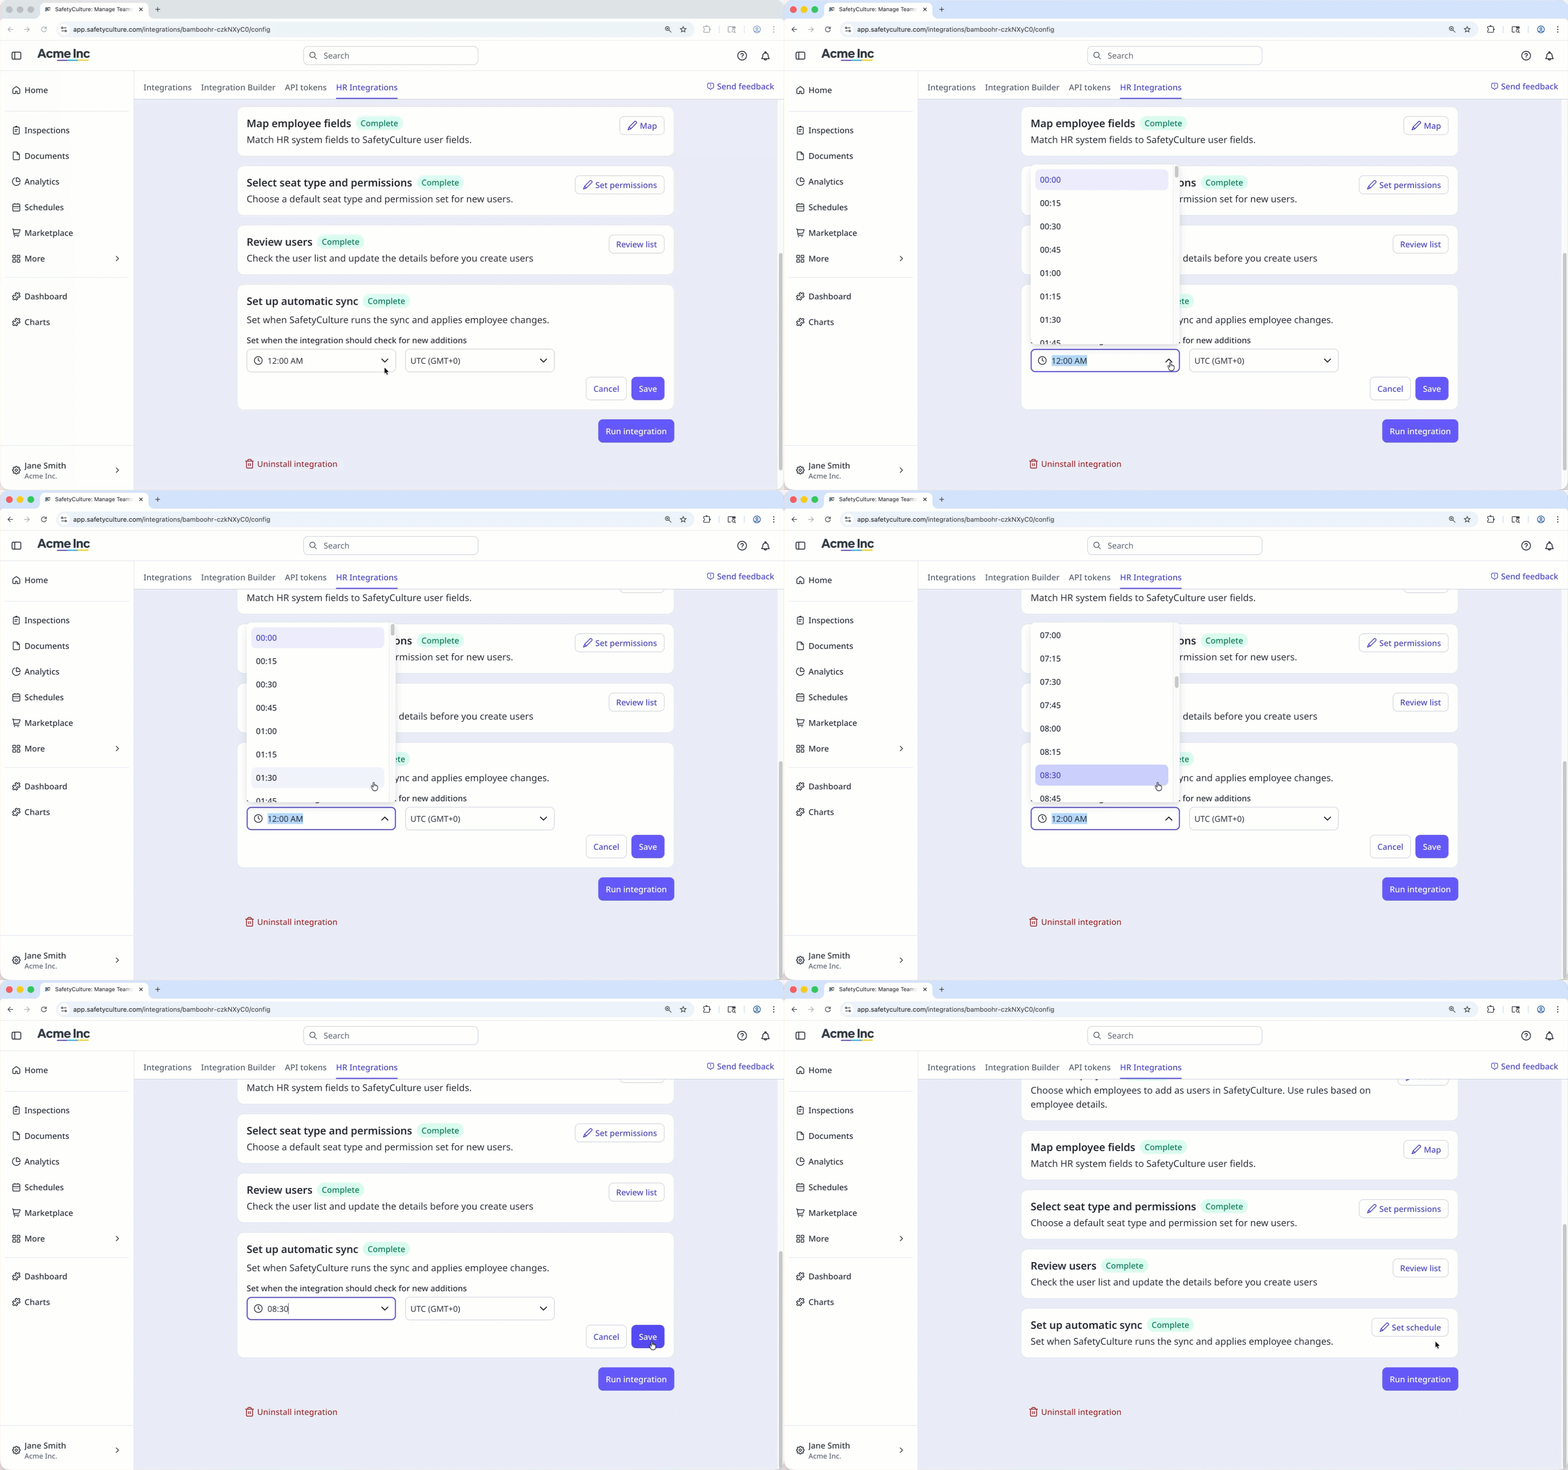
Select the daily run time for the integration, then click Save.
Click Run integration.
In the pop-up window, review the summary, and turn "Send invite email to new users" on if you prefer to send an email notification to new users.
Click Run integration to start the first sync.
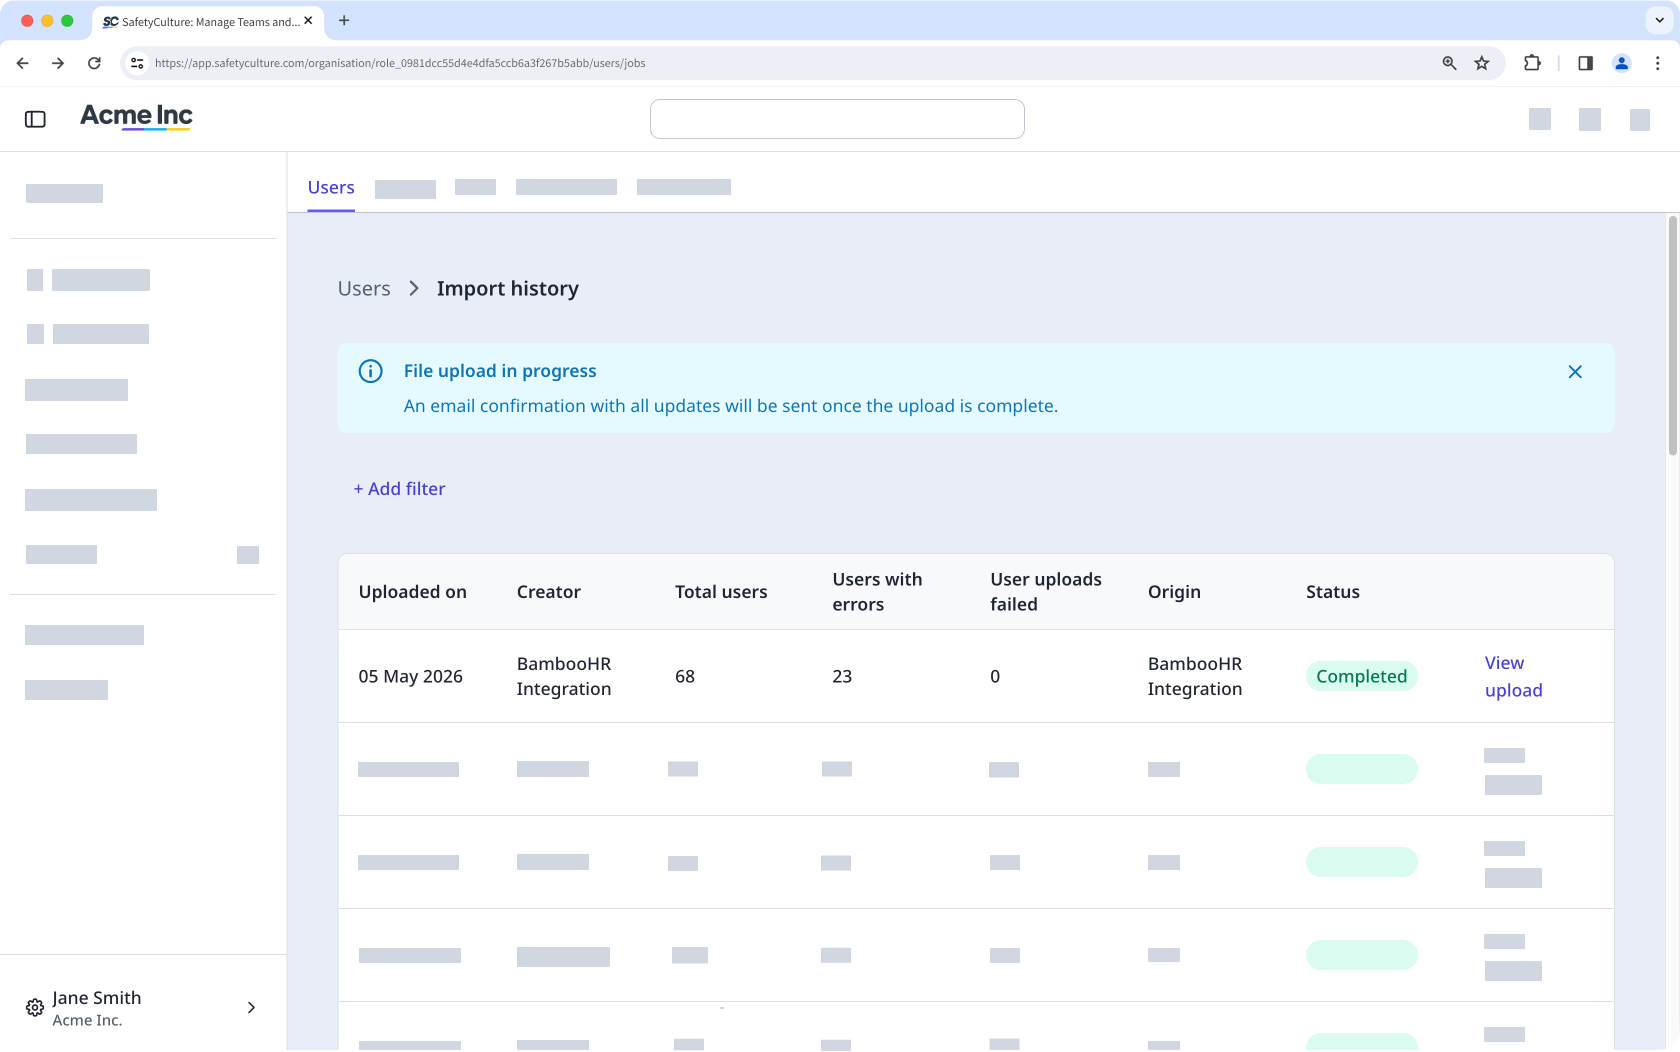
Mitti creates and updates users in the background. If you want to track the job, click View user import history on the lower-left of the page.
How syncs and billing work
Each sync updates mapped fields in Mitti to match your HR system, overwriting any edits made in Mitti. Correct data at the HR source, and the change reflects on the next sync.
If your organization has no available seats when a user is added, Mitti purchases one for you when automatic seat purchases is turned on. Your billing administrator will receive an email notification, and your next invoice will include a prorated charge.
Limitations
You can run only one HR connector in your organization at a time. If you're using SCIM provisioning (opens in new tab) to manage your users, you cannot use an HR integration.
Group and site creation from your HR system is not supported. Manage your team's memberships through group and site assignment rules.
Every user imported through an HR integration needs an email address unless your organization has the username login feature enabled.
Custom HR fields are not imported. Only standard HR fields can be mapped to Mitti user fields.
Frequently asked questions
Need more help?
Was this page helpful?