Zuletzt aktualisiert: 4. November 2026
Was sind Pfade?
Mit der neuen „Paths“-Funktion in Mitti können Sie verschiedene Schulungsarten und Anforderungen in einem einzigen, strukturierten Lernprozess zusammenführen. Die neue Funktion baut auf der bekannten Onboarding-Workflow-Funktion auf und verfügt über einen neu gestalteten Editor zum Erstellen und Verwalten von Schulungen. Nutzen Sie die neuen „Paths“, um neue Mitarbeiter einzuarbeiten, Mitarbeiter in ihren Rollen weiterzuentwickeln oder wiederkehrende Compliance-Schulungen durchzuführen.
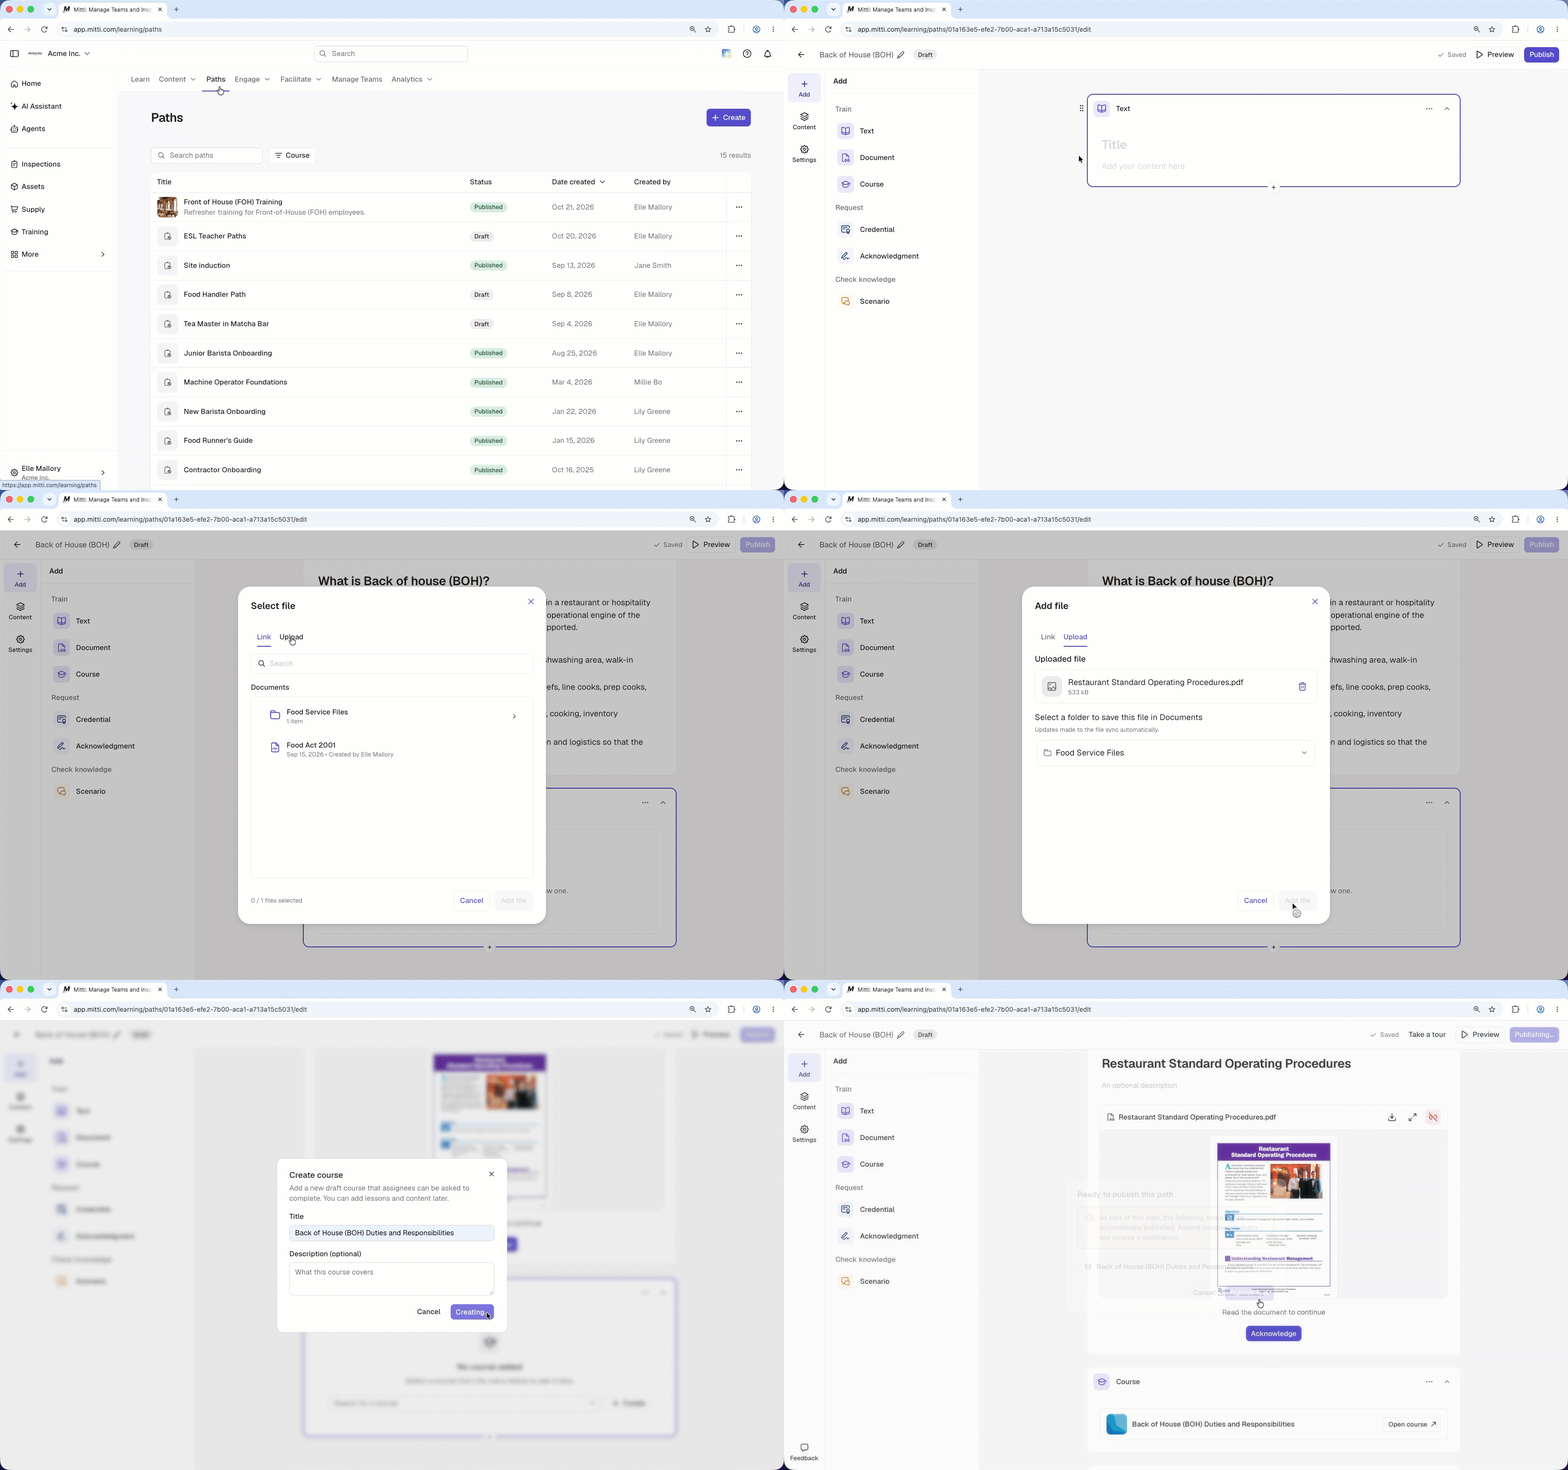
Jeder Lernpfad besteht aus Blöcken, wobei jeder Block einen Schritt auf dem Lernweg darstellt. Sie können verschiedene Blocktypen kombinieren, um sie an die Bedürfnisse Ihres Teams anzupassen. Ein Lernpfad für neue Mitarbeiter könnte beispielsweise mit einem „Text“-Block beginnen, um die Mitarbeiter willkommen zu heißen, gefolgt von einem „Dokument“-Block, in dem die Richtlinien Ihres Unternehmens dargelegt werden. Über einen „Bestätigungs“-Block können die Mitarbeiter bestätigen, dass sie den Lernpfad gelesen und verstanden haben. Sie legen fest, ob die Teilnehmer die Blöcke nacheinander oder in beliebiger Reihenfolge absolvieren sollen, und verfolgen anschließend ihren Fortschritt.
Was Sie brauchen
Pfad erstellen
Click Schulungen from the sidebar or in Mehr.
Click Pfade at the top of the page.
Click Erstellen on the upper-right of the page.
Click on the upper-left of the page.
Click Hinzufügen in the side panel, then select a content block from the following:
Train: Text, Document, Course
Request: Credential, Acknowledgement
Check knowledge: Scenario
Add content to the block.
Click Inhalt in the side panel to view your path outline.
Hover over a block in the outline to edit it:
To reorder a block: Click on the left-hand side of the block, then drag it to the desired position.
To remove a block: Click on the right-hand side of the block, then select Remove block.
Click Vorschau on the upper-right of the page, then use the toggle to preview your path in the desktop or mobile view.
Click Veröffentlichen on the upper-right of the page.
A path can't be published until every block has content.
Scenario blocks need AI Assistant to be turned on for your organization.
Edit a path
Click Schulungen from the sidebar or in Mehr.
Click Pfade at the top of the page.
Select the path you want to edit.
Click Bearbeiten on the upper-right of the page.
Update the details you want to change, then click Neu veröffentlichen.
Set path completion order
Click Schulungen from the sidebar or in Mehr.
Click Pfade at the top of the page.
Click Erstellen on the upper-right of the page.
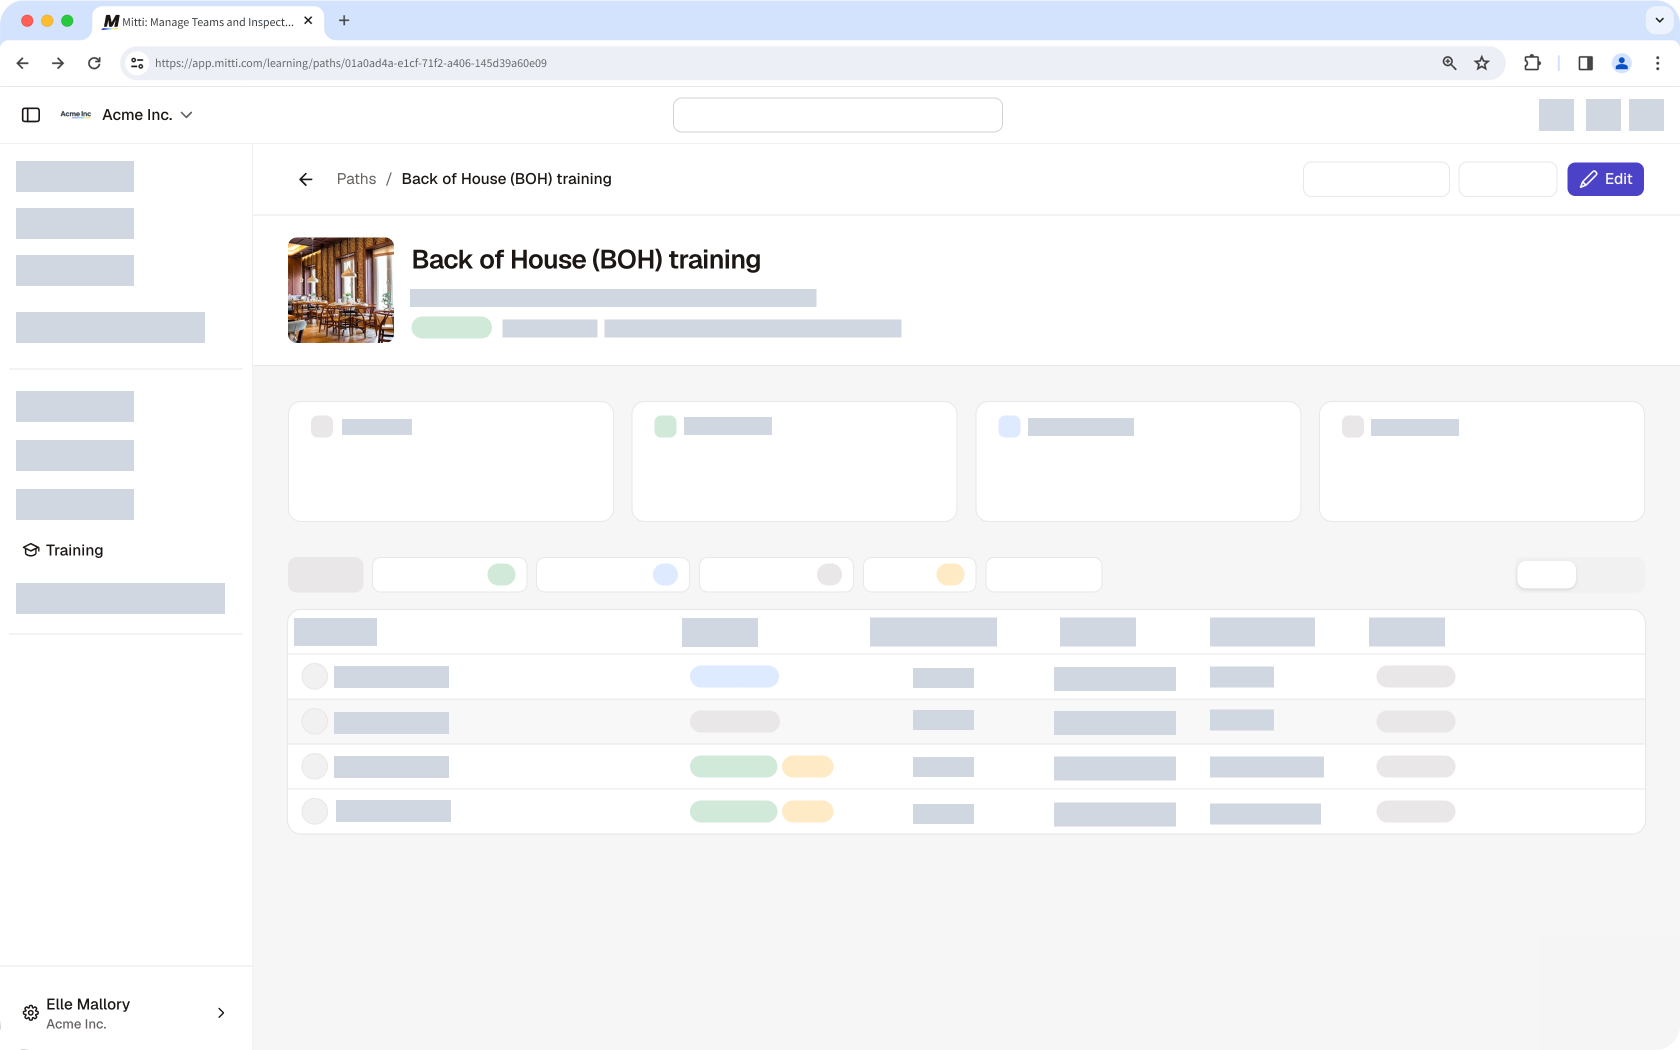
Click Einstellungen in the sidebar.
In the “Completion order” section, select an option:
Sequential: Assignees must complete steps in order.
Free order: Assignees can complete steps in any order.
Click Veröffentlichen.
Customize a path
Click Schulungen from the sidebar or in Mehr.
Click Pfade at the top of the page.
Click Erstellen on the upper-right of the page.
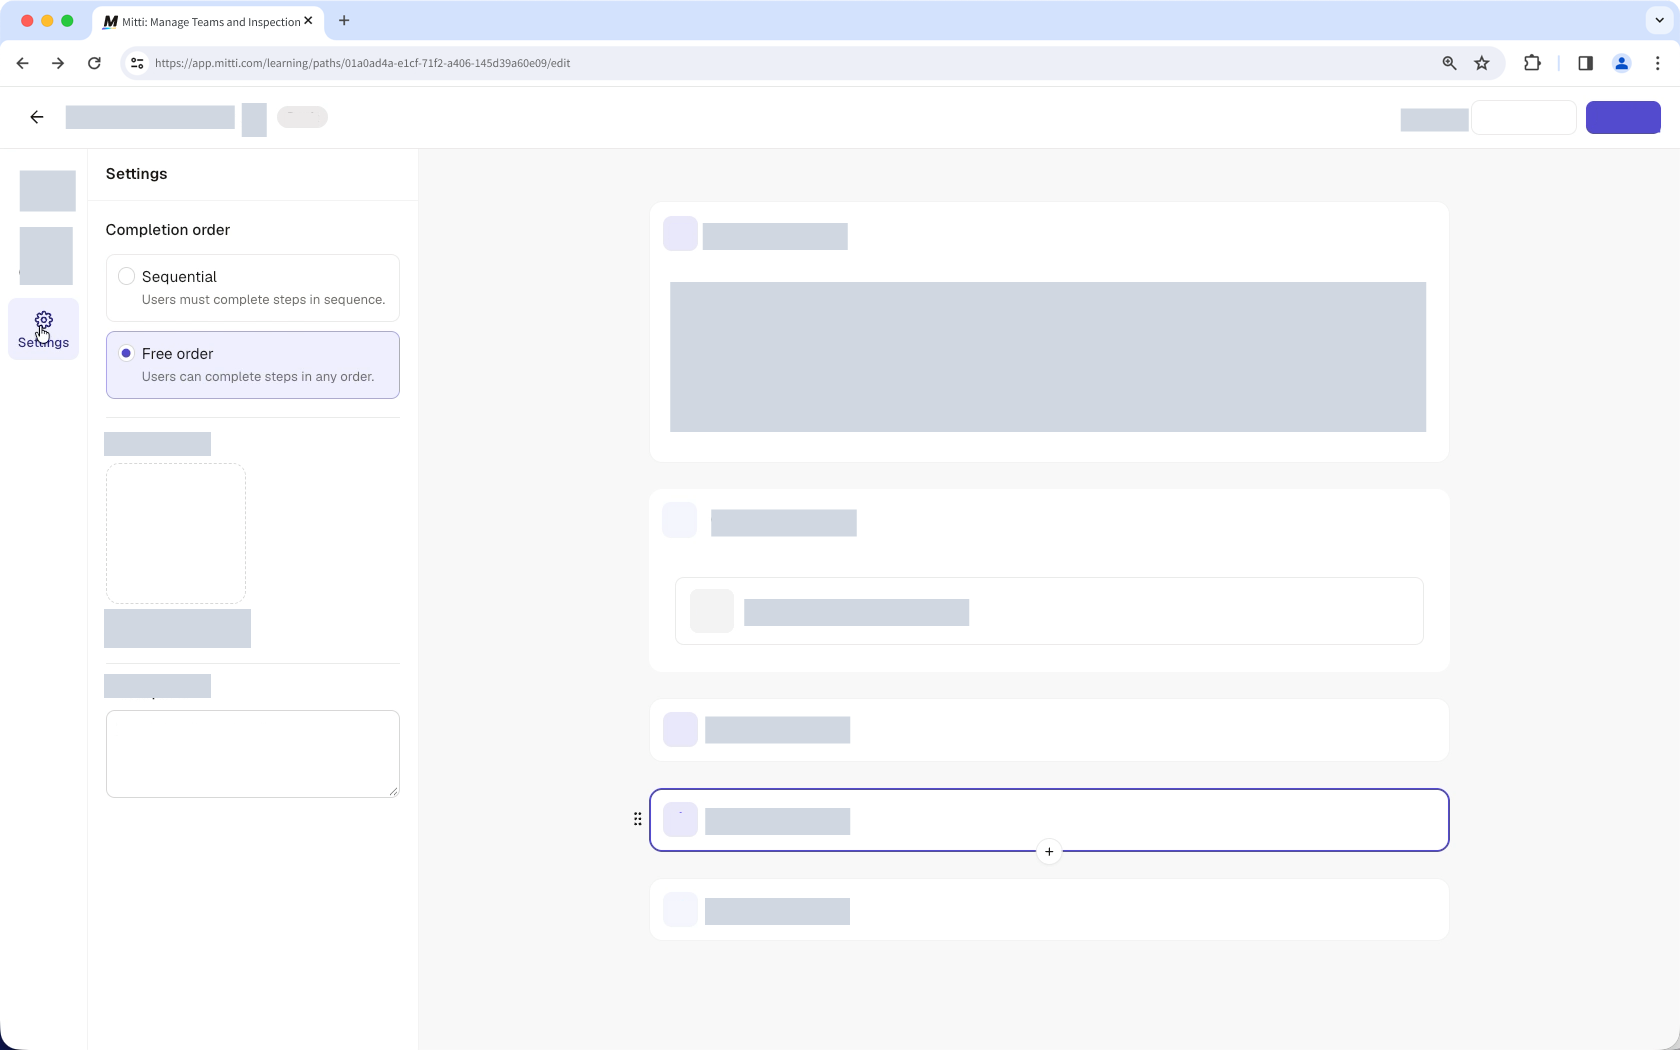
Click Einstellungen in the side panel.
In the “Cover image” section, drag an image into the upload area, or click Durchsuchen and select an image from your device.
In the “Description” section, enter a description for the path.
Click Veröffentlichen.
You can upload PNG, JPEG, GIF, and WebP files up to 50 MB.
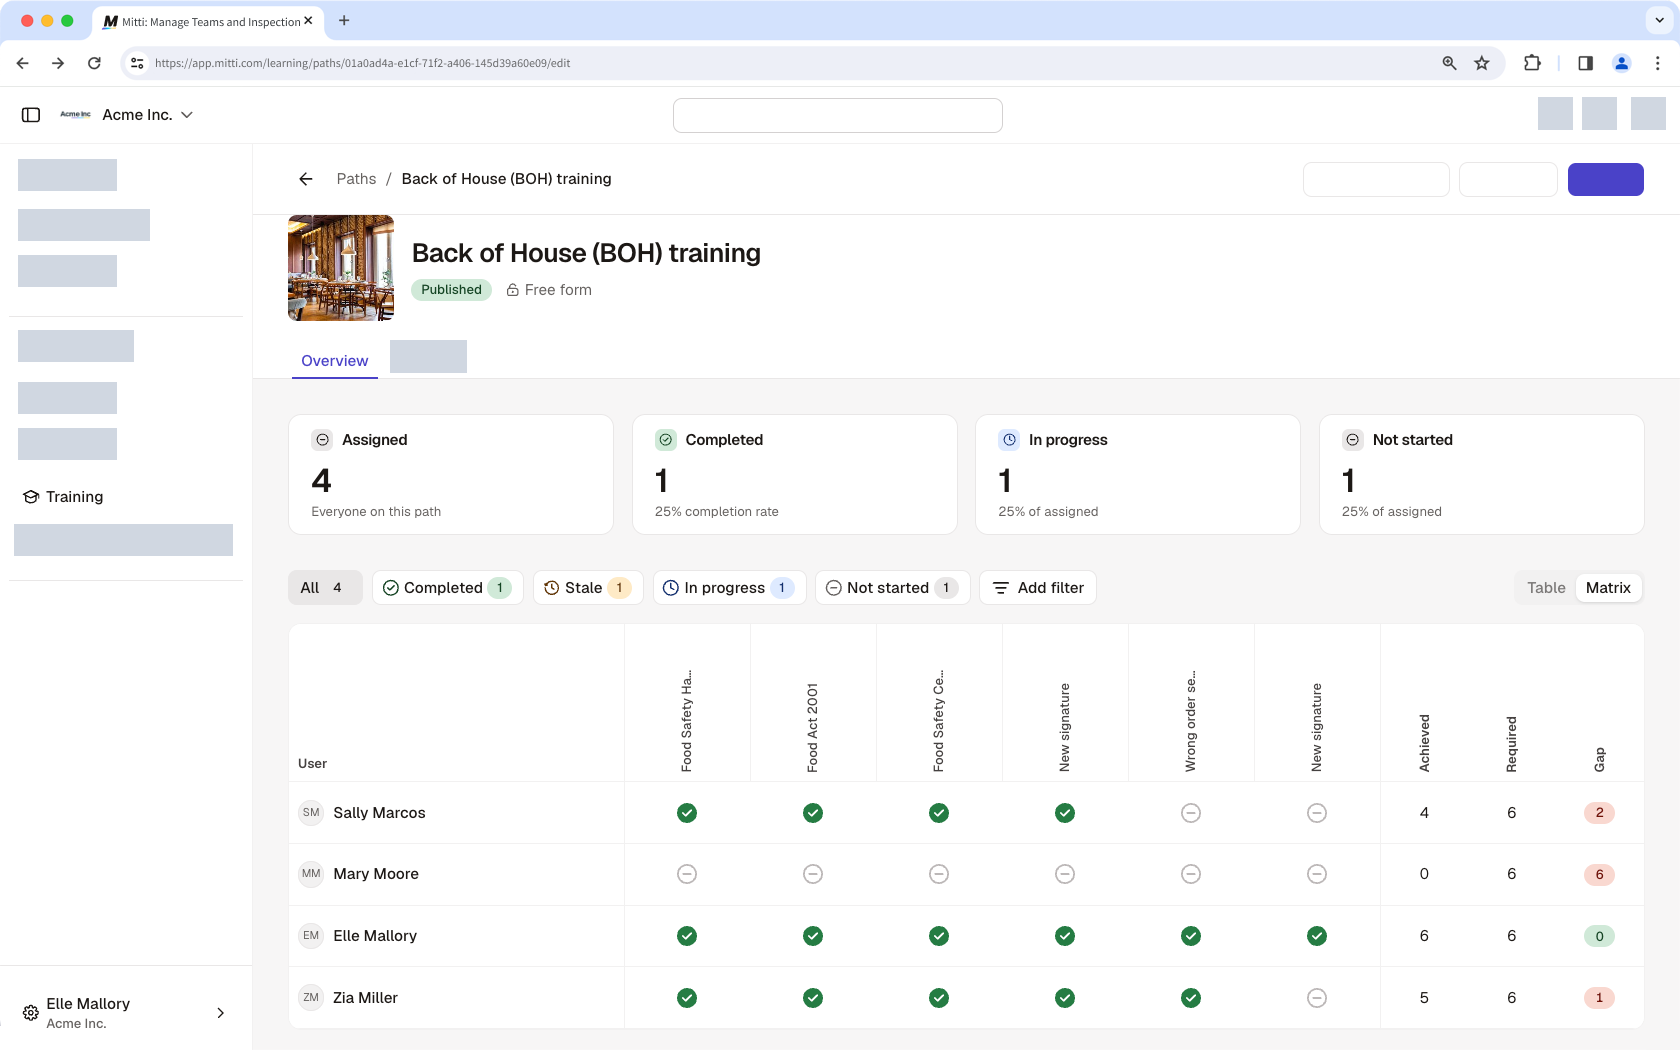
View path progress
Click Schulungen from the sidebar or in Mehr.
Click Pfade at the top of the page.
Select the path you want to view.
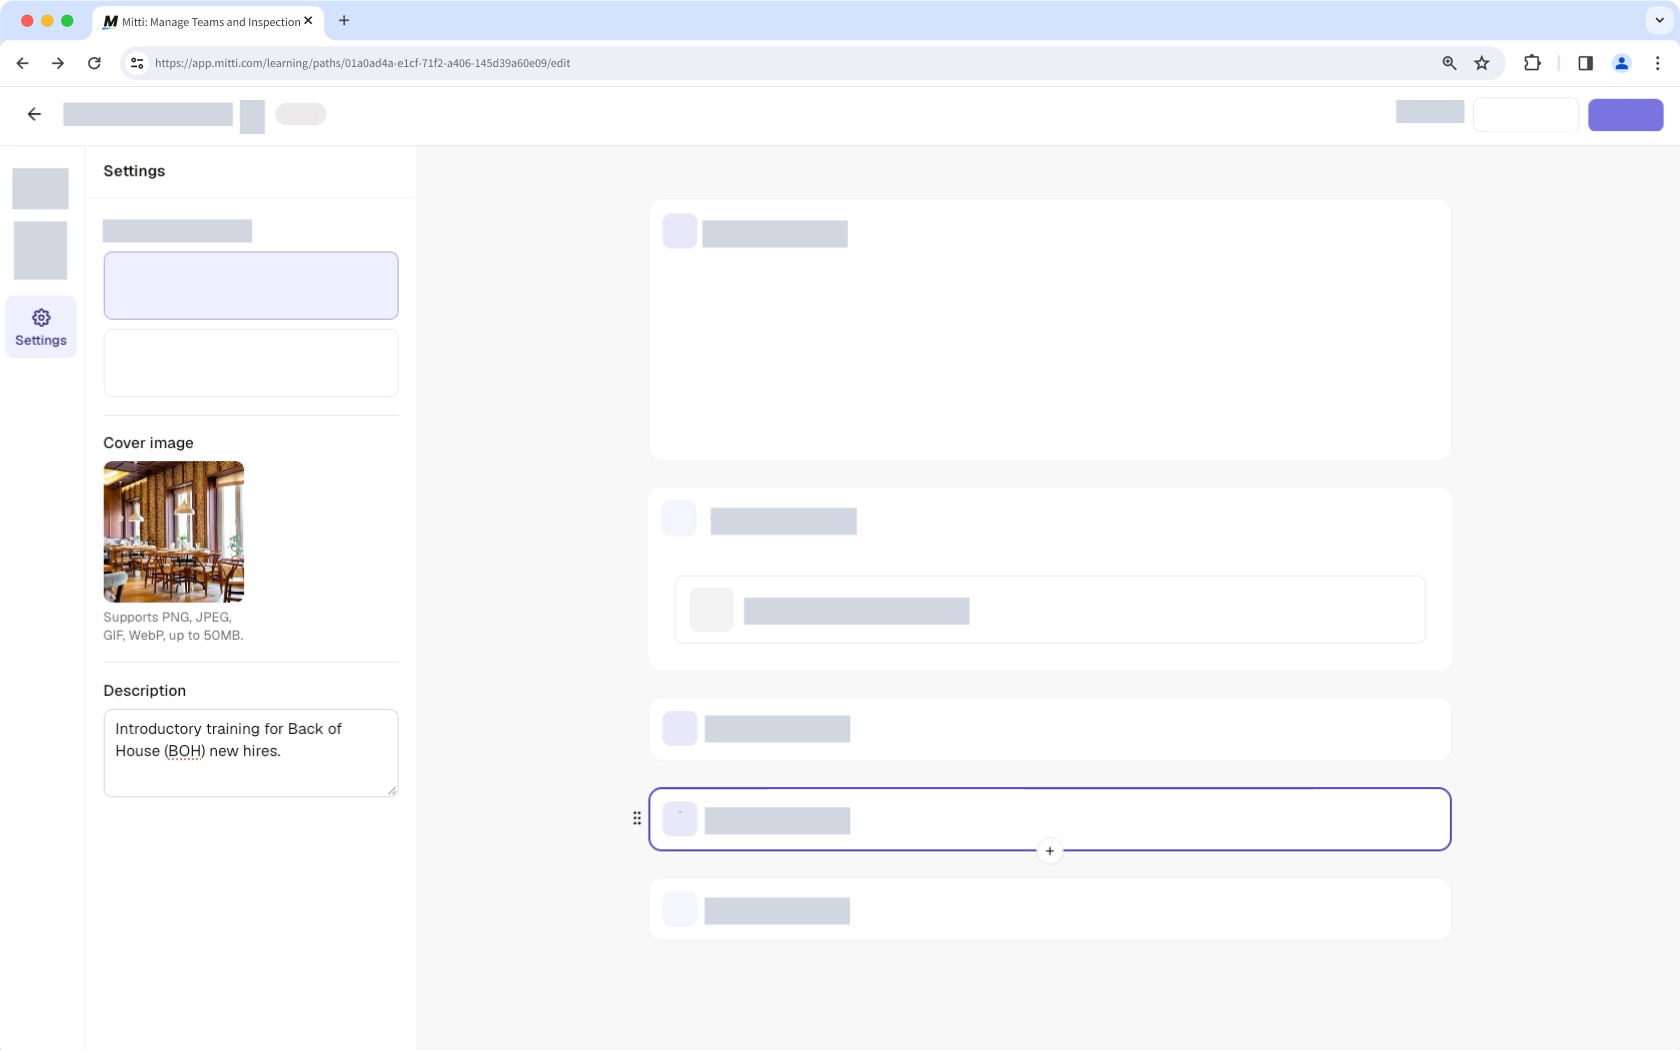
Select Tabelle or on the right-hand side of the page to switch views.
Delete a path
Click Schulungen from the sidebar or in Mehr.
Click Pfade at the top of the page.
Click next to the path and select Löschen.
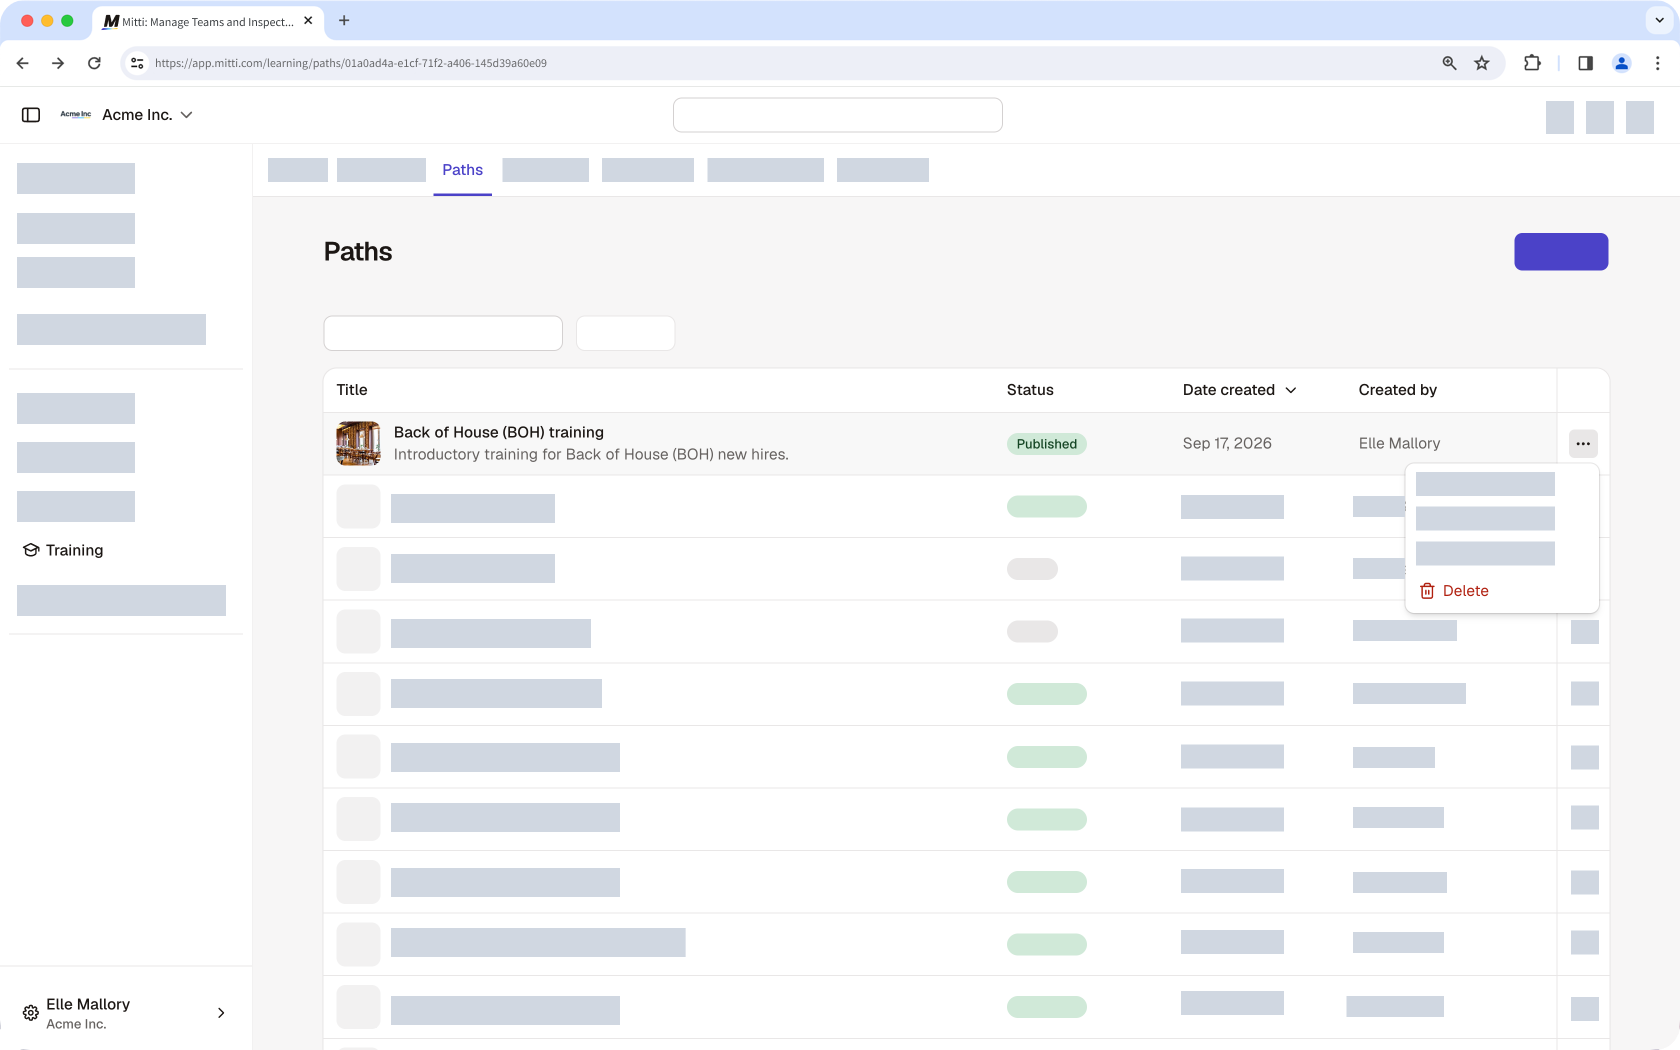
Deleting a path only deletes the path itself. Any courses, credentials, scenarios, documents, or other content included in the path remain available.
Häufig gestellte Fragen
Brauchen Sie weitere Hilfe?
War diese Seite hilfreich?