Última actualización: 4 de noviembre de 2026
¿Qué son las Rutas de aprendizaje?
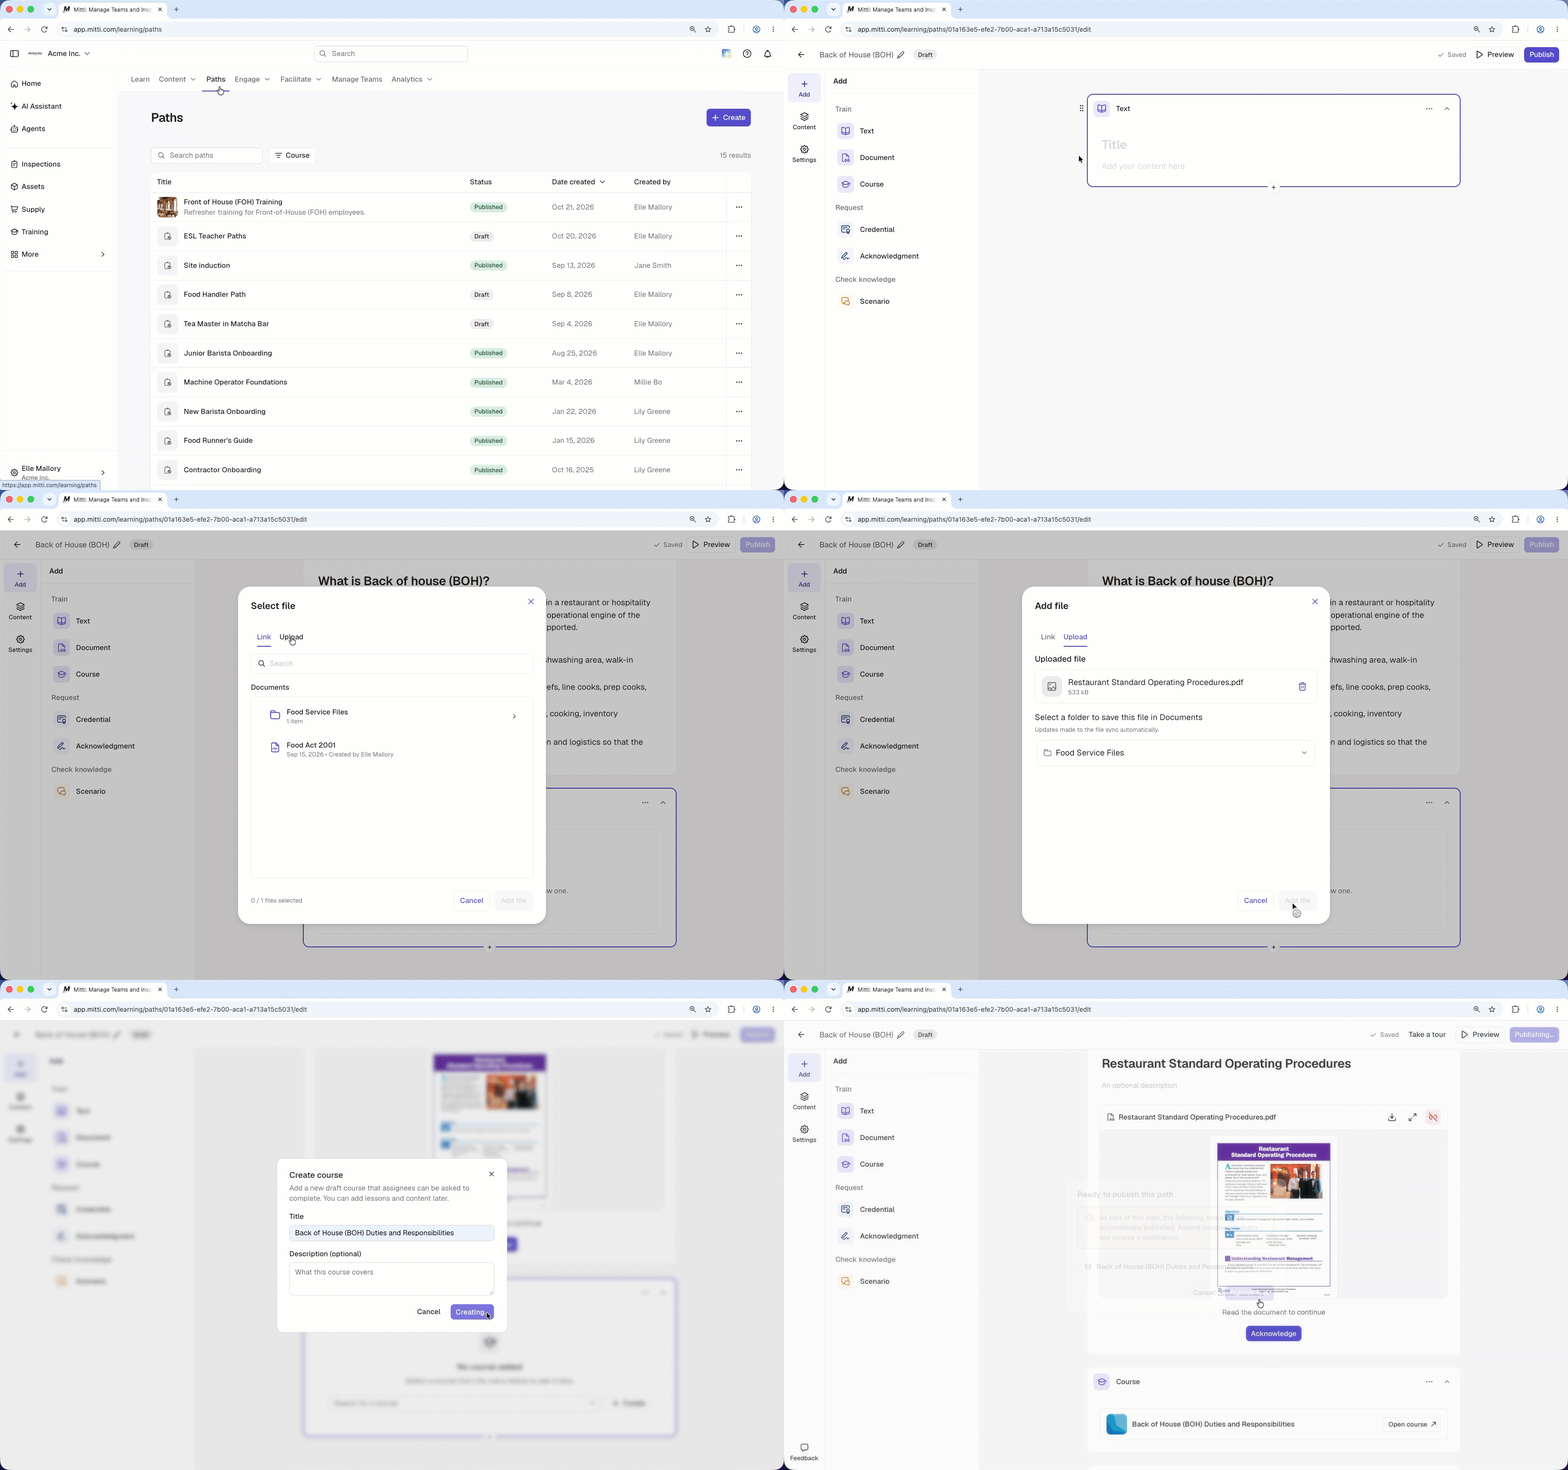
La nueva experiencia de Rutas de aprendizaje de Mitti le permite combinar diferentes tipos de formación y requisitos en un único itinerario de aprendizaje guiado. La nueva experiencia se basa en la conocida función de flujos de trabajo de Incorporación y cuenta con un generador rediseñado para crear y gestionar la formación. Utilice las nuevas Rutas de aprendizaje para incorporar a los nuevos empleados, desarrollar a los empleados en sus roles o impartir formación periódica sobre cumplimiento normativo.
Cada ruta de aprendizaje se compone de bloques, y cada bloque representa un paso en el proceso de aprendizaje. Puede combinar diferentes tipos de bloques para adaptarlos a las necesidades de su equipo. Por ejemplo, una ruta para nuevos empleados podría comenzar con un bloque de "Texto" para darles la bienvenida, seguido de un bloque de "Documento" en el que se describa la política de la organización. Un bloque de "Confirmación" les permite confirmar que han leído y comprendido la ruta de aprendizaje. Usted elige si los responsables completan los bloques en orden secuencial o en cualquier orden, y luego puede realizar un seguimiento de su progreso.
Lo que necesitarás
Crear una trayectoria
Click Formación from the sidebar or in Más.
Click Trayectorias at the top of the page.
Click Crear on the upper-right of the page.
Click on the upper-left of the page.
Click Añadir in the side panel, then select a content block from the following:
Train: Text, Document, Course
Request: Credential, Acknowledgement
Check knowledge: Scenario
Add content to the block.
Click Contenido in the side panel to view your path outline.
Hover over a block in the outline to edit it:
To reorder a block: Click on the left-hand side of the block, then drag it to the desired position.
To remove a block: Click on the right-hand side of the block, then select Remove block.
Click Vista previa on the upper-right of the page, then use the toggle to preview your path in the desktop or mobile view.
Click Publicar on the upper-right of the page.
A path can't be published until every block has content.
Scenario blocks need AI Assistant to be turned on for your organization.
Edit a path
Click Formación from the sidebar or in Más.
Click Trayectorias at the top of the page.
Select the path you want to edit.
Click Editar on the upper-right of the page.
Update the details you want to change, then click Volver a publicar.
Set path completion order
Click Formación from the sidebar or in Más.
Click Trayectorias at the top of the page.
Click Crear on the upper-right of the page.
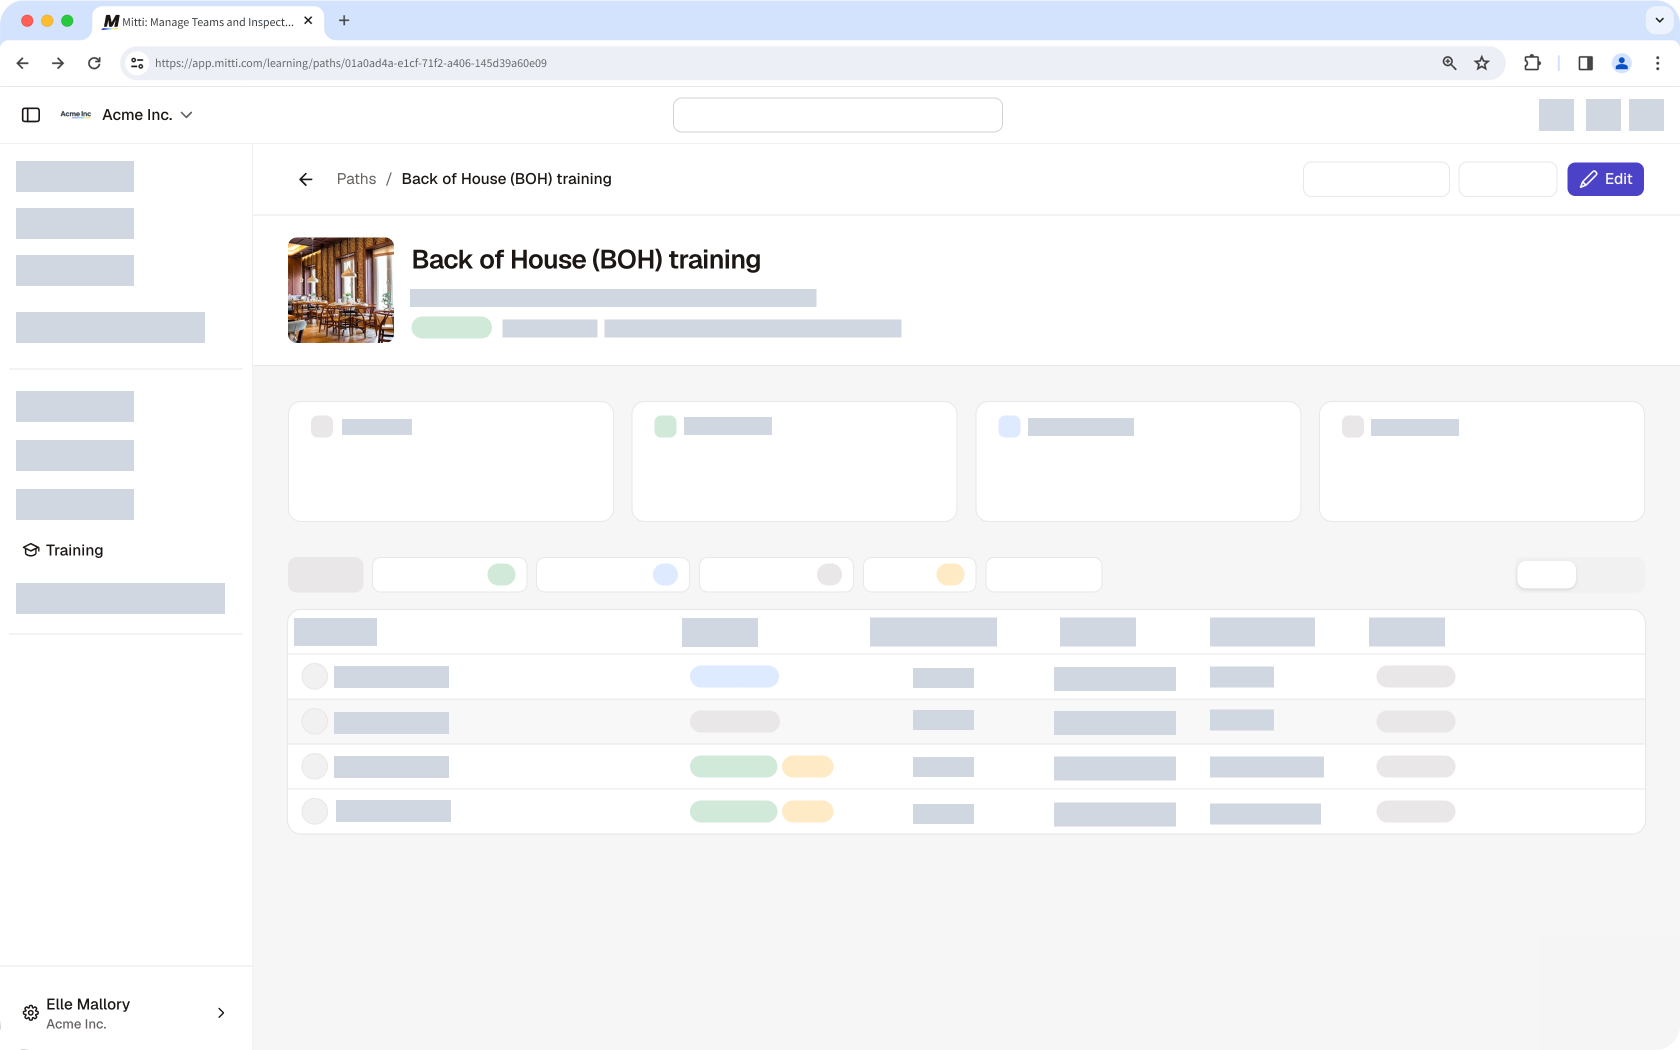
Click Ajustes in the sidebar.
In the “Completion order” section, select an option:
Sequential: Assignees must complete steps in order.
Free order: Assignees can complete steps in any order.
Click Publicar.
Customize a path
Click Formación from the sidebar or in Más.
Click Trayectorias at the top of the page.
Click Crear on the upper-right of the page.
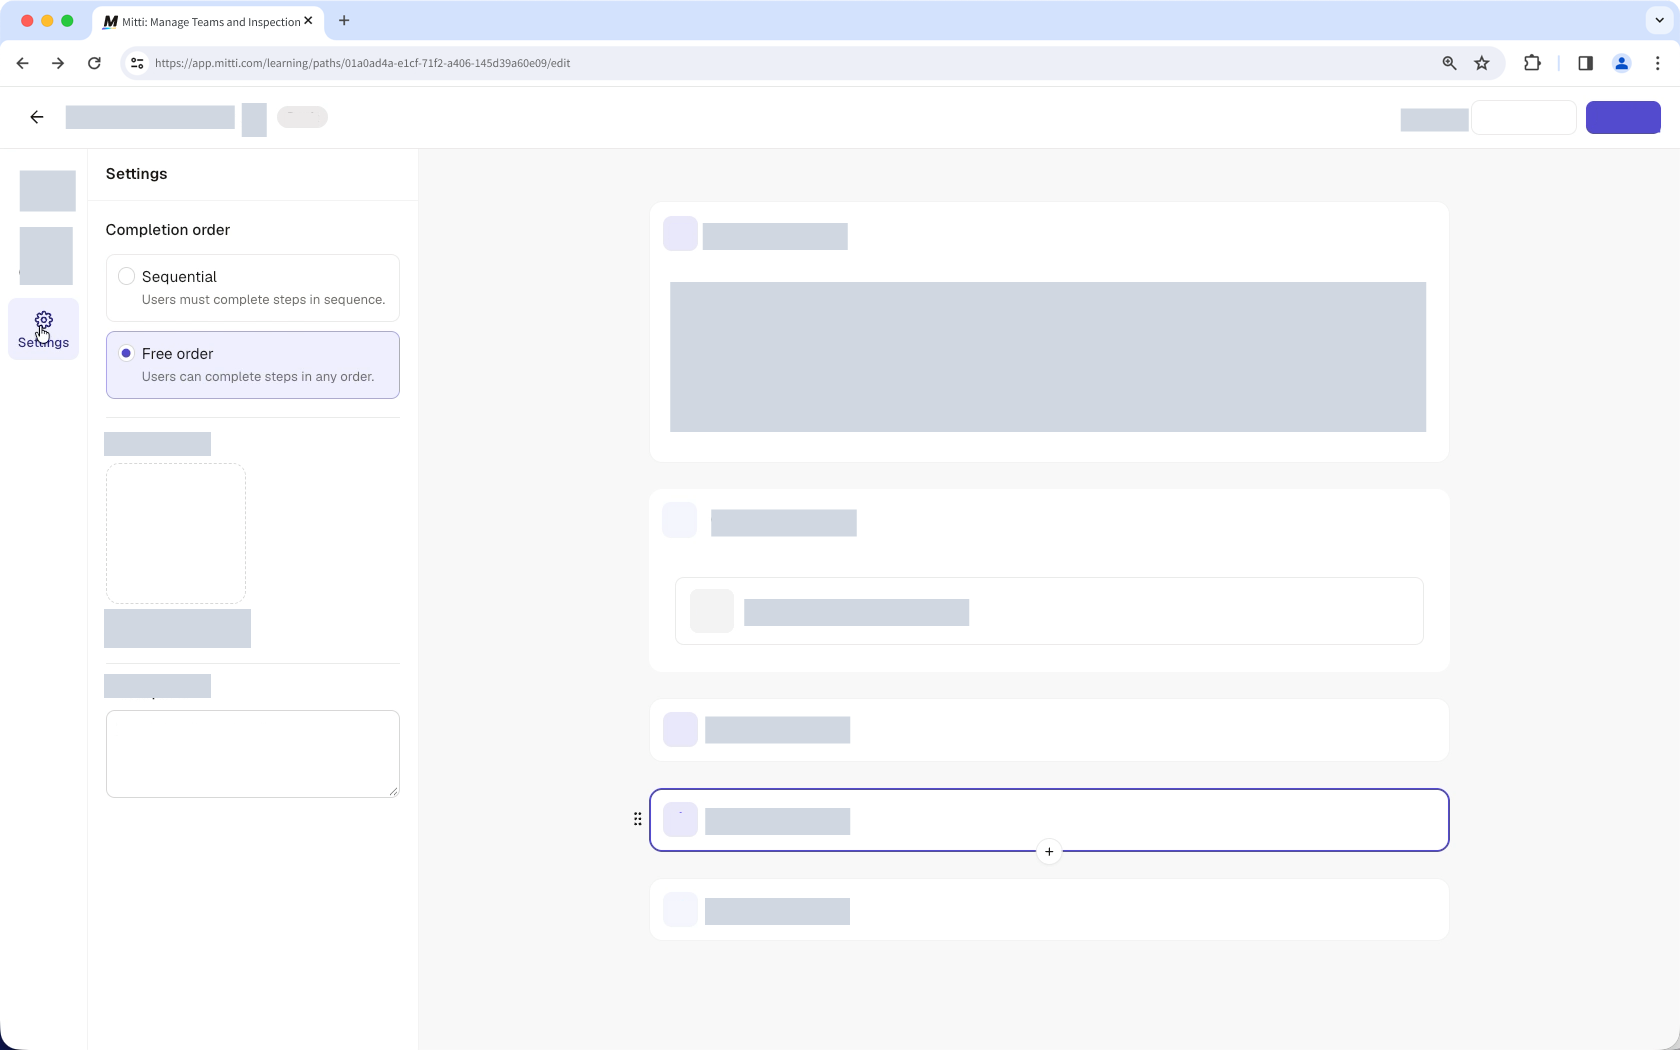
Click Ajustes in the side panel.
In the “Cover image” section, drag an image into the upload area, or click Examinar and select an image from your device.
In the “Description” section, enter a description for the path.
Click Publicar.
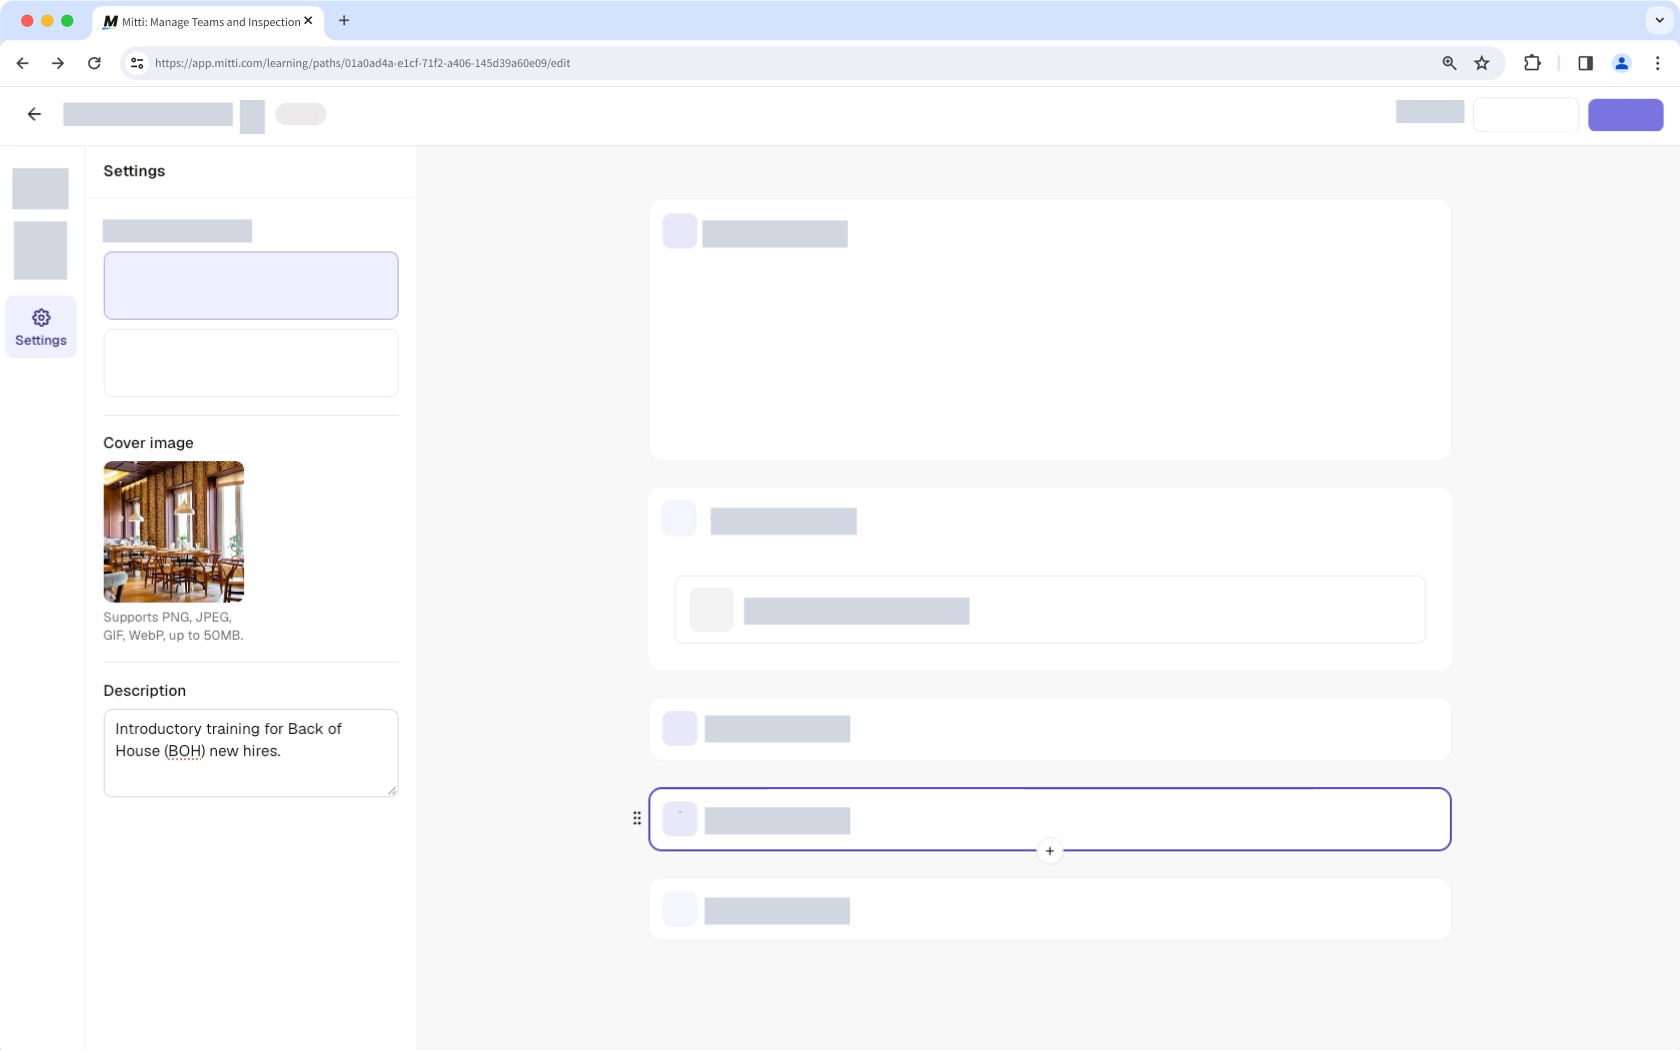
You can upload PNG, JPEG, GIF, and WebP files up to 50 MB.
View path progress
Click Formación from the sidebar or in Más.
Click Trayectorias at the top of the page.
Select the path you want to view.
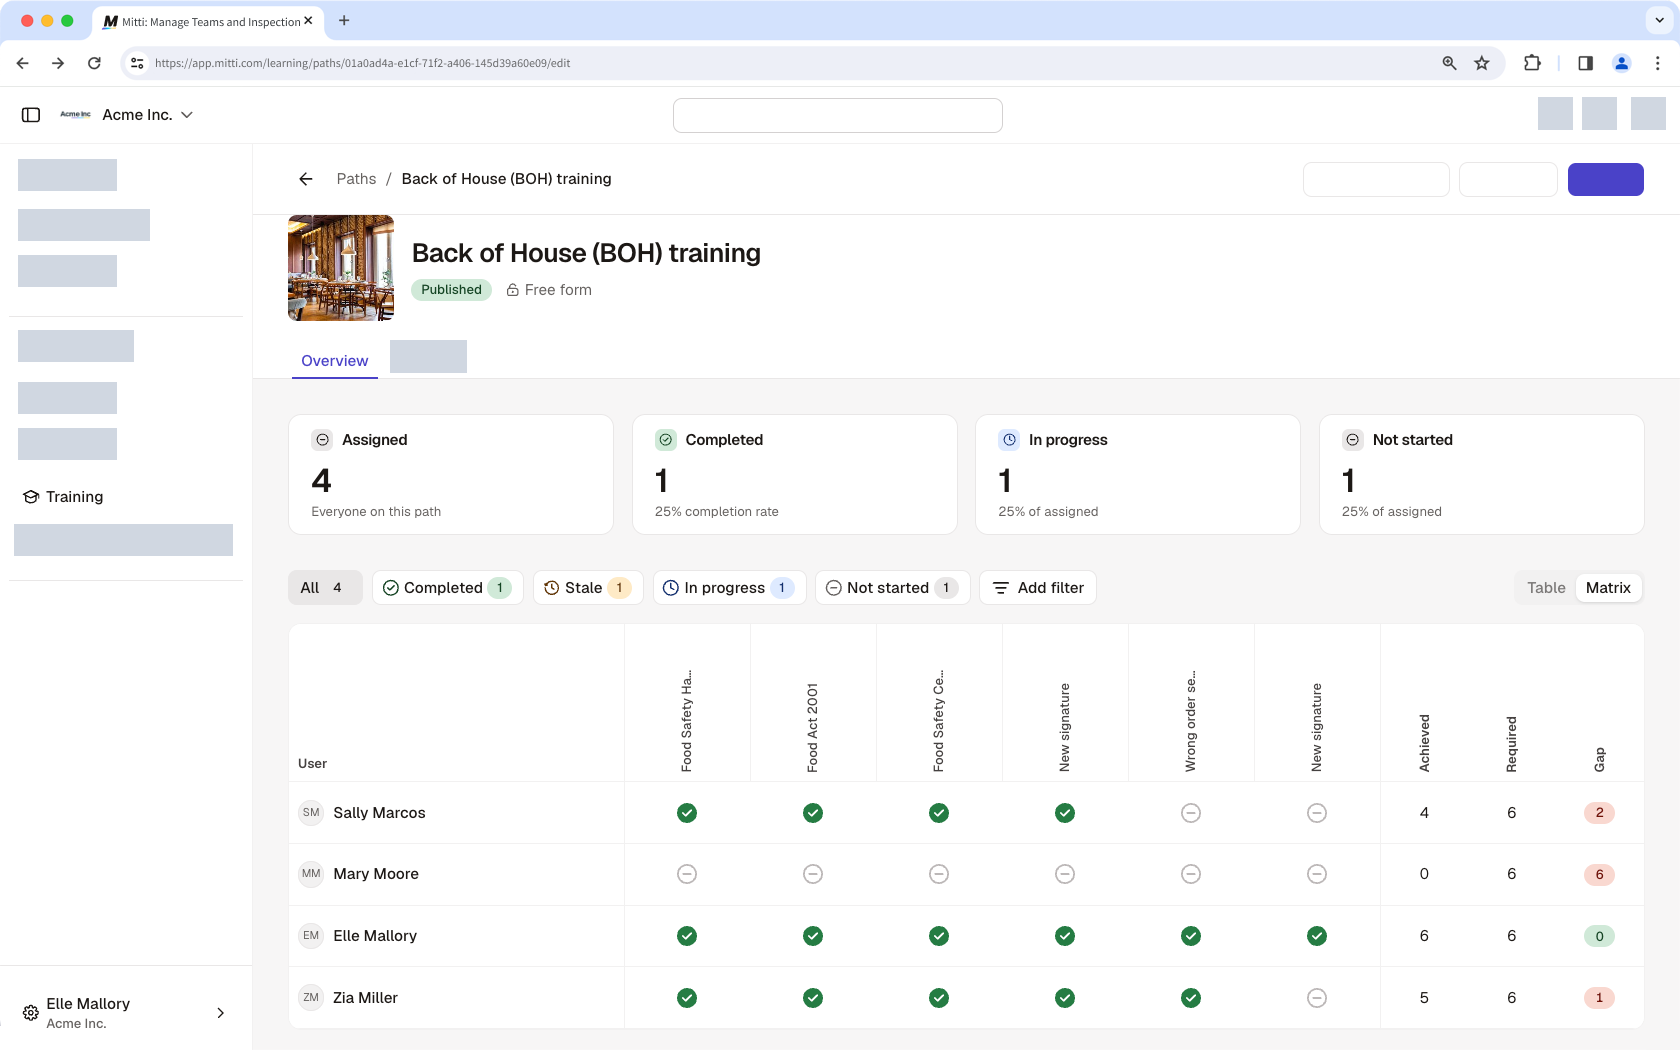
Select Tabla or on the right-hand side of the page to switch views.
Delete a path
Click Formación from the sidebar or in Más.
Click Trayectorias at the top of the page.
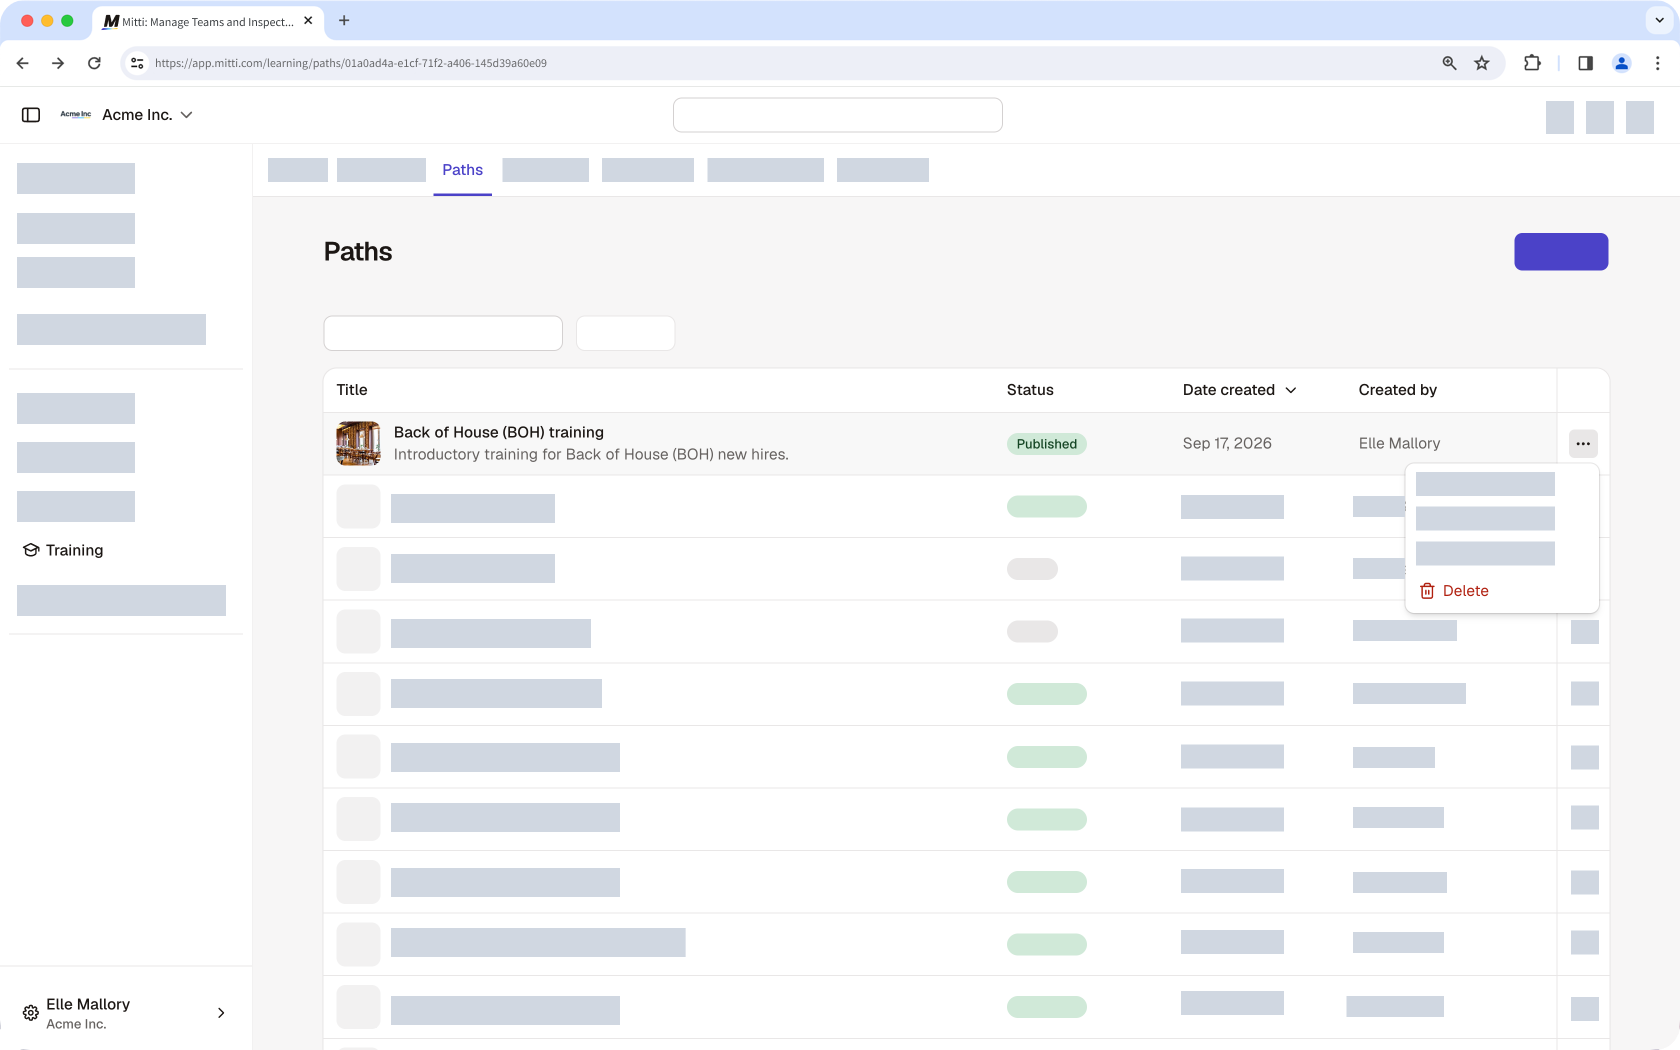
Click next to the path and select Eliminar.
Deleting a path only deletes the path itself. Any courses, credentials, scenarios, documents, or other content included in the path remain available.
Preguntas frecuentes
¿Necesitas más ayuda?
¿Fue útil esta página?