Dernière mise à jour: 4 novembre 2026
Que sont les Chemins ?
Dans Mitti, la nouvelle interface Chemins vous permet de regrouper différents types de formations et d’exigences dans un parcours d'apprentissage guidé unique. La nouvelle interface s’appuie sur les Flux de travail d'implémentation avec un outil de création repensé pour créer et gérer les formations. Utilisez la nouvelle interface « Chemins » pour implémenter les nouveaux employés, les accompagner dans l’évolution de leur rôle et dispenser des formations récurrentes de conformité.
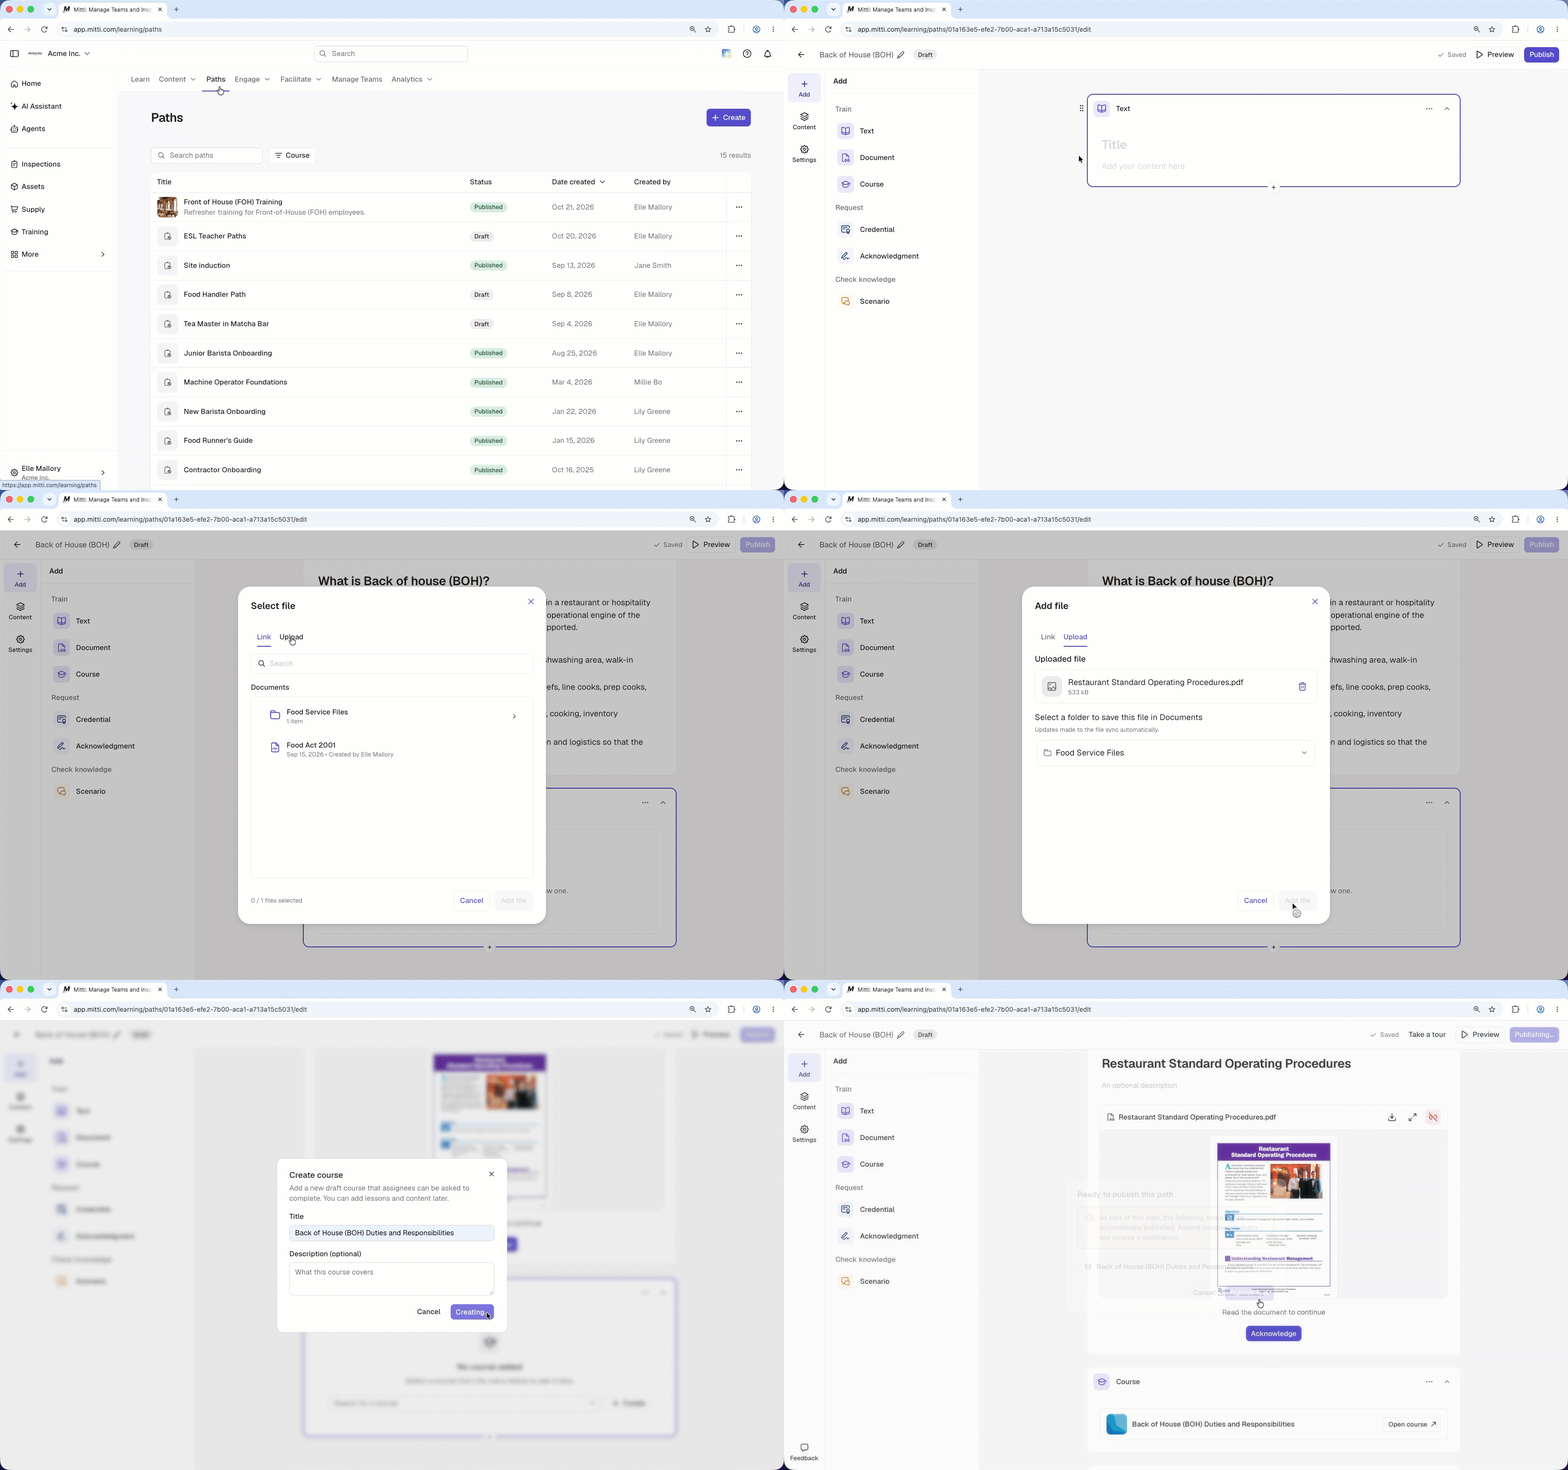
Chaque chemin est composé de blocs, chacun représentant une étape d’apprentissage. Vous pouvez combiner différents types de blocs pour répondre aux besoins de votre équipe. Par exemple, un chemin destiné aux nouveaux employés pourrait commencer par un bloc « Texte » pour accueillir les employés, suivi d’un bloc « Document » présentant la politique de votre organisation. Un bloc « Confirmation » leur permet de confirmer qu’ils ont lu et compris le chemin. Vous choisissez si les responsables doivent terminer les blocs dans l’ordre séquentiel ou en ordre libre, puis vous suivez leur progression.
Ce dont vous aurez besoin
Créer un chemin
Click Formation from the sidebar or in Plus.
Click Parcours at the top of the page.
Click Créer on the upper-right of the page.
Click on the upper-left of the page.
Click Ajouter in the side panel, then select a content block from the following:
Train: Text, Document, Course
Request: Credential, Acknowledgement
Check knowledge: Scenario
Add content to the block.
Click Contenu in the side panel to view your path outline.
Hover over a block in the outline to edit it:
To reorder a block: Click on the left-hand side of the block, then drag it to the desired position.
To remove a block: Click on the right-hand side of the block, then select Remove block.
Click Aperçu on the upper-right of the page, then use the toggle to preview your path in the desktop or mobile view.
Click Publier on the upper-right of the page.
A path can't be published until every block has content.
Scenario blocks need AI Assistant to be turned on for your organization.
Edit a path
Click Formation from the sidebar or in Plus.
Click Parcours at the top of the page.
Select the path you want to edit.
Click Modifier on the upper-right of the page.
Update the details you want to change, then click Republier.
Set path completion order
Click Formation from the sidebar or in Plus.
Click Parcours at the top of the page.
Click Créer on the upper-right of the page.
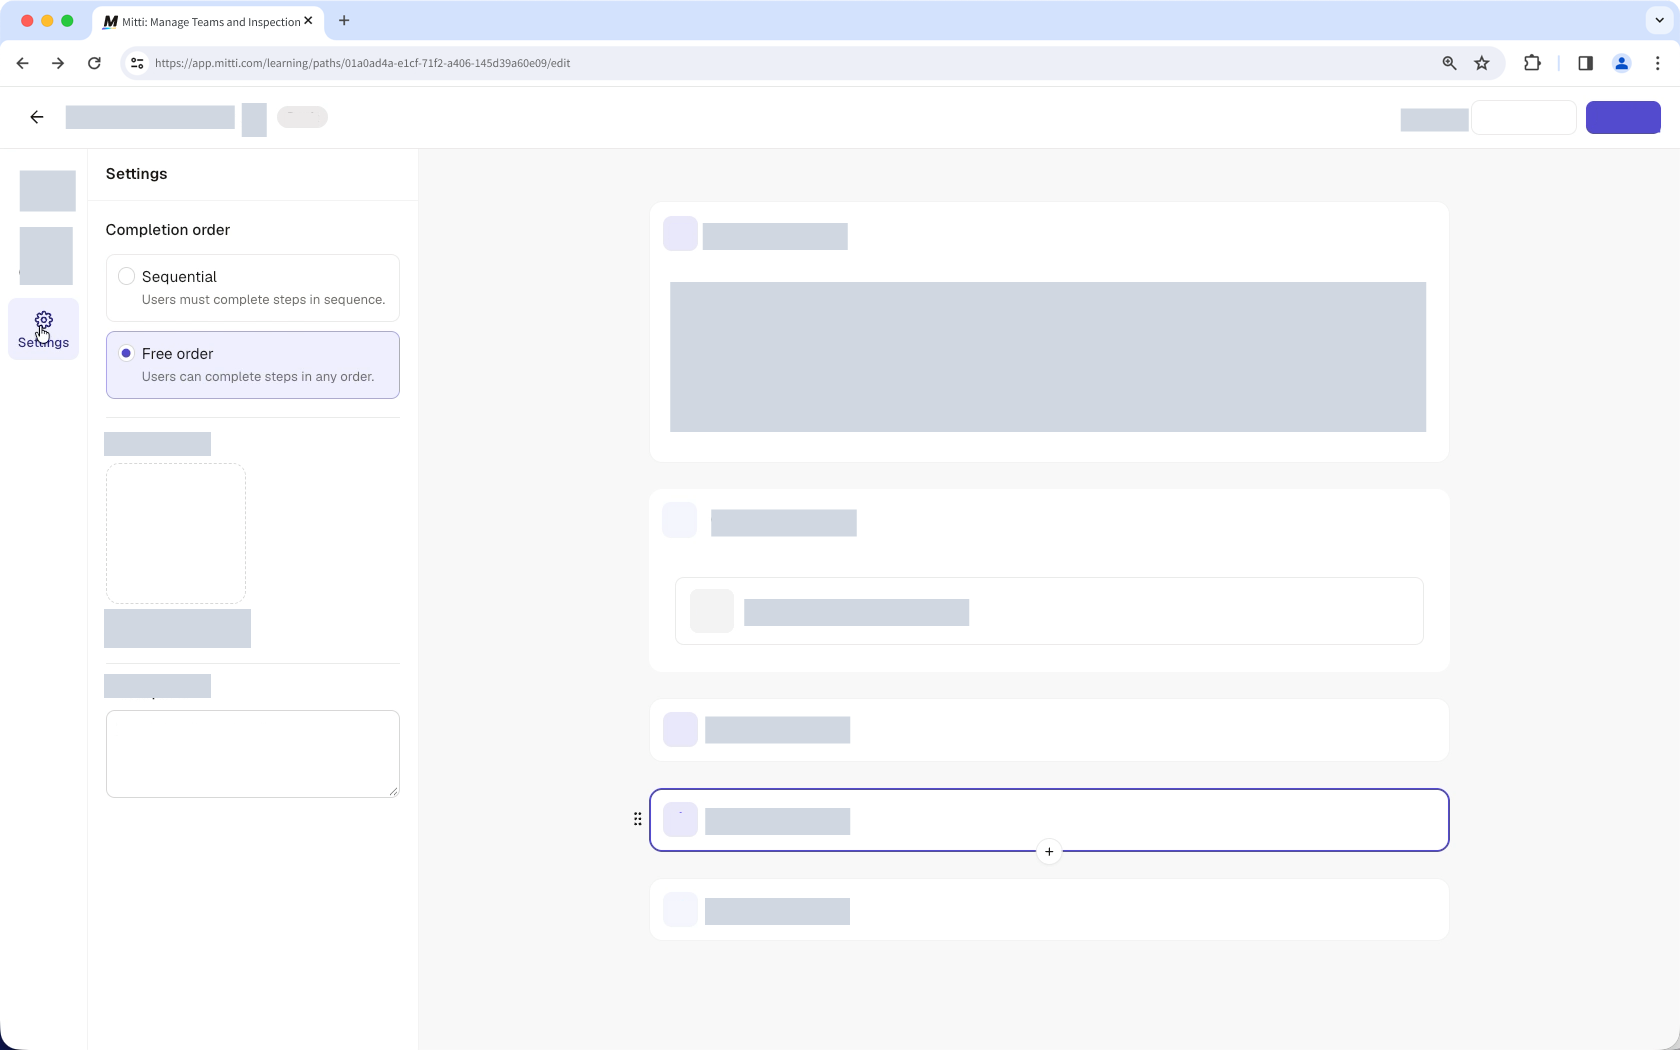
Click Paramètres in the sidebar.
In the “Completion order” section, select an option:
Sequential: Assignees must complete steps in order.
Free order: Assignees can complete steps in any order.
Click Publier.
Customize a path
Click Formation from the sidebar or in Plus.
Click Parcours at the top of the page.
Click Créer on the upper-right of the page.
Click Paramètres in the side panel.
In the “Cover image” section, drag an image into the upload area, or click Parcourir and select an image from your device.
In the “Description” section, enter a description for the path.
Click Publier.
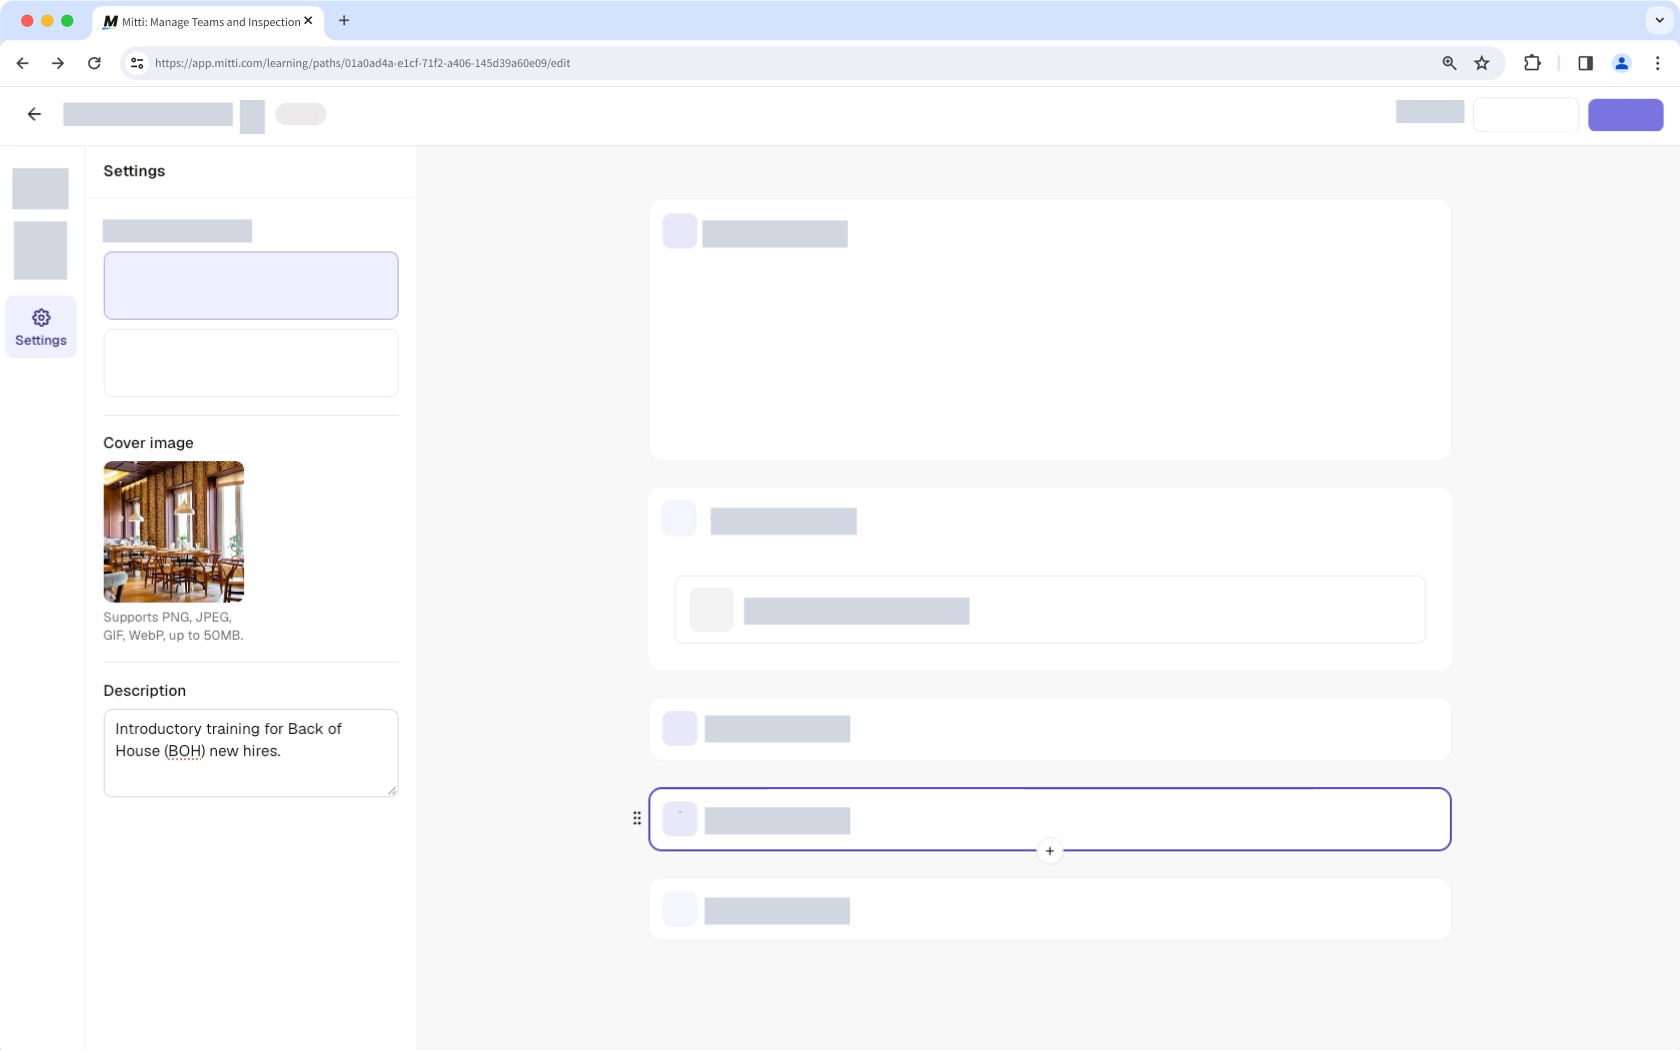
You can upload PNG, JPEG, GIF, and WebP files up to 50 MB.
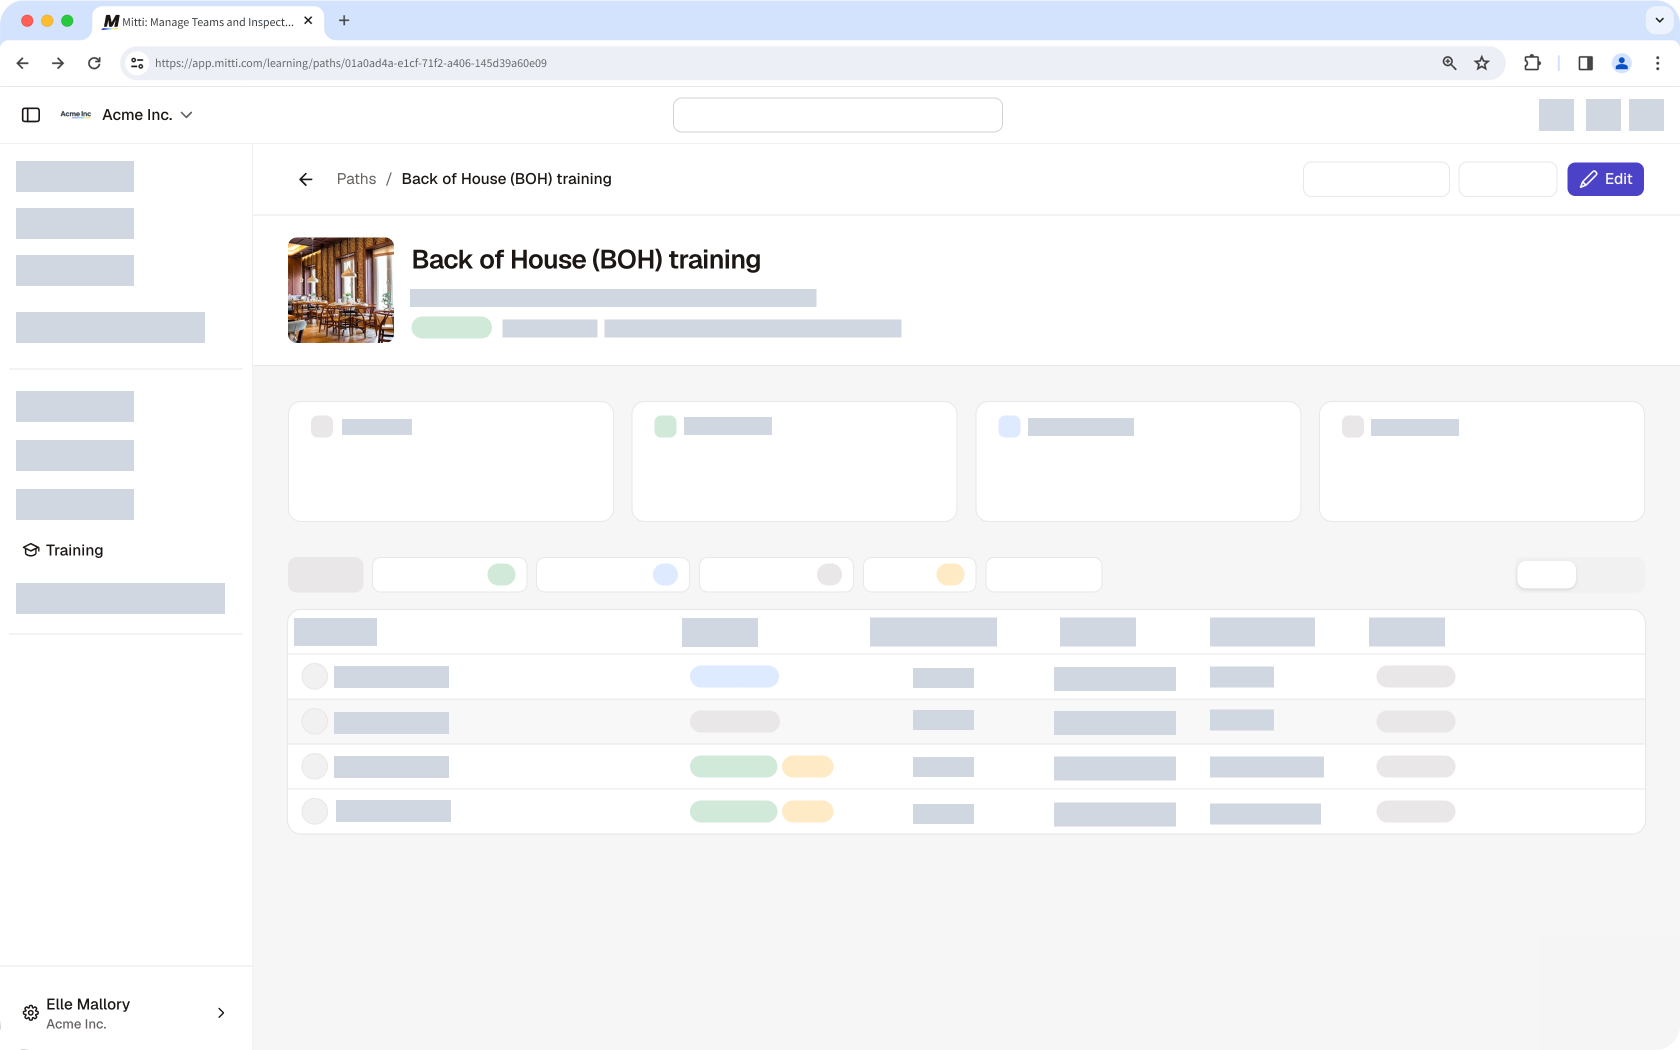
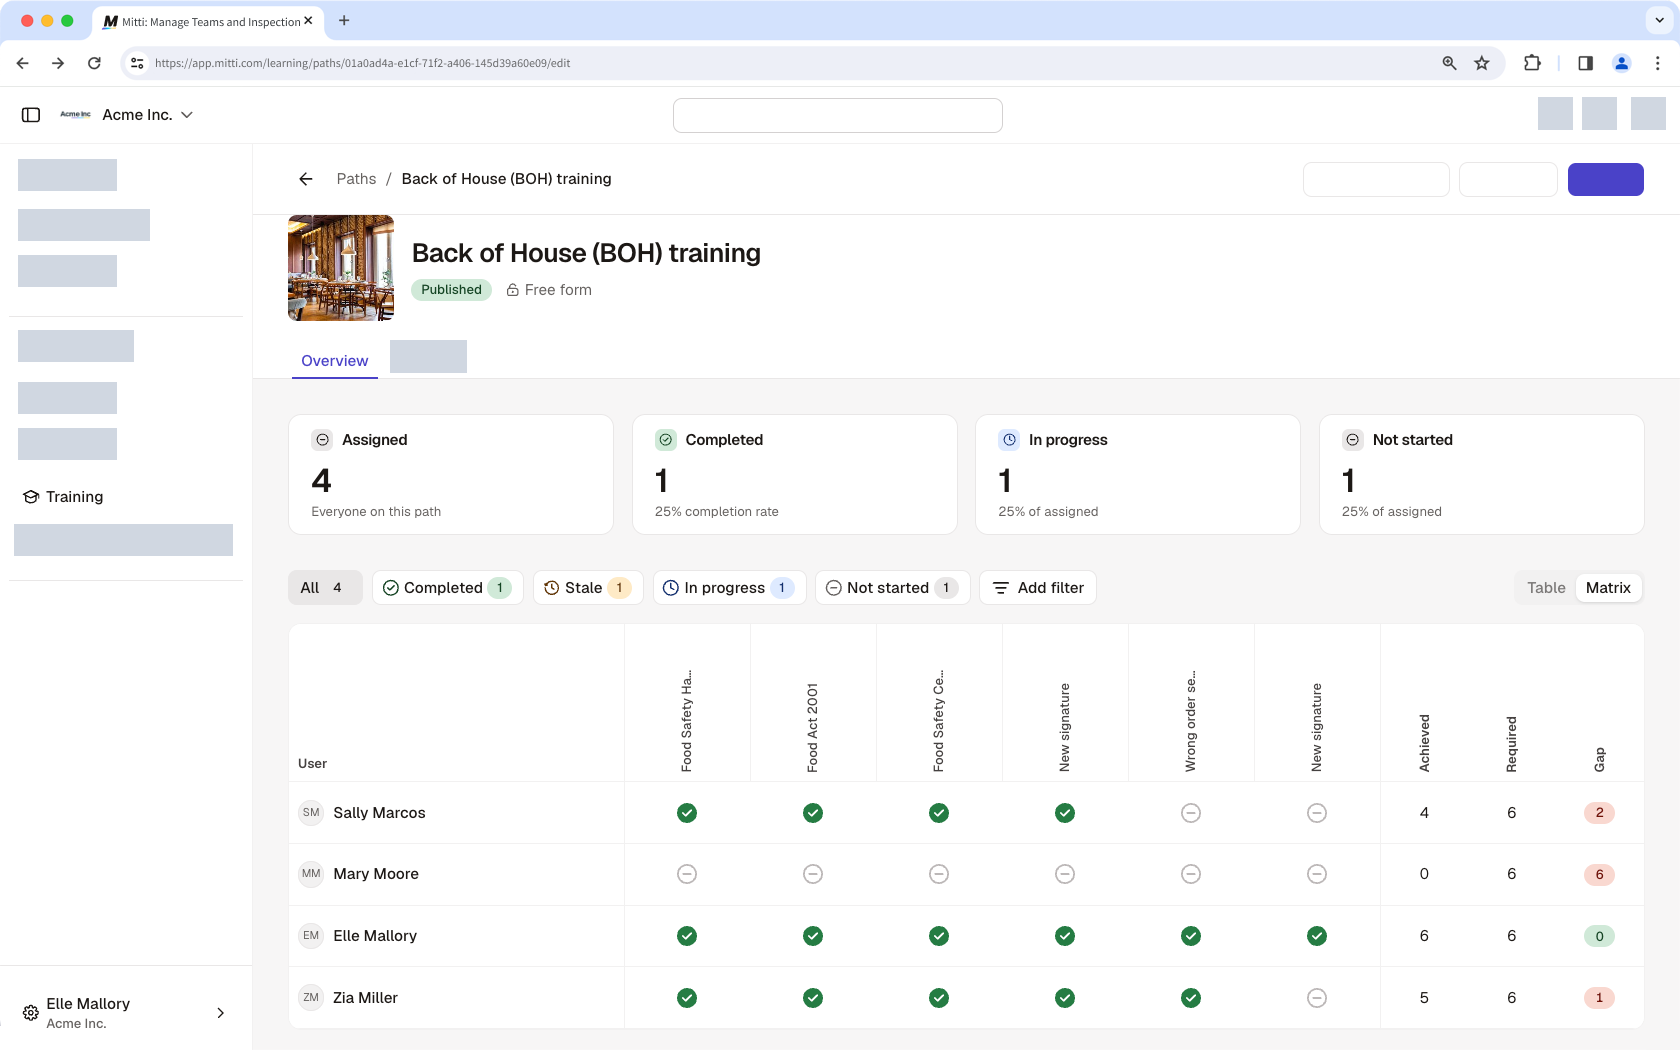
View path progress
Click Formation from the sidebar or in Plus.
Click Parcours at the top of the page.
Select the path you want to view.
Select Tableau or on the right-hand side of the page to switch views.
Delete a path
Click Formation from the sidebar or in Plus.
Click Parcours at the top of the page.
Click next to the path and select Supprimer.
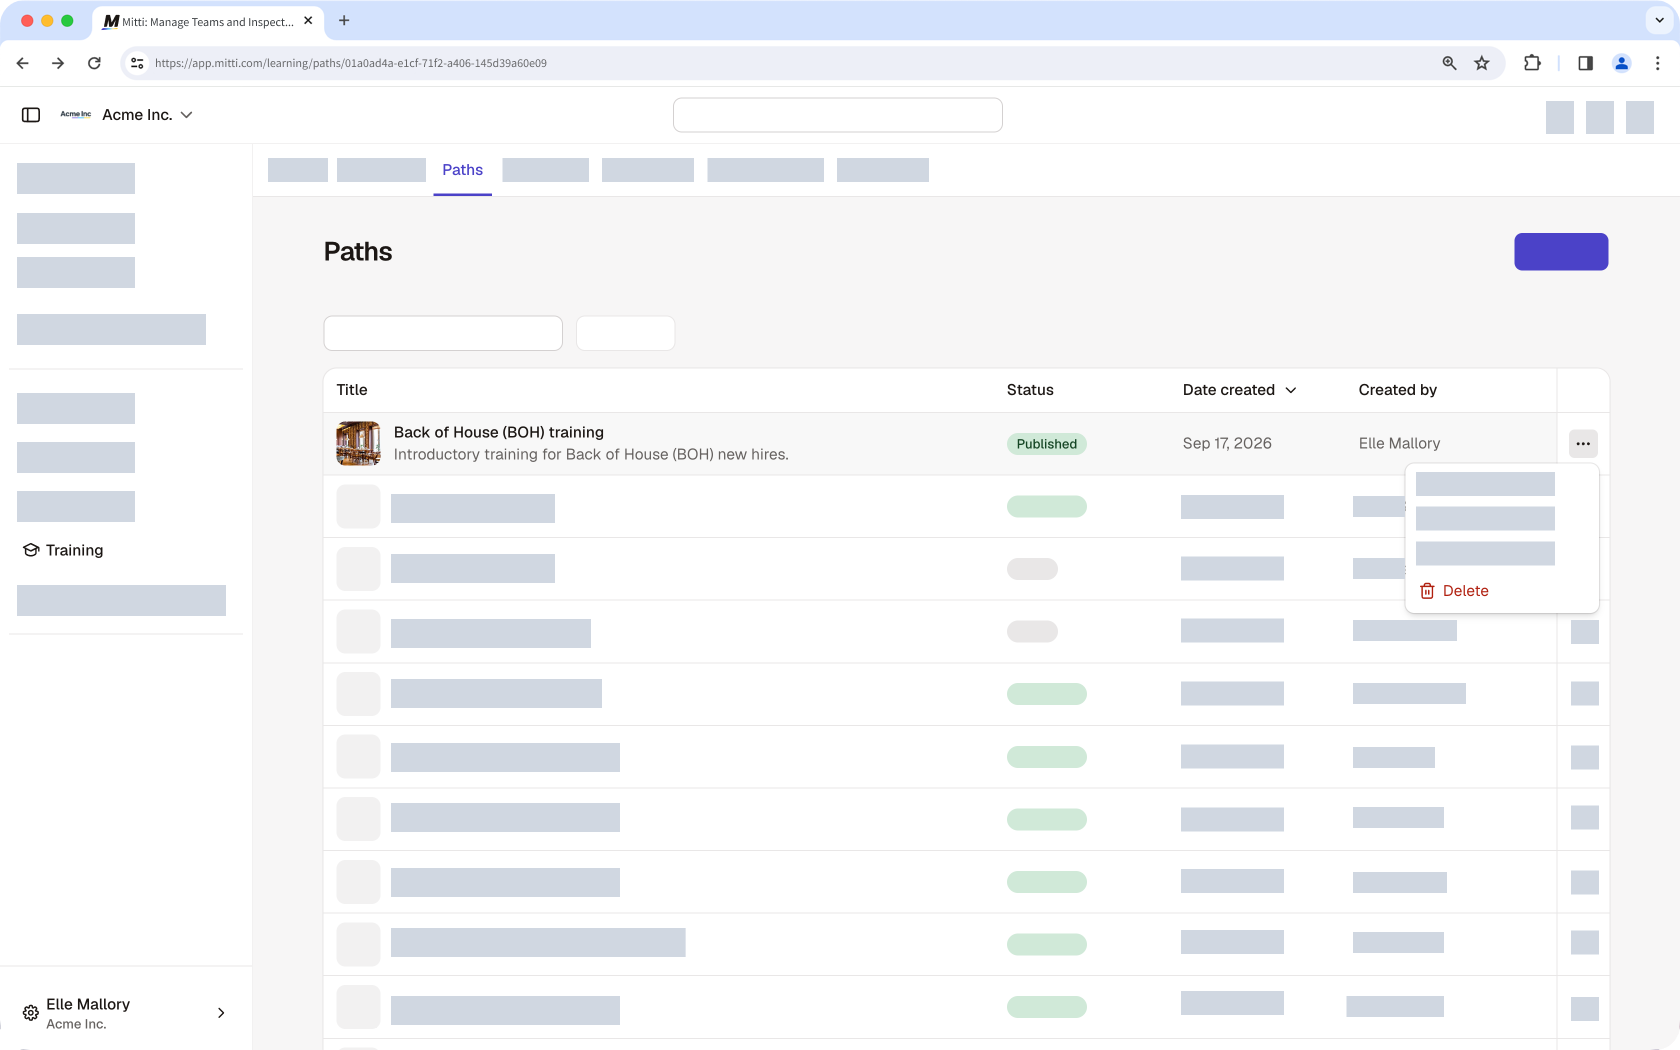
Deleting a path only deletes the path itself. Any courses, credentials, scenarios, documents, or other content included in the path remain available.
Questions fréquemment posées
Besoin d'aide supplémentaire?
Cette page vous a-t-elle été utile?